While I wait for a good deal on a new 3D printer, I decided to see what I could do to improve printing on the ancient Hephestos I built from a Maker Faire kit I got eight years ago, when I was organizing the first events in Portugal (which I’m thus quite attached to). And having heard good things about Klipper firmware, I decided to give it a spin.
In the process I’ve somehow gone from printing my projects to a point where the printer became the project, so bear with me for a longer post than average.
Pi Your Printer

Klipper takes an interesting twist at controlling a 3D printer: It “dumbs down” the printer control board to act solely as a servo controller and shifts toolhead kinematics and extrusion calculations to a Raspberry Pi.
Which is pretty great for me, since the Hephestos uses an old Arduino Mega 2560 RAMPS board that is as old as the hills (as such things go), so literally anything is better from a computation perspective.
The end result of combining the two boards is that print performance improves quite a bit. Movement becomes faster as the MCU devotes all its resources to handling movement and stepper timings, and smoother because the Pi performs better motion calculations and schedules smoother trajectories.
Round One: Upgrading via OctoPrint
To try out Klipper without messing too much with my existing setup, I started out by testing it under OctoPrint, which I have been using to remotely manage my printer for years.
It bears mentioning at this point that the Klipper installation guide is pretty much excellent as such things go–getting things to run was only a matter of cloning the repo, building the firmware, and setting up the Klipper service and the OctoPrint plugin.
The end result with this setup is a Python daemon that acts like a printer towards OctoPrint and talks to the specialized firmware you load on the printer itself.
You can then configure everything regarding the printer by editing a single file and restarting, which is very different to the ancient firmware setups I was used to (which usually entailed recompiling the entire firmware to tweak core settings).
Capturing Original Settings
But to build your Klipper configuration, you need to do some research.
So before installing it on the RAMPS board, I built a fresh (but still dated) build of Marlin from the BQ GitHub repo and issued an M503 to check the printer defaults,which came in handy to complete the Klipper configuration file:
; Marlin M503 response from Hephestos 2.5.1:
Send: M503
Recv: echo:Steps per unit:
Recv: echo:  M92 X80.00 Y80.00 Z4000.00 E100.47
Recv: echo:Maximum feedrates (mm/s):
Recv: echo:  M203 X85.00 Y85.00 Z3.30 E25.00
Recv: echo:Maximum Acceleration (mm/s2):
Recv: echo:  M201 X1100 Y1100 Z100 E10000
Recv: echo:Acceleration: S=acceleration, T=retract acceleration
Recv: echo:  M204 S4000.00 T1000.00
Recv: echo:Advanced variables: S=Min feedrate (mm/s), T=Min travel feedrate (mm/s), B=minimum segment time (ms), X=maximum XY jerk (mm/s),  Z=maximum Z jerk (mm/s),  E=maximum E jerk (mm/s)
Recv: echo:  M205 S0.00 T0.00 B20000 X20.00 Z0.40 E5.00
Recv: echo:Home offset (mm):
Recv: echo:  M206 X0.00 Y0.00 Z0.00
Recv: echo:PID settings:
Recv: echo:   M301 P23.05 I2.00 D66.47
Recv: echo:Filament settings: Disabled
Sorting Out Hardware Pins
However, the biggest challenge I had was that the RAMPS board the Hephestos has is effectively obsolete and used by dozens of ancient printers in subtly different ways, so it took me a good while to hunt down and troubleshoot some things:
- Steppers were reversed when compared to the stock RAMPS config
- LCD pin assignments took a couple of hours to figure out (I had to go into Klipper and Marlin sources to suss out a few details)
- The initial Z-axis stepping caused the Arduino to freak out when Klipper tried to move it at “modern” speeds (the MCU simply couldn’t schedule the stepper intervals properly), so I had to cap it at 5mm/s.
- The panic button took a little figuring out, but I eventually got it to work.
Of course, once things were stable I contributed my hardware config back to Klipper and began working my way through the pretty sophisticated calibration steps in the documentation (which, again, is very extensive).
Resonance Compensation
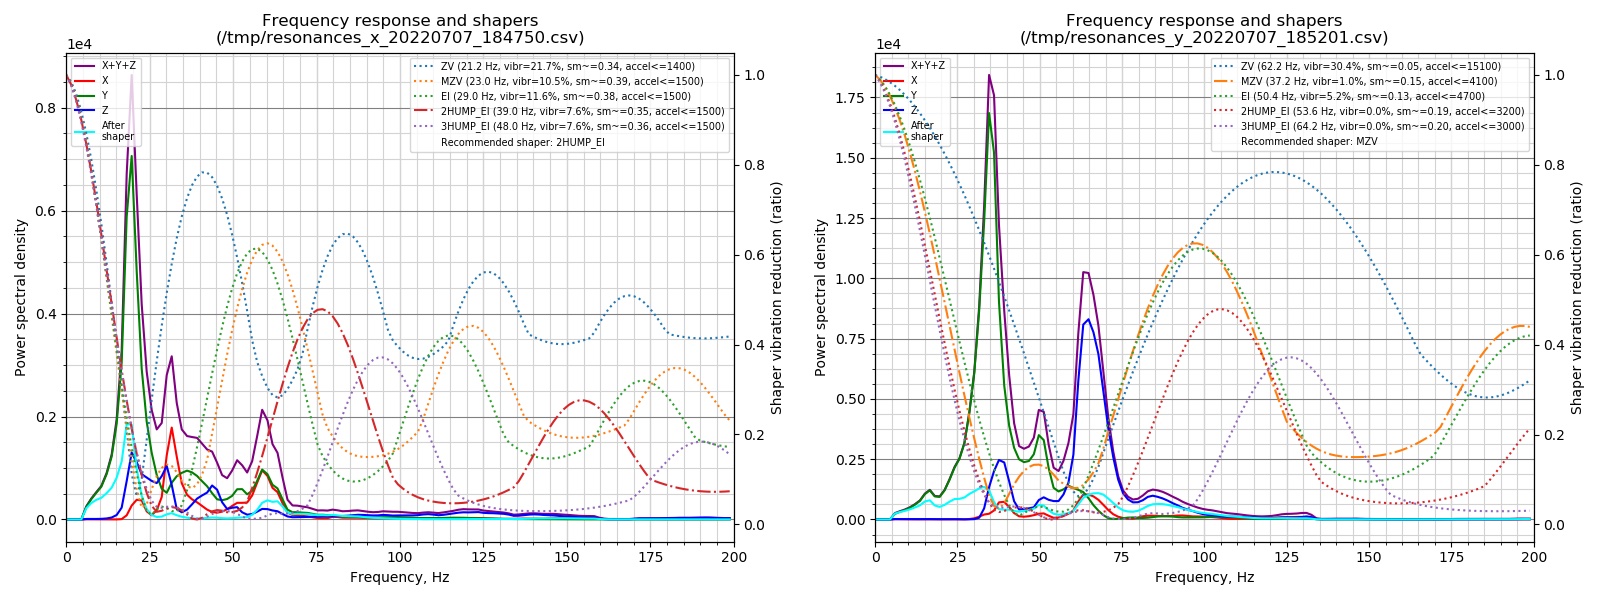
A good example of how sophisticated that tuning can be is that Klipper can use an accelerometer to measure structural resonance and try to tune it out of toolhead movements to deliver smoother prints.
To get this working, I plugged in a ADXL345 breakout board to the Pi’s SPI interface and ran the built-in calibration process, which generated these charts:
Results
Resonance compensation can eliminate “ringing” and ghosting effects on print surfaces, and the effects can be quite noticeable–although, to be fair, it is also extremely dependent on printing materials:

I still need to tune extrusion and corner speeds, but this is pretty great. I was aware that Duet boards could do that with RepRap firmware1, but getting this to work on such an ancient printer is pretty amazing.
Hoisting the Mainsail
The next step was to actually get some printing done. However, OctoPrint had some communication issues with Klipper that made things stall in long prints, so I decided to try out MainsailOS – a pre-built Raspbian image that includes a web front-end called Mainsail, and which you can literally set up in 15 minutes–flash the image, boot, drop in your printer.cfg and you’re pretty much done.
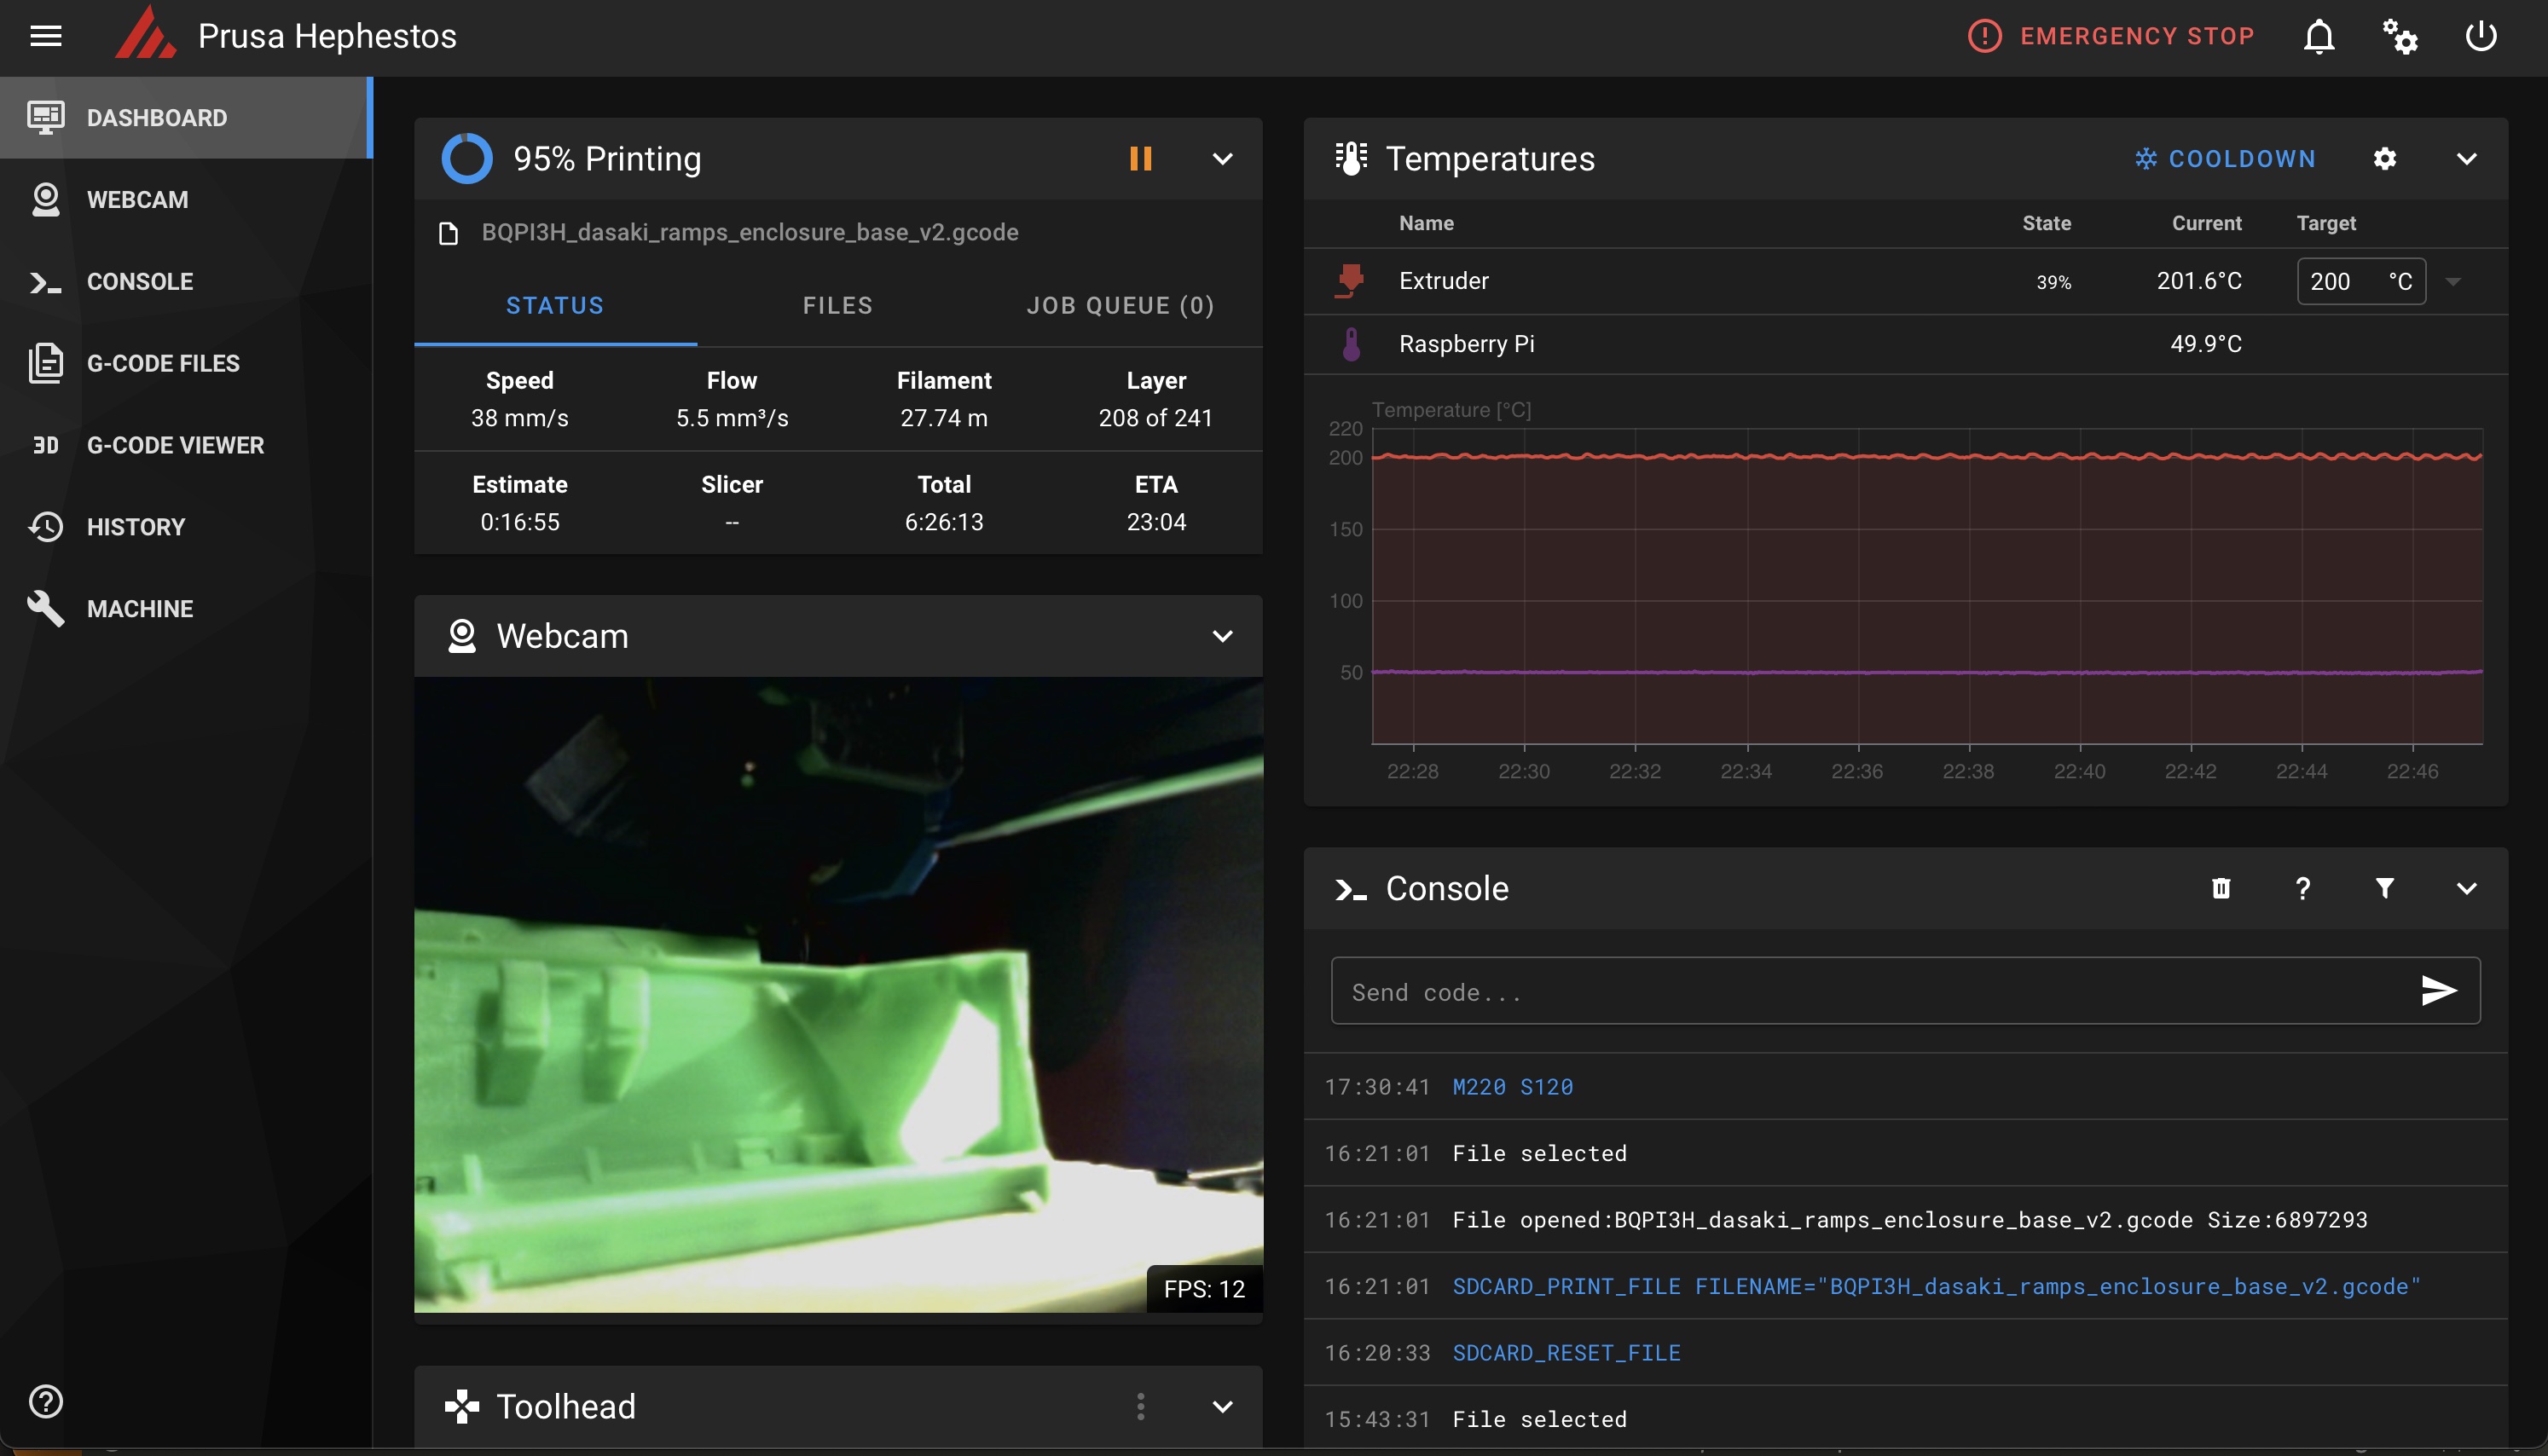
MainsailOS has a much smaller ecosystem than OctoPrint, but provides the same core functionality (including support for printing directlyfrom Cura, SuperSlicer and PrusaSlicer over Wi-Fi), and has a few additional nice features:
- It lets you upgrade everything remotely (firmware, web UI and OS packages)
- You can edit all the configuration files via the browser
- Its API server (called Moonraker) supports MQTT, which I’m using to send PushOver notifications to my phone with some Node-RED glue
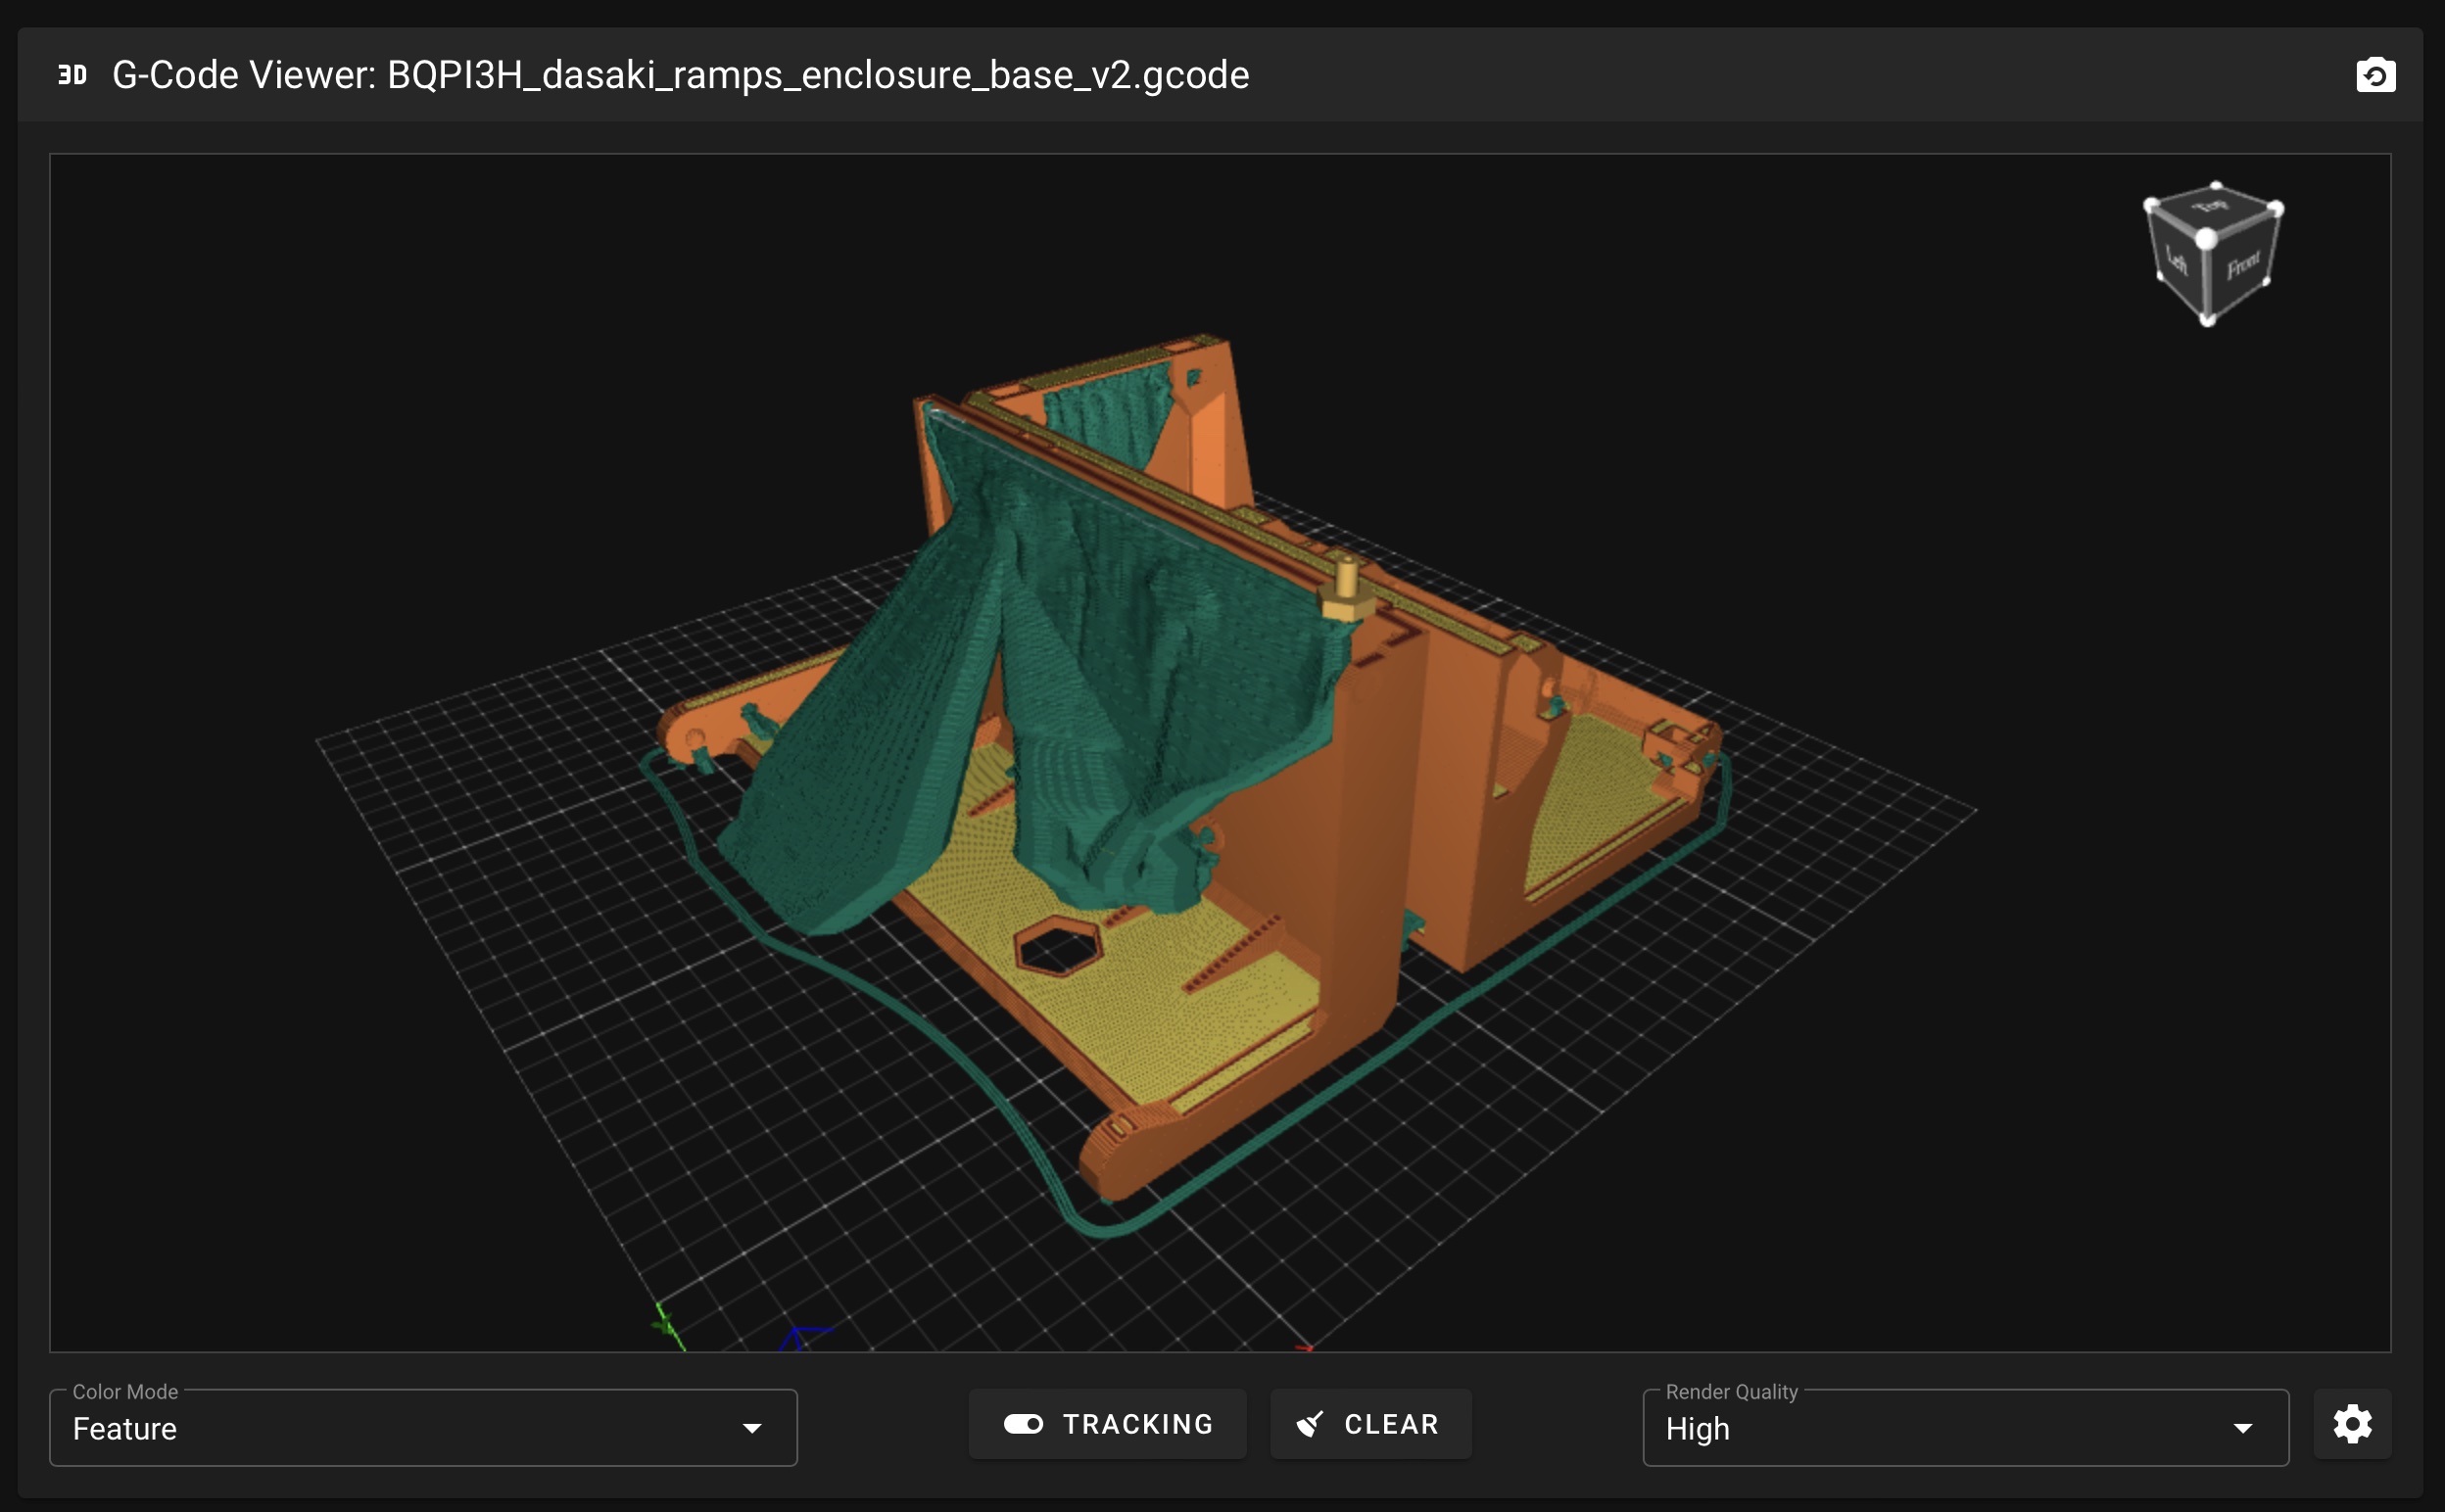
- It has a few nice quality of life improvements like statistics and G-code thumbnails for your prints, a 3D G-code viewer and support for remote access (which I prefer doing with Tailscale, but is nice to have)
Tweaking
While I waited for the ADLX345 accelerometer to arrive, I spent a few evenings fiddling with the printer and figuring out how to improve things in general.
HomeKit Integration
For instance, I briefly considered ways I could control and monitor the printer given the new API surface. I already have it plugged in to a Tasmota smart plug, but having a temperature sensor that went up to 210oC was kind of silly.
However, I did manage to spoof a HomeKit camera device to get the Mainsail webcam to show up on my phone by proxying it through another Raspberry Pi (a 4) with a custom ffmpeg build. This was necessary because Mainsail uses mjpeg-streamer, which works OK for snapshots but not for live streaming to your iOS devices.
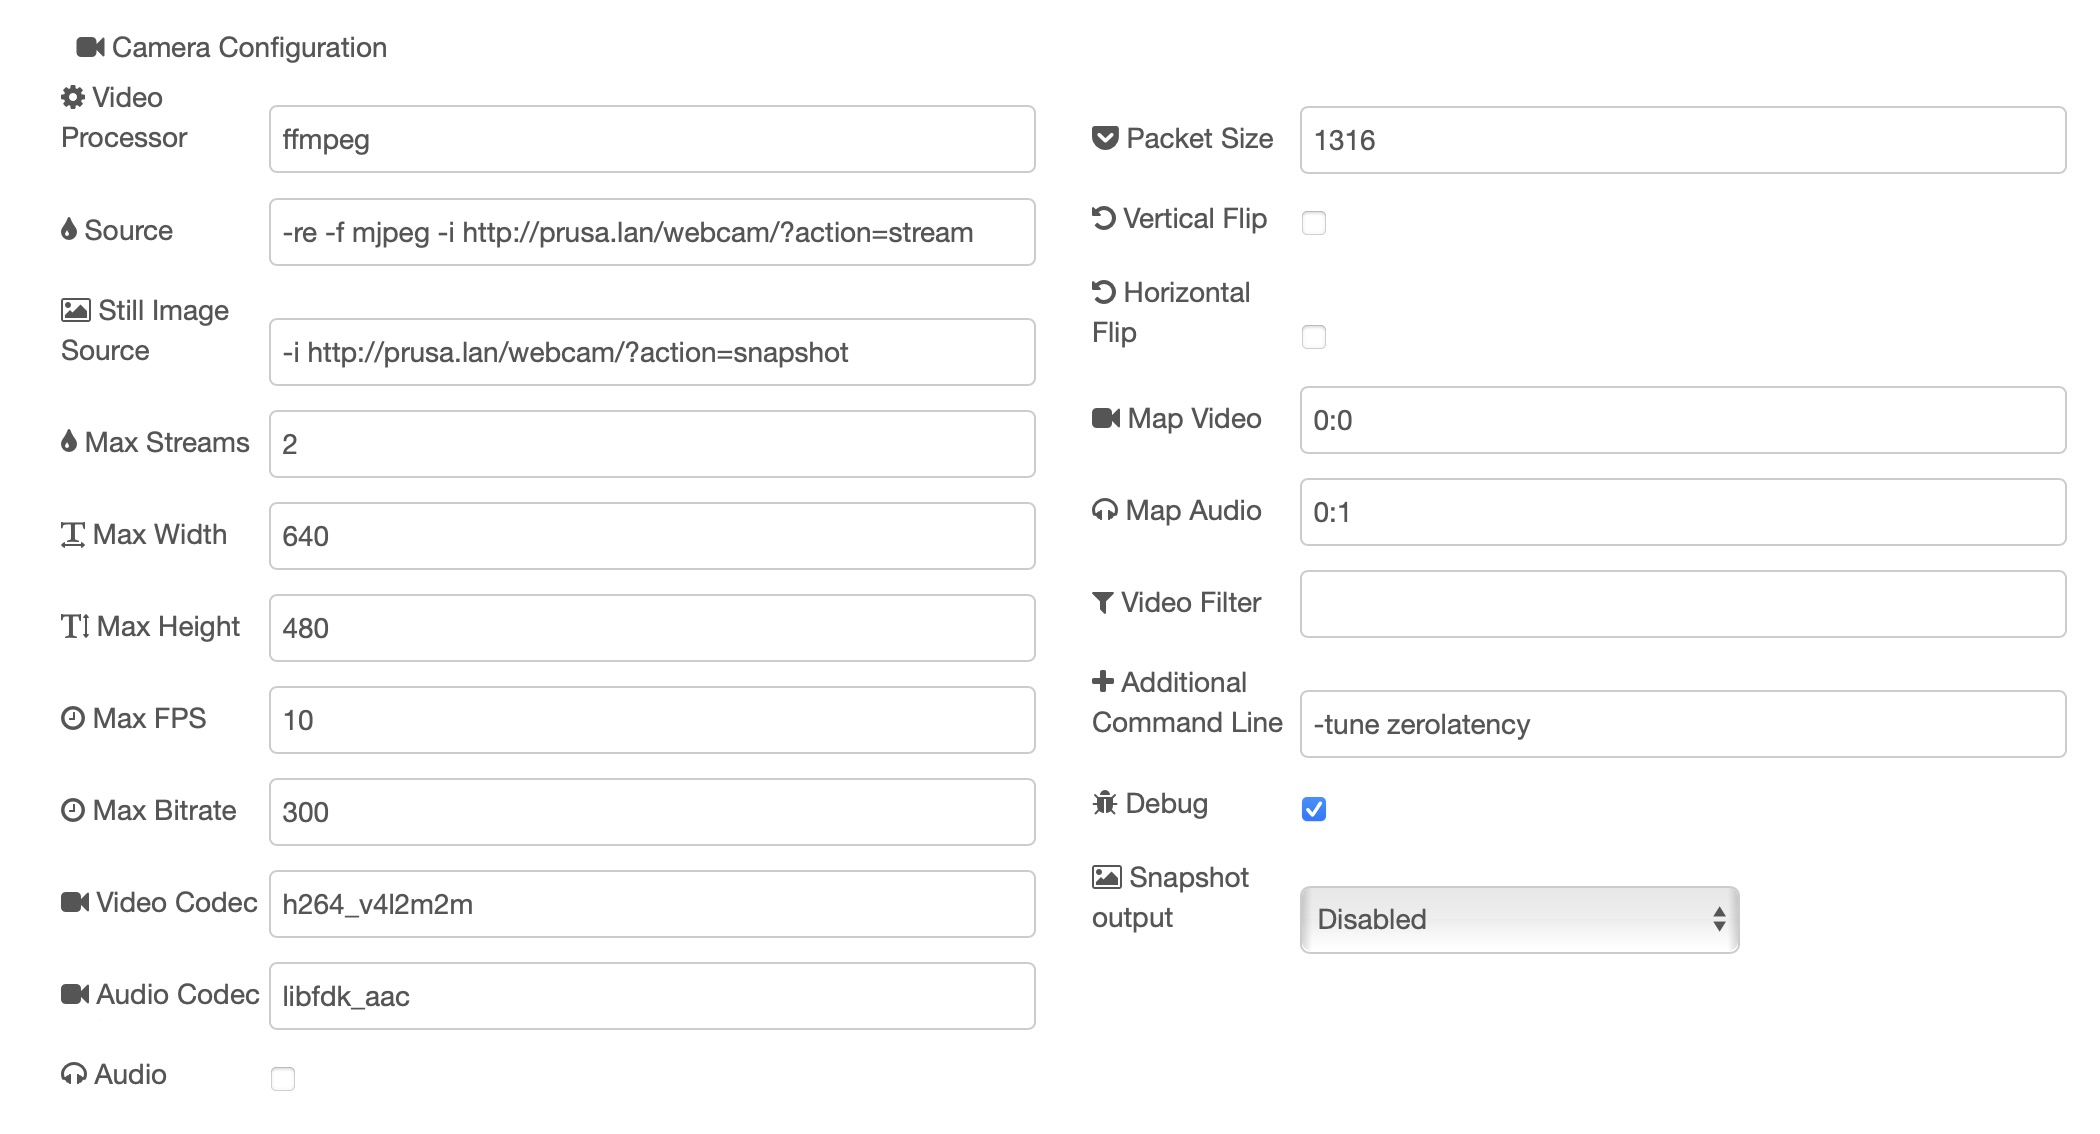
This is a problem I also have with ESP32 cameras, and having this ability to have Node-RED do on-demand transcoding is sure to come in quite handy, especially since I often found myself checking on prints via my Apple TV and it turns out to be a quite nice way to keep tabs on cameras around the house.
I do not recommend you transcode on the same machine as Mainsail, though–I tried it and ended up killed a print job because ffmpeg overloaded the Raspberry Pi 3B+ I was using.
Becoming a Fan
Another thing I did was replace all the fans with “silent” fans from Amazon – a 40mm for the extruder and two 50mm, one for the RAMPS and to replace the very noisy radial blower, which required designing and printing a new part fan shroud:
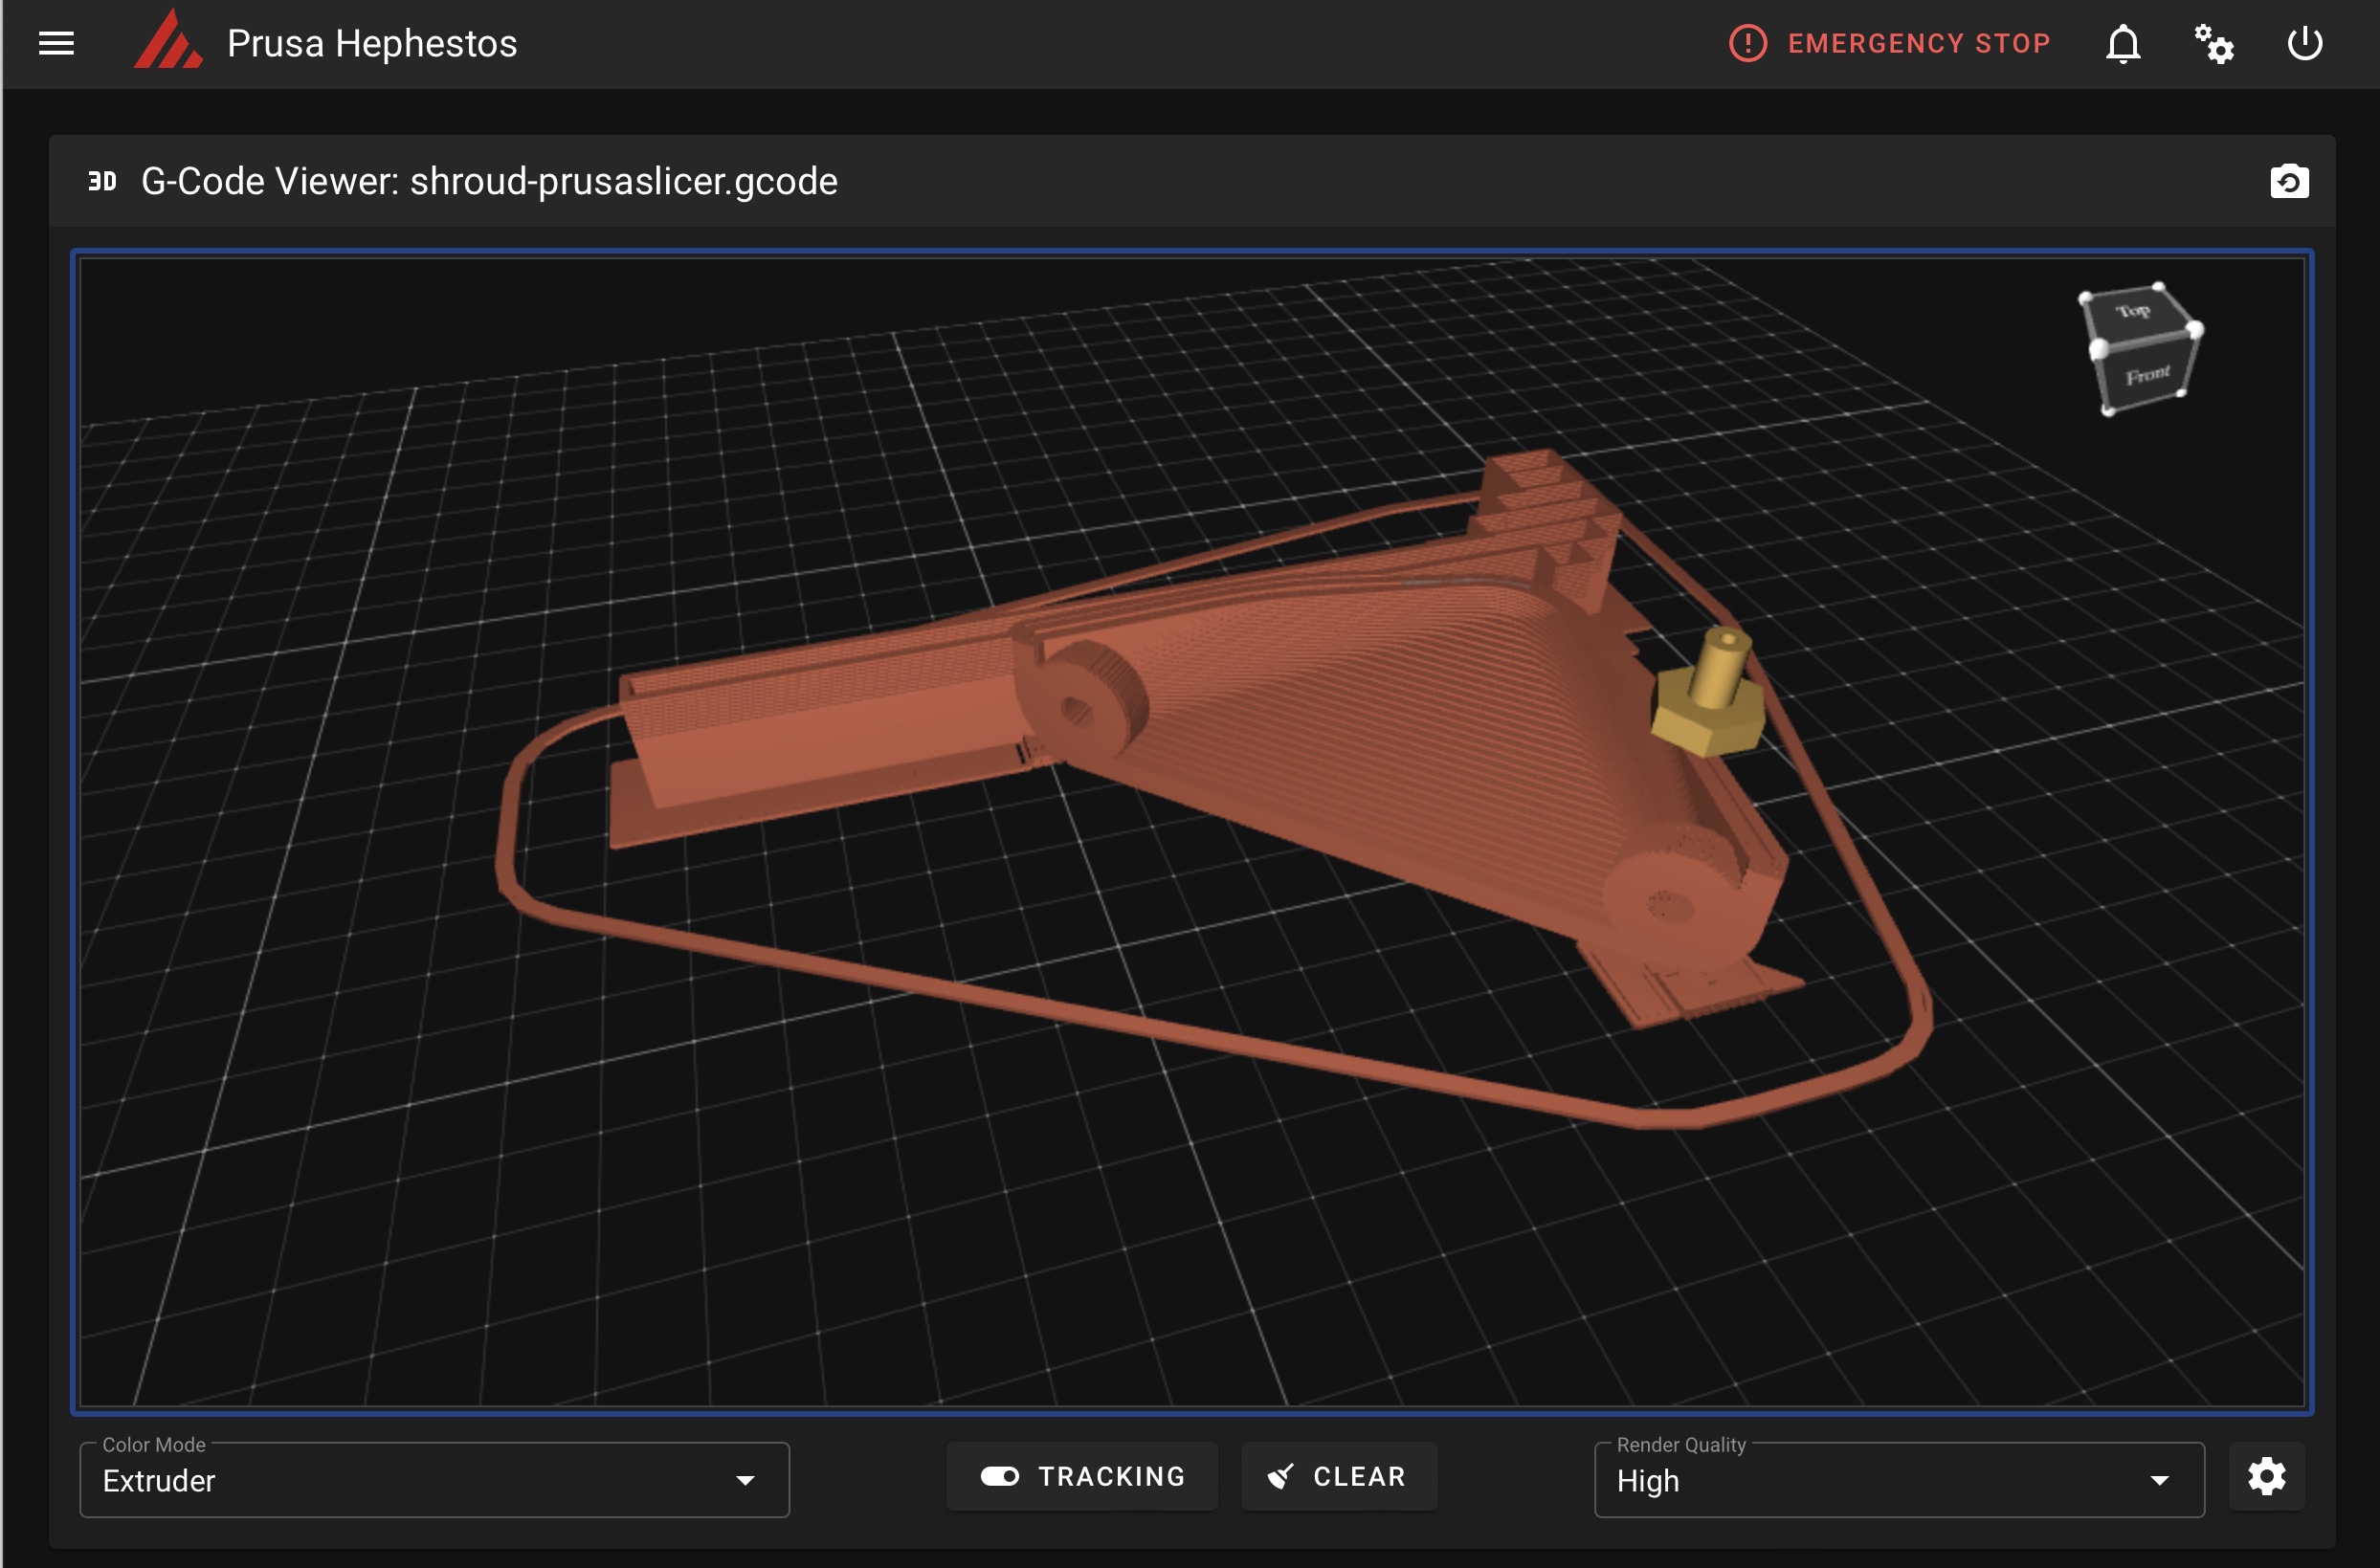
The new fans displace slightly less air, but seem to provide enough cooling while being an order of magnitude quieter.
Before and After
And this is what it sounds like now, with all new fans, some dampening foam and much less vibration overall:
Even before I recorded that video, the biggest improvements for me were already obvious:
- Much smoother (and somewhat quieter) stepper movement. To match modern printers’ near silent steppers I’d have to swap the stepper drivers on the RAMPS board, but the way Klipper handles the servos is indeed smoother and creates less noise, both from the steppers themselves (which the RAMPS is driven to do so as best it can) but also because since acceleration is smoothed the printer doesn’t rattle as much.
- Improved printing quality. Yes, you need to tune it with a few test prints and measurements, and the printer itself doesn’t have the best mechanics, but it prints like a much newer printer.
- Completely new features. Most of the advanced functionality is lost on this hardware (I have no heated bed, no auto-leveling, etc.), but the printer LCD menu is a bit nicer and allows for more control the original Marlin firmware ever did.
With all these tweaks combined, it’s like night and day to the point where I think I can comfortably wait until it makes a bit more sense to buy a new printer2.
What Next?
I will likely add a filament sensor, since some of my PLA spools have become brittle and the filament snaps mid-print so often I cannot leave them to print unattended, and am mulling getting a bed levelling sensor, but otherwise I think this printer is as good as it will ever be.
Besides more speed (which is debatable depending on what you want to print) the one upgrade I would like to have making the stepper motors truly silent–but right now the noise levels are OK.
And I have to hand it to Klipper – although it was a bit frustrating to dial in my extruder, this ancient Prusa clone feels like a completely new 3D printer, and I had great fun in the process.
Now I need to try to actually use it instead of tinkering with it and get to work on my other projects before I decide to do something like building a high-performance RatRig V-Core kit (which, like the Prusa, would be a great thing to do with the kids…).
-
And, in fact, one of the things I did some deep research into was replacing the RAMPS with a Chinese Duet clone from BIGTREETECH or FYSTEC, and I very nearly pulled the trigger on one (I still might, but Klipper has made that less interesting for now). ↩︎
-
I’ve been considering the AnyCubic Kobra or the Neptune 3 as direct replacements, since they fit into the same spot, but doing something wild like building a Voron or RatRig now seems more likely. ↩︎