Following up on my Norns build, I’ve been working on a few more hardware projects for the past couple of months. It’s been (very) slow going, but I am currently going through a phase in the yearly cycle where there is a lot of procedural and management stuff to wade through, so doing something fun, physical and low-level was a great way to stay upbeat.
I also wanted to push myself to do something different and have a “creative break” every now and then, so I’ve been running OpenSCAD, Blender and KiCAD remotely on my sandbox to design project enclosures and a couple of supporting PCBs.
Blending In
Blender is a recent addition, since as mentioned earlier I would love to be able to use Blender for CAD but doing precision sizing and constraints in it has always been a pain.
However, the new CAD Sketcher add-on seems set to fix most of those issues, so I’ve been using it to precision model some of the library parts I need:

If you hate OpenSCAD (which I don’t) and/or are curious as to how to use Blender to do precision modeling and 3D printing, this YouTube playlist is a pretty well-rounded introduction to that from scratch. It assumes no prior knowledge of Blender so you might make liberal use of the fast forward button, but is quite informative nevertheless.
The Projects
But for the moment, I’m sticking to OpenSCAD, although it is a right pain to build enclosures that don’t look like plain, boring square boxes.
Right now I’m trying to finish four designs:
Expression MIDI Controller
This is a MIDI controller with four linear potentiometers mapped to the typical expression CCs, for which I’ve yet to do any actual electronics and MCU coding but have had the pots themselves languishing in a drawer for a year or so.
This one is both the simplest of them all and the lowest priority, and I might actually do it in Blender as a “first” project.
LCD Enclosure
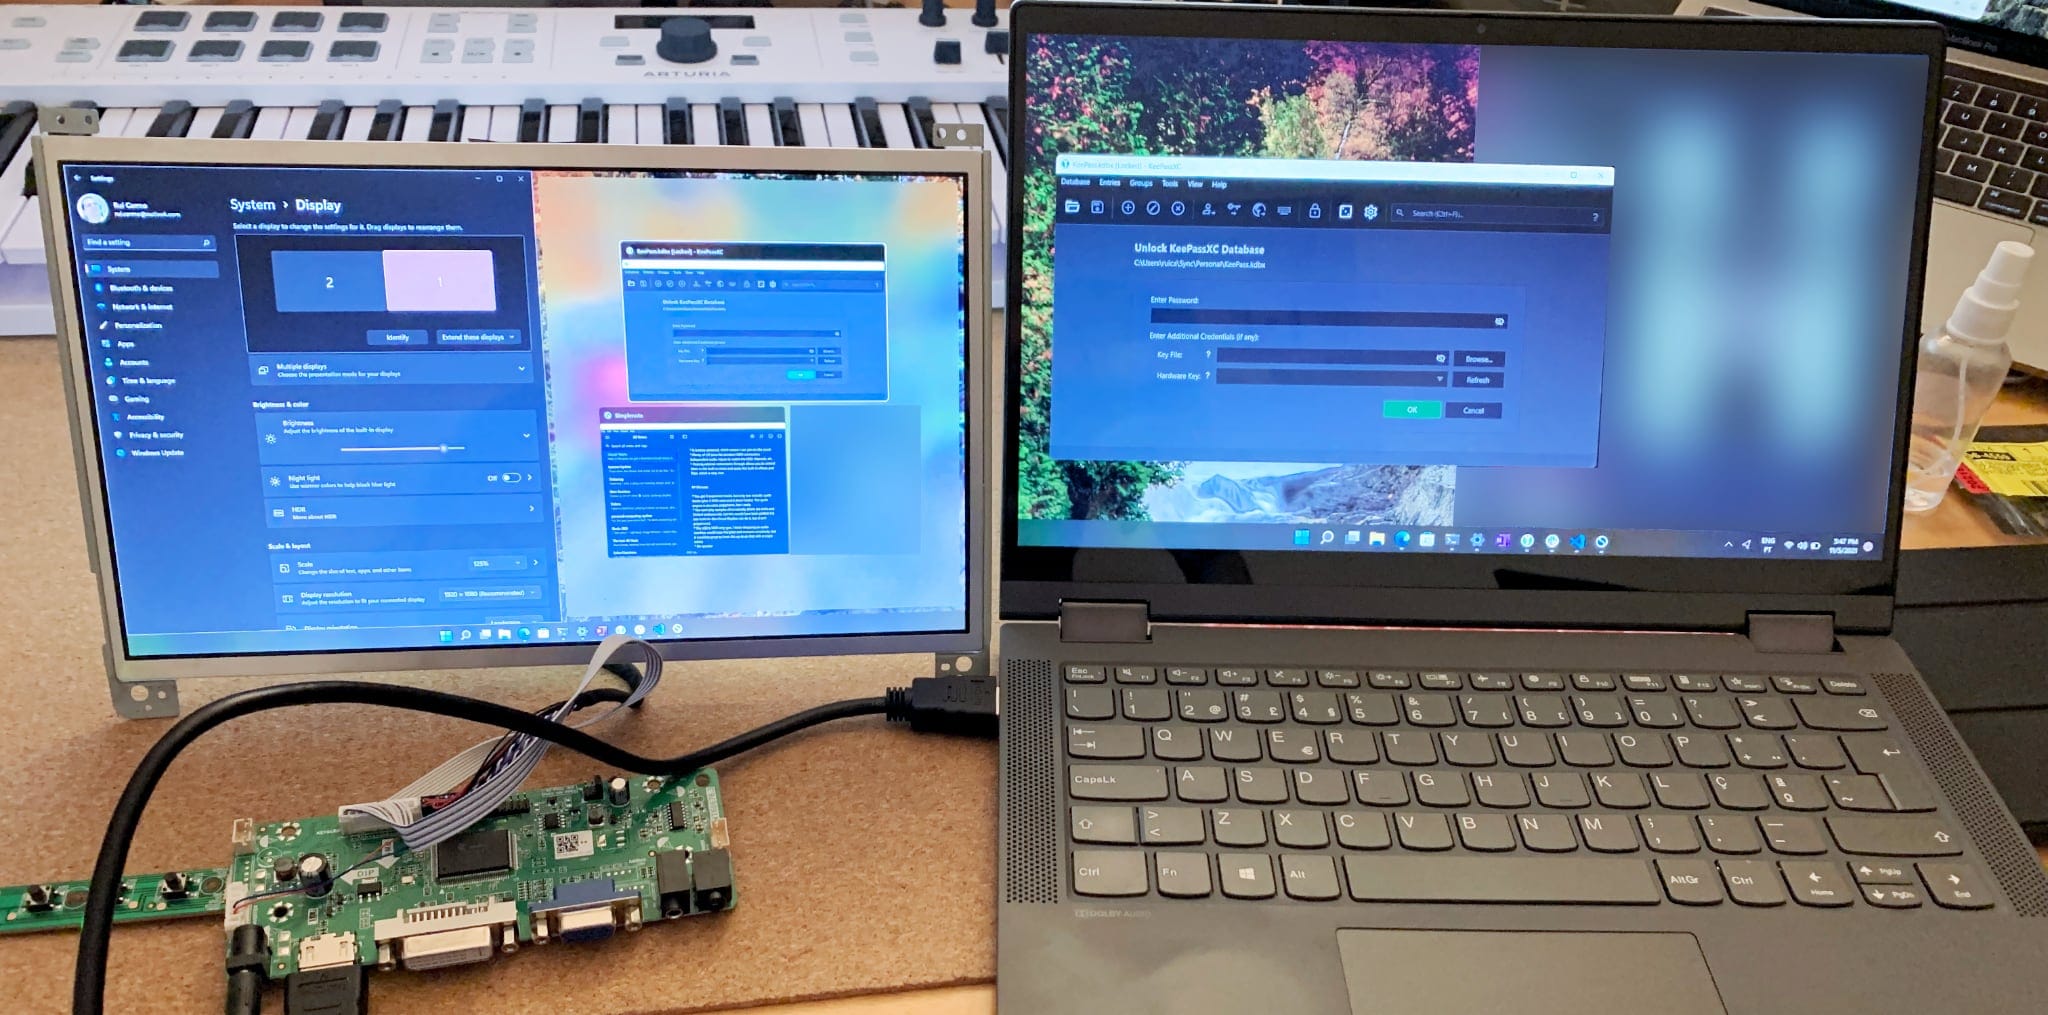
An enclosure for a salvaged 12” LCD, for which I already have an LVDS driver board. This is a bit challenging because the enclosure won’t fit into my Prusa’s print area, so I have to figure out a way to print a frame that snaps together and a decent back enclosure.

The PicoMac / DirtyWave Tracker
My kids have been using PICO-8 for a good while, and a while back I thought it would be cute (and useful) to design and build a dedicated PICO-8 machine around a Pi Zero and a square Hyperpixel display.
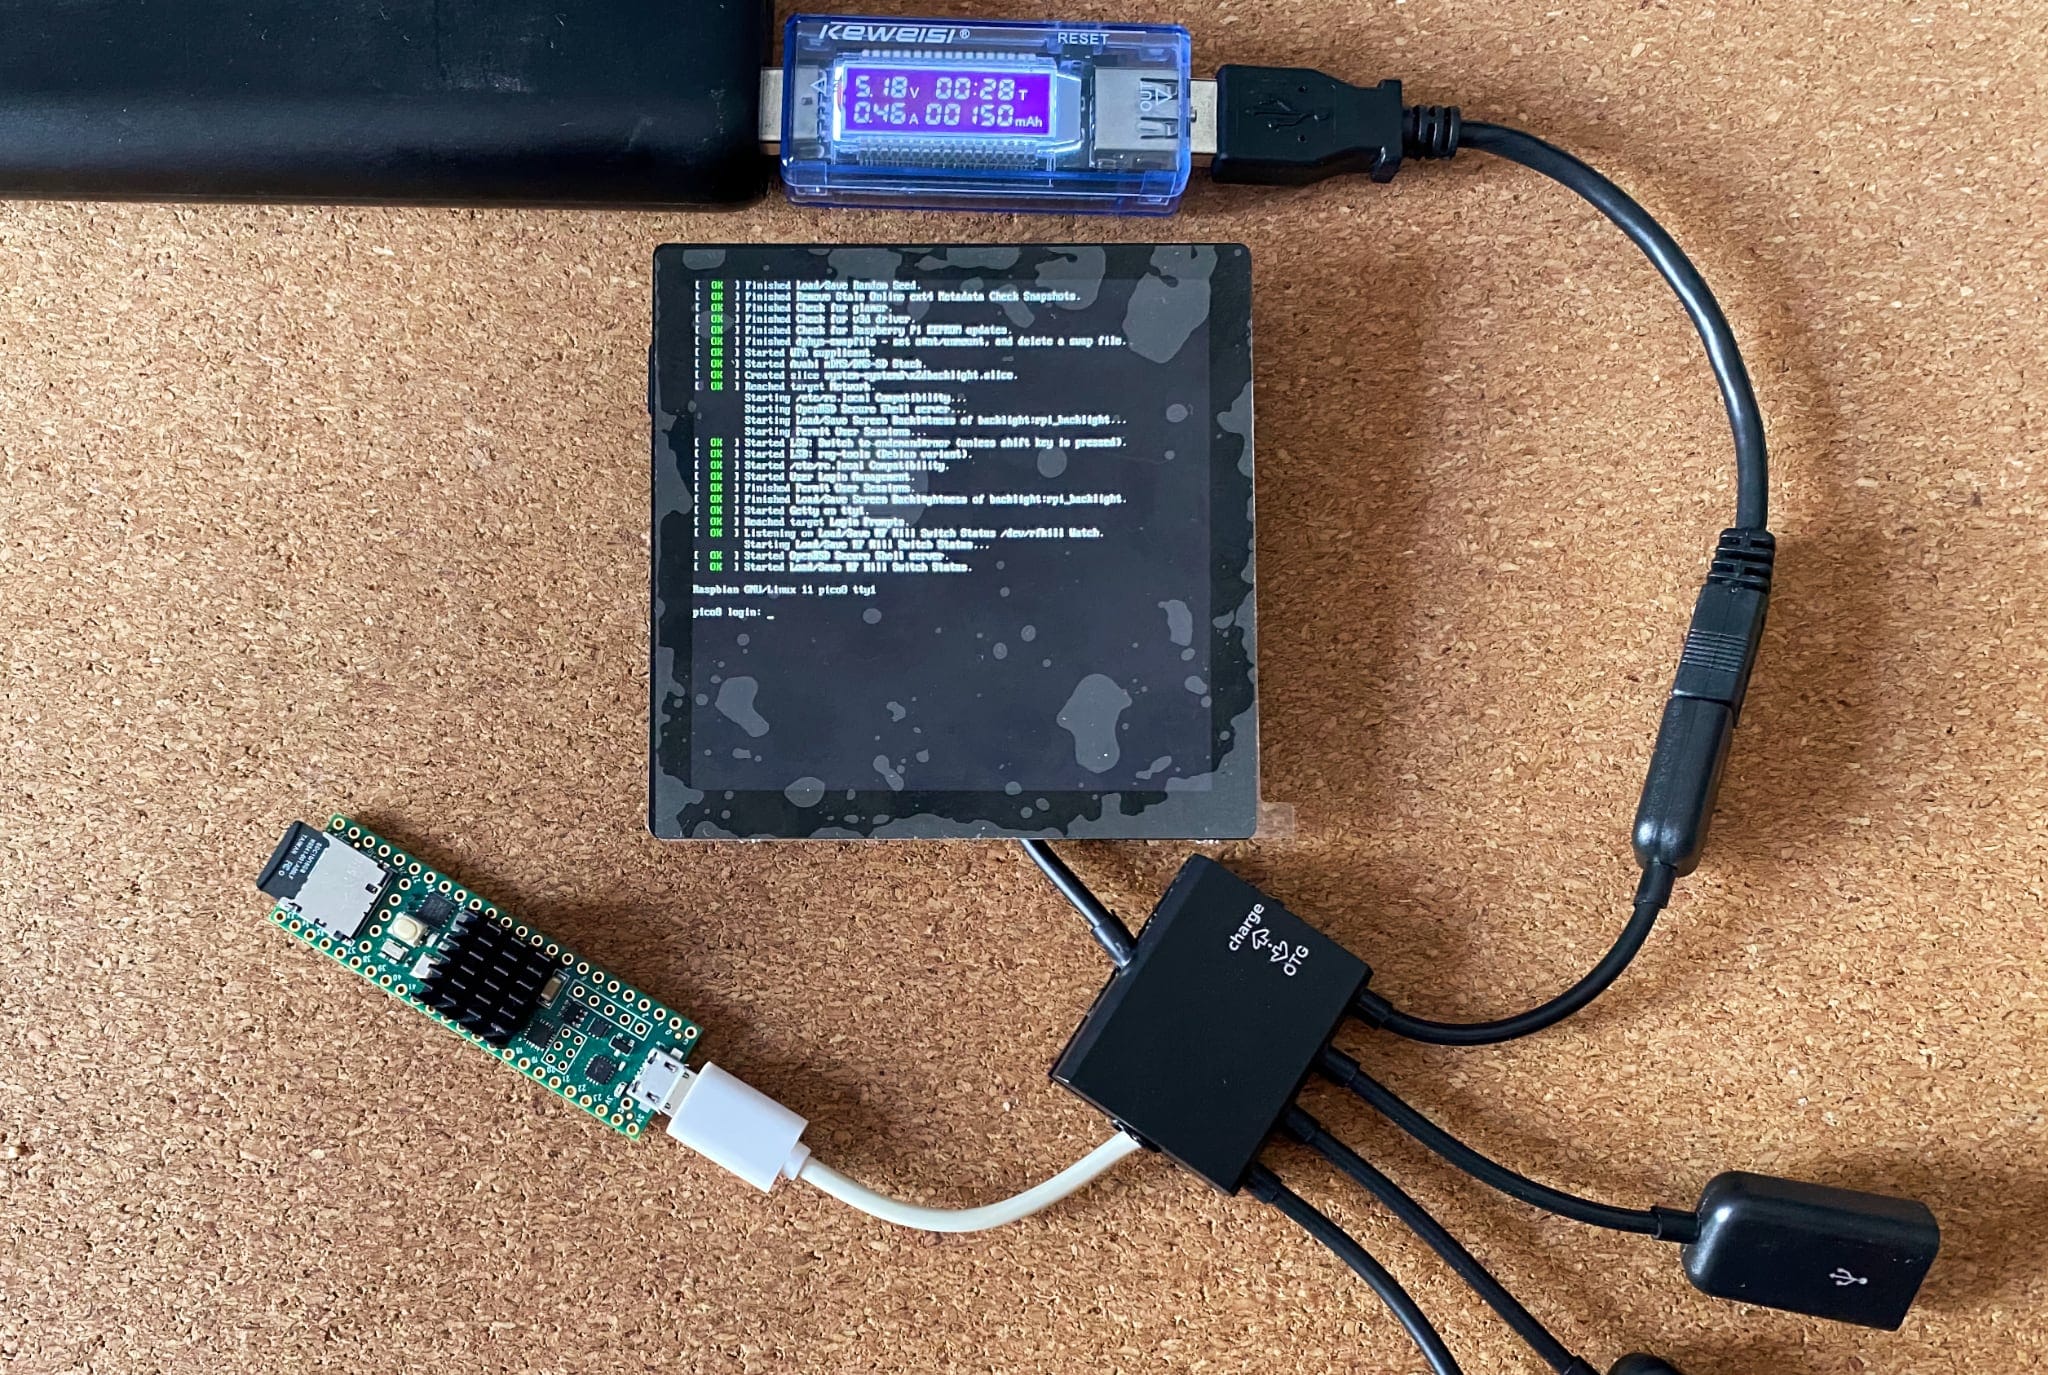
But in the meantime I came across the DirtyWave M8 Tracker and found that it could be run as a “headless” synthesizer in a Teensy 4.1, so I decided to add some extra USB ports and beef up the audio (which has to be via USB as well given the Hyperpixel eats up all the GPIO ports).
I was initially planning to use these tiny USB hubs:

…but I stumbled upon pre-built ones with plugs and ports already wired in, so I decided to get one of those, and quickly realized there was a fourth unused port that I could solder a dedicated cable to for wiring the Teensy:

So I soon had something working:

Right now, I am tackling two separate problems:
- The Teensy 4.1 makes one heck of a racket EM-wise, which means that there is an audible hum coming through the USB DAC to the tiny amplifier I’m using (the Pi isn’t completely quiet, but the Teensy injects a very noticeable hiss).
- I want to get everything into a case that looks broadly like a Classic Mac, so that the screen is placed at the right height (assuming I’ll be using a keyboard or MIDI controller in front), with bearable speakers and (preferably) external access to at least the Teensy’s SD card.
Since it’s quite hard to properly ground the electronics for this, I’ve ordered a USB “filter” (the kind of thing audiophiles would burn money on, but dirt cheap), and am trying out this approach for a case design:

There are a few challenges in fitting “better” (but still cheap) speakers and microSD extension cables, but it’s shaping up nicely (if slowly).
And this kind of complex design is something that I hope to be able to do entirely in Blender, since doing joins, snap fits and bevels in OpenSCAD is challenging to say the least.
Update: I’ve since found this updated instructable with a pretty decent case model and might steal portions of the case design, although it looks like a rounder, older Mac.
MiniDexed
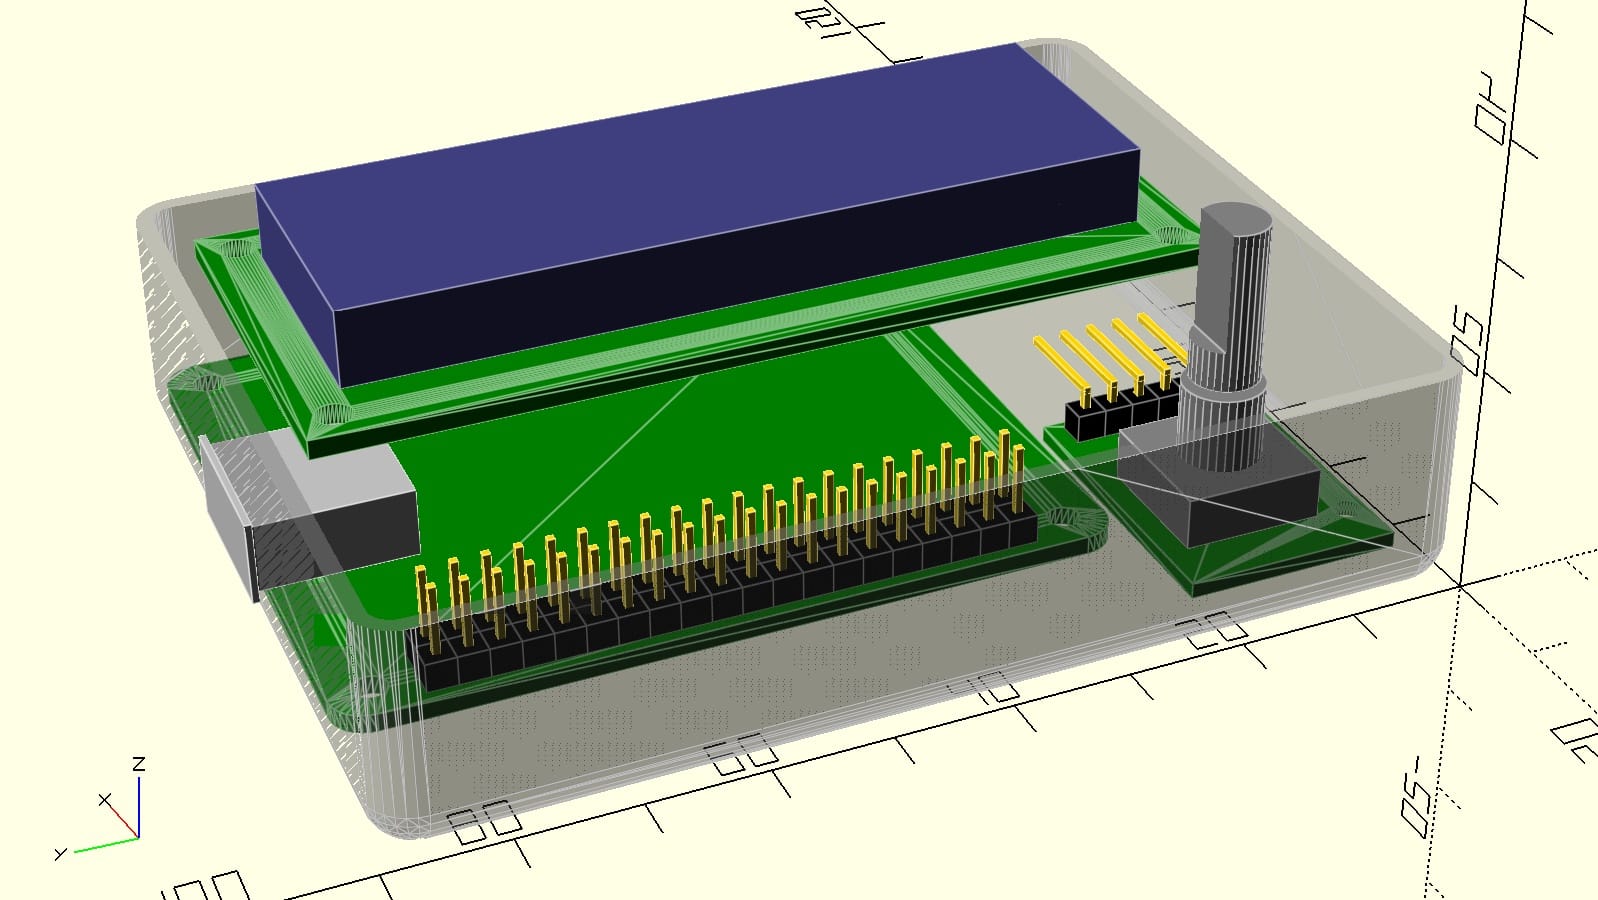
Finally, last week I built a MiniDexed synth out of a Pi 3A+ and a leftover LCD, and am now designing a case for it:

If you haven’t heard of it yet, MiniDexed is an amazing project that packs eight DX7 tone generators into a 4-core Raspberry Pi, and even though I own a Reface DX I couldn’t help myself and just had to build one.
The big challenge here is designing the case properly so that the encoder knob doesn’t protrude too much, but I think I’ve sorted that out so I’m only waiting on a couple of I2C DACs to start doing the top case (which will hold the LCD) and all the internal scaffolding.
There is also the possibility of actually designing a PCB for this as a HAT since there is a great KiCAD template for doing exactly that, so I might stretch this one out a bit just for the sake of going through the process of getting a custom PCB made–it’s something I’m curious about since I haven’t done that in a decade or so, and things seem vastly improved nowadays.
I might also build an mt32-pi version since I do have a few older Raspberry Pis around (mostly 3s, but at least one Pi 2 that would be perfect for this kind of thing).
Random Thoughts
And yes, this is all a bit much to juggle. And I could run all of these synths on an iPad, but building them is a lot of fun, even if I can’t work on these more than half an hour a day or so.
Another thing that I’m curious about is how best to publish and share these designs.
I’ve always been a stickler re-use and the degree of sharing and quality of documentation both vary quite widely among the hardware projects I’ve come across, so I might clean at least one of these up and post it on GitHub once it’s in a decent state.
But it feels really nice to learn new things outside of work, so I’ll keep at it as time permits–I’m not in a hurry…