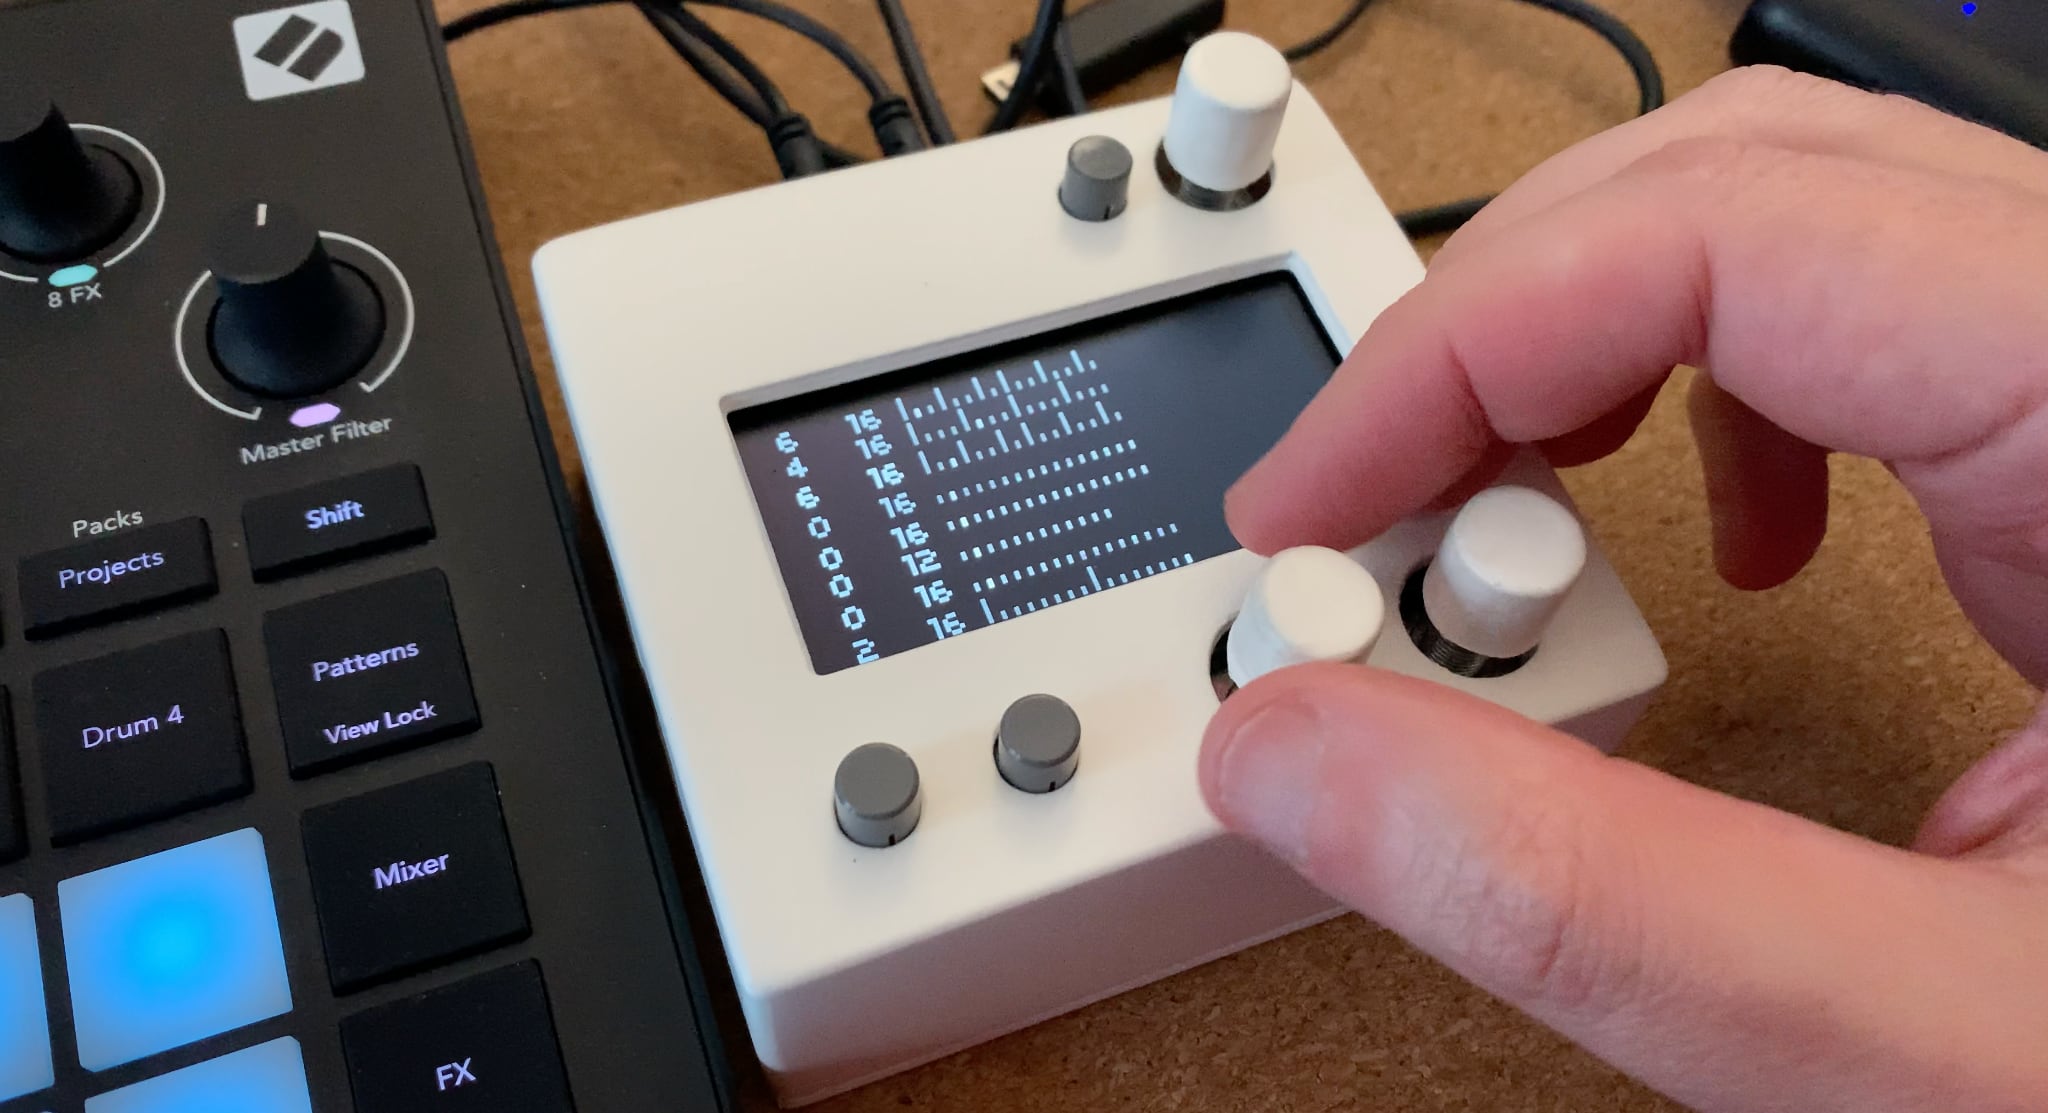
This is another long overdue post about my music hobby, and a sort of follow-up to the one about the Novation Circuit Tracks in the sense that it too describes a musical gadget that’s been in the house for a while–in this case, a homebuilt Monome Norns Shield:

So what is a Norns, you might ask?
Well, in short, it’s a Raspberry Pi-powered music device with an active community and a large library of tiny little apps for MIDI and audio processing–which, importantly for me, include audio loopers, sequencers and generative music.
I knew of it for a while since I’ve been considering building a Zynthian as a way to re-purpose some of my phased out Raspberry Pi 3 boards1, and as I was keeping track Pi-related stuff I came across Monome and their gear.
But I didn’t realize at the time they offered a “shield” version of their synth, and mostly forgot about them for a while–also, at the time, I hadn’t really picked up on what it actually did, and was more interested in seeking out synths and samplers.
What It Can Do
Loopop has a great demo video of how the whole thing works, but as it happened Luis Correia had built one, which he loaned to me last October or so.
I played around with it for a while and was immediately in love with its quirky UX, vibrant community and software platform.
I have plenty of synths, but literally nothing else like the Norns, and its default generative sequencer (awake) hooked me from the start because you can go a long way with very minimal twiddling:
So I talked to Luis – crucially, he still had extra pre-211028 Shield PCBs and CS4270 DAC chips, which were (and still seem to be) impossible to obtain due to supply chain constraints, and we hatched a cunning plan to order the remaining parts and build at least two more.
Hardware and Software
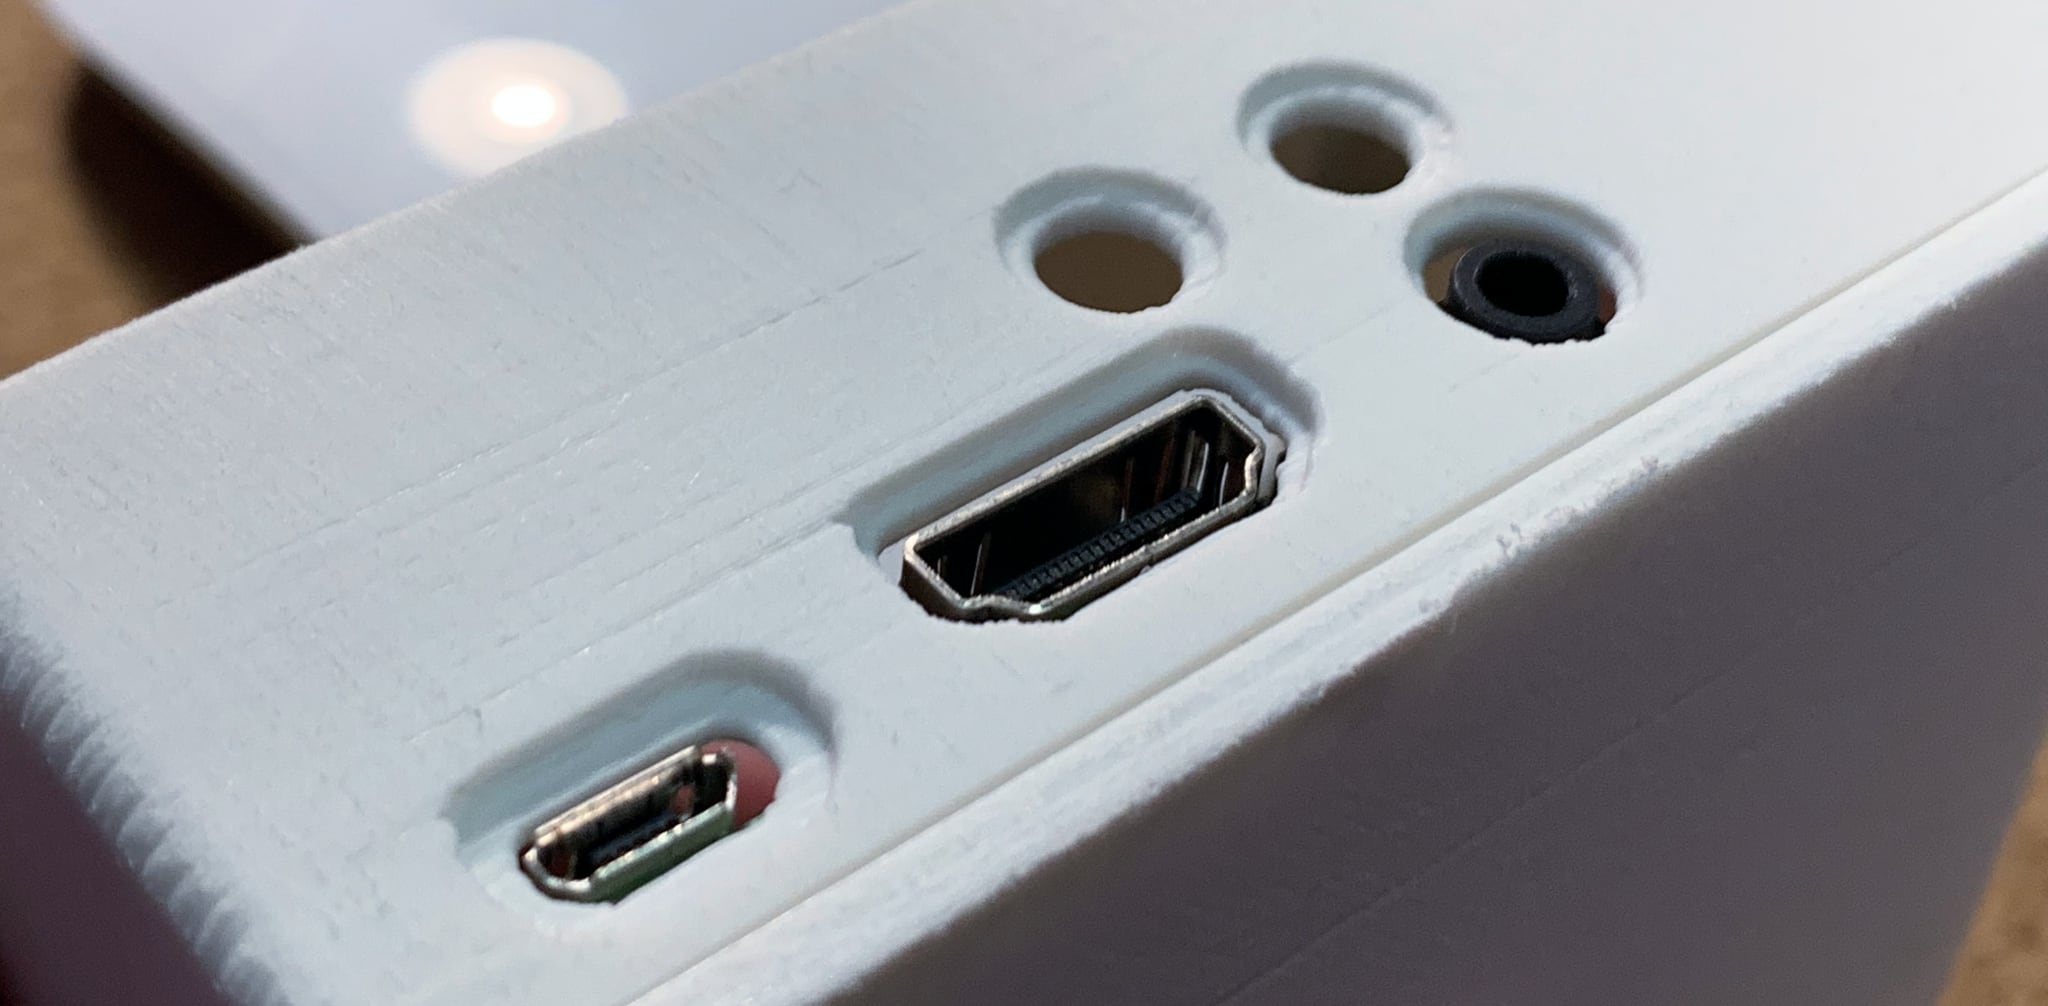
The Norns Shield PCB lacks the full set of ports that the “regular” Norns provides, but gives you line in/out TRS (unbalanced) jacks, a nice OLED display and three pairs of buttons and encoder knobs, which allow you to navigate the interface and tweak various parameters in exactly the same way as the “full” device.
Mine is powered by a Raspberry Pi 3B+, which has more than enough oomph to do everything it needs.
Under the hood, the Norns runs its own stack (based on Raspbian) with suitable drivers for the OLED and encoders, and uses Supercollider and Lua bindings to do everything from drum machines to generative audio.
The Lua bit, in particular, drew me in because it makes the Norns almost infinitely extensible to do just about anything you want where it regards manipulating audio or MIDI data (and there are hundreds of creative hacks out there already to learn from).
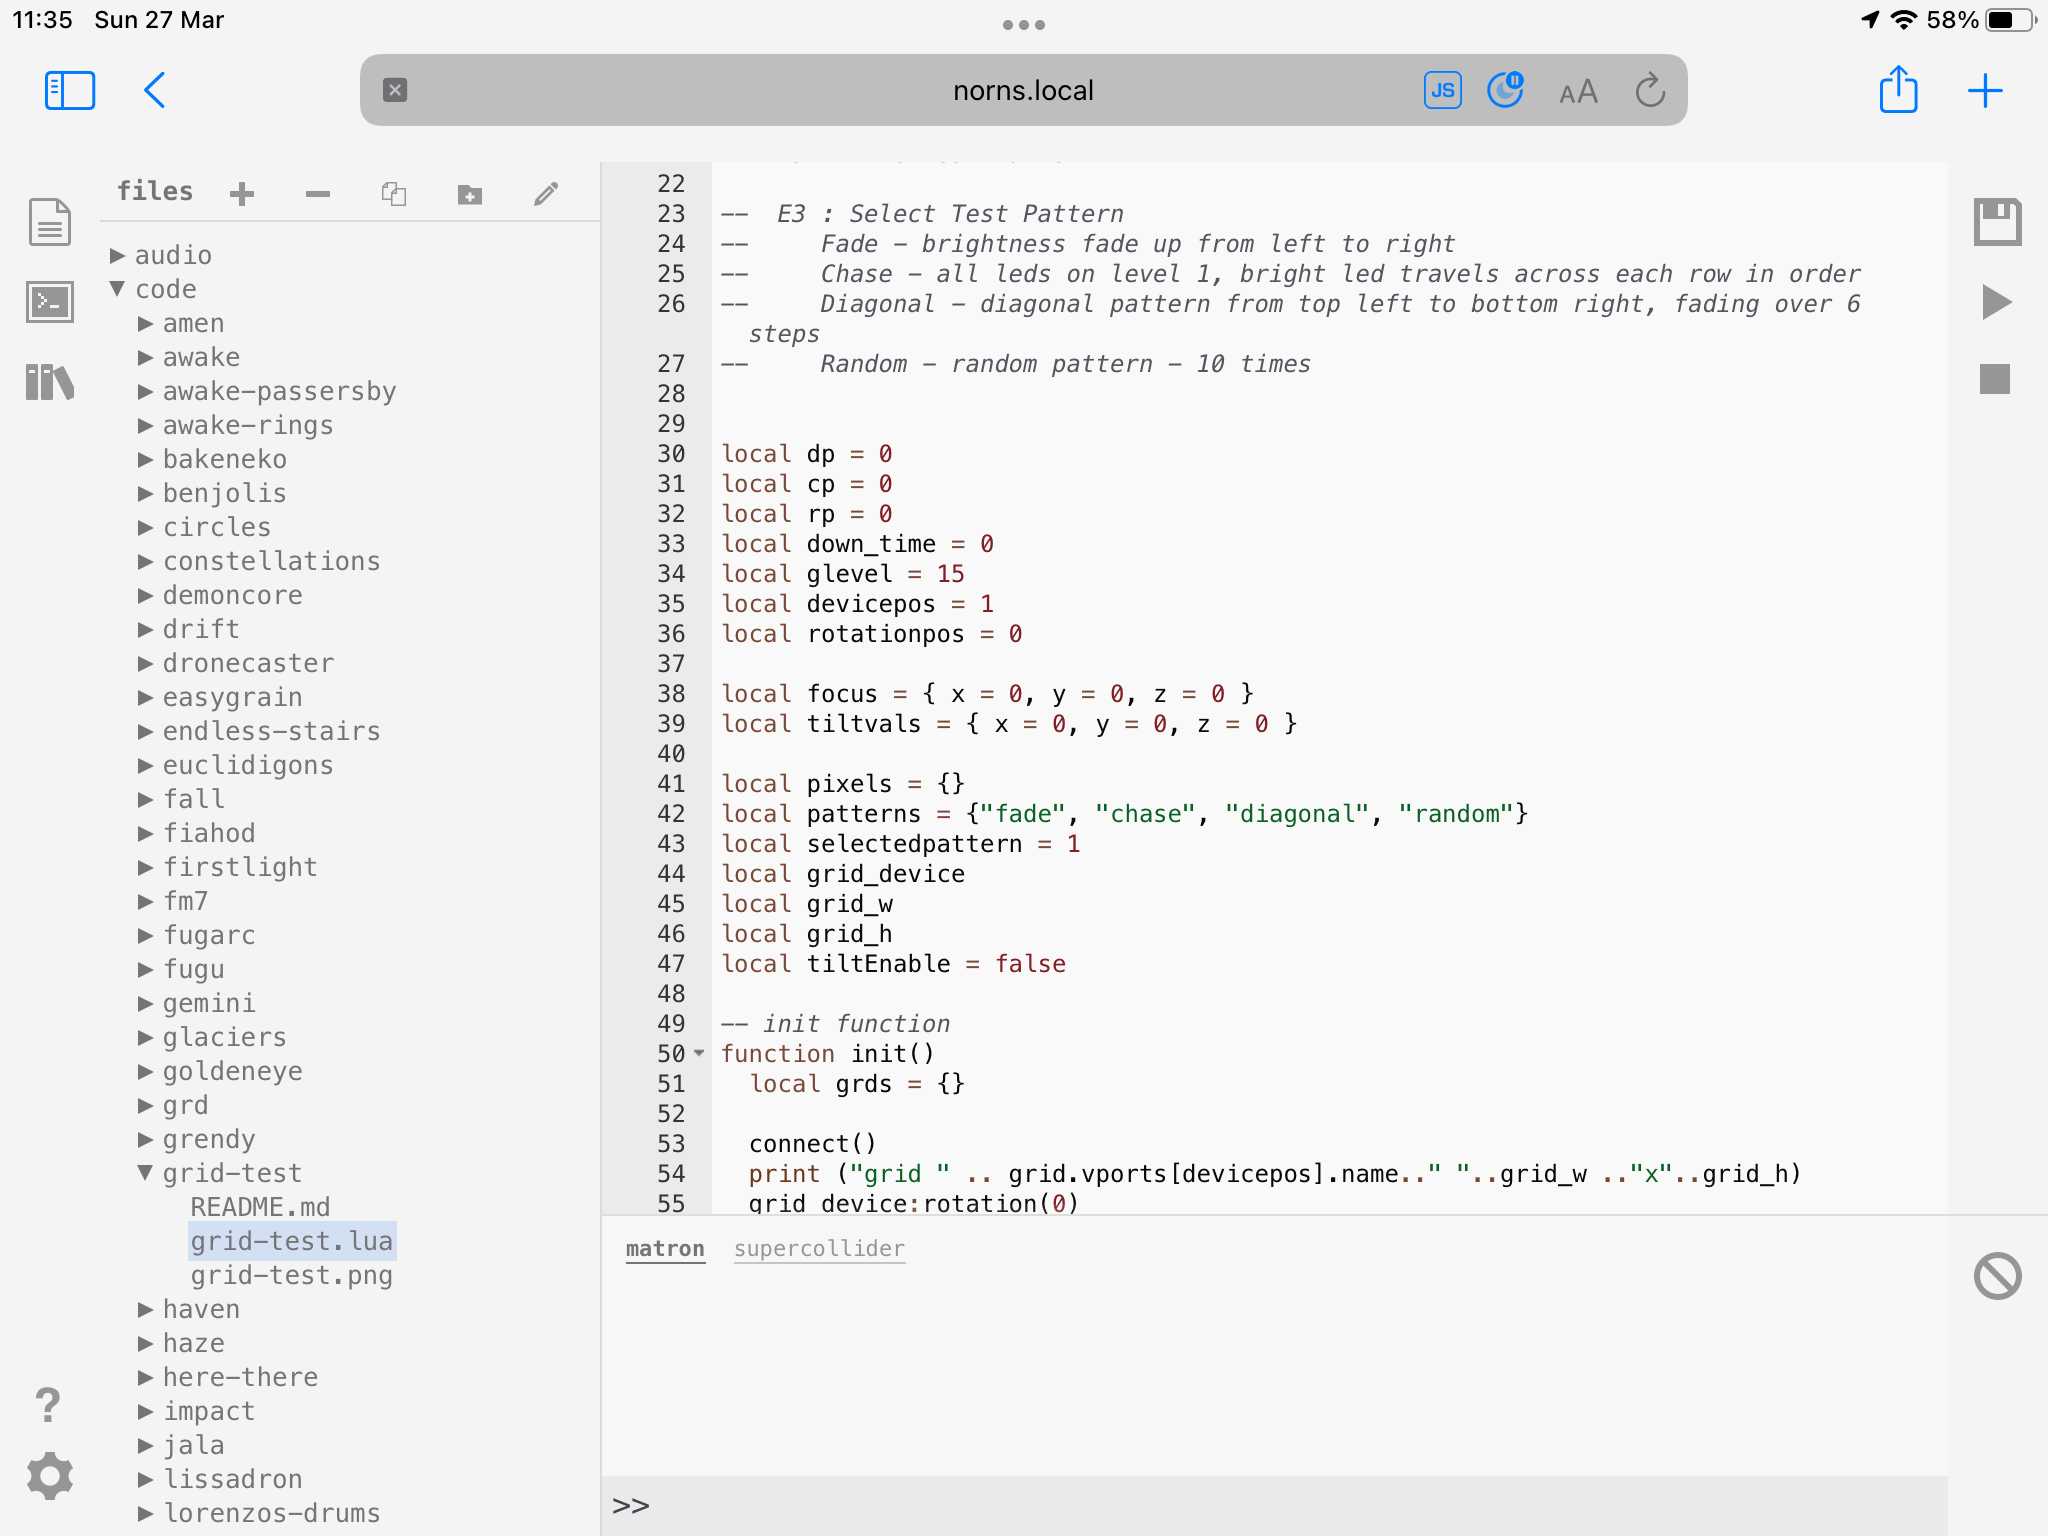
Monome provides regularly updated firmware images (I’m running release 220306, which was released a few weeks ago), and once you get it running and on your network (where it defaults to showing up as norns.local), you can use its web interface (called maiden) to edit Supercollider or Lua scripts, manage libraries, install new packages off lines, play back recordings, etc.

A Note On Grid Controllers
One thing you should know is that The Norns is supposed to integrate with Monome’s Arc and Grid controllers (and many scripts assume you have one of them), but there are a number of third-party add-ons out there to get it to work with other grids like the Novation Launchpad.
I’ve started hacking on a “soft” Grid, but as usual time hasn’t been on my side at all.
My Case Build
While we waited for parts to arrive, I came across a very nice case design on Thingiverse and decided to run it through my Prusa, which resulted in an acceptable but unpolished print (the layer lines were clearly noticeable, for starters):

Before I got the actual shield from Luis, I took the time to do some test fittings as I sanded it down and began evening out the surface:

I then got some spray-on filler, and the painstaking work of filling the layer lines, sanding and painting began.
Total time: 4-5 hours to print, around three times that (spread over a couple of weeks) patiently sanding with 120 and 400 grit paper, applying primer and a few coats of paint and waiting for things to dry before trying again.
I took my time and did more, lighter coats for a nicer finish. That is the safe and sure way, and I learned that the hard wat after melting away a coat of primary by not allowing it to dry.
On the whole, it was quite fun and I found it a welcome, almost therapeutic excuse for spending some time “outside” on the balcony during yet another round of COVID restrictions (actually getting some sunshine in 20-30 minute sessions near my lunch break) and it clearly paid off–I got a nice, smooth matte look with a subtle textured finish:

I also printed, sanded and sprayed the knobs (which can be seen in the top photo), tacked on four little domed translucent rubber feet, and everything was pretty much done.
Pluses and Minuses
My impressions of it in five bullet points:
- The Norns is huge fun. You can literally spend hours just experimenting and fiddling around with it, even without anything else attached, and some community scripts are works of pure genius.
- You can record anything you do on the Norns itself (you get a built-in mixer, recorder, preset effects, etc.).
- However, it relies too much on the first-party Grid and doesn’t play well with non-Norns MIDI devices out of the box–there are community hacks for a lot of things, but it would be nice to have those baked in.
- The UX can be bit fiddly, in the sense that you have to remember what each button and encoder does across each app, and buttons can also be held down for different lengths of time, so sometimes it’s hard to navigate.
- Finally, Supercollider can be obtuse in various ways. I’ve yet do to much but minor tweaks to some instruments, but its first-party documentation could be better (the Norns site is excellent, though).
But I do think it was more fun to build than the Zynthian would have been. I don’t think I’ll know any time soon, though because it is currently also impossible to buy a Zynthian kit, although I’m considering hacking something together.
Likely Improvements
The case lacks markings to distingush Line In and Line Out, and I’m loathe to use a permanent marker to daub little triangles on it, but if I were to do it all over again I’d have inset them using CSG on the raw STL file, since I end up mostly figuring them out by trial and error.
The only thing I would (and probably will) re-do are the encoder knobs, since the shafts of mine clearly don’t match the models I got and I had to spend extra time filing and widening the hole to fit them.
But, most importantly, since they are set on continuous encoders that don’t click, I might print octogonal or hexagonal knobs to give me some sense of how much I’ve rotated them.
-
I did hack one together with a Series 1 Pi back in 2014, so that was always at the back of my mind. ↩︎