 Rui Carmo
During a few random lulls in work I finally went down the rabbit hole of building myself a custom keyboard. I had ordered most of the parts months ago, but only now got the time to clear out my electronics desk, dust off my hotplate, do a little soldering and begin 3D printing the case and keycaps.
This is a bit of a departure from my usual fare, but I keep building things, and even if some of them take an inordinately long time due to work, family and other interruptions, I am still going to keep at it. Given my love of keyboards, this was inevitable.
I chose the GEIST TOTEM as a reasonable compromise between my Bluehand (for which I also got new silent switches) and the Keychron K2 HE I have been using for the past year.
I did a lot of research before settling on the TOTEM, and even though it’s already been superseded by newer designs like the Delta Omega, the TOTEM’s design is solid, well documented, and has a good community around it–I had no trouble finding alternate PCBs, parts and firmware resources.
Plus it fulfills all my core requirements:
- Small size
- Ergonomic
- Silent
- Bluetooth
- Fully configurable (I plan to flash it with ZMK firmware and use ZMK Studio)
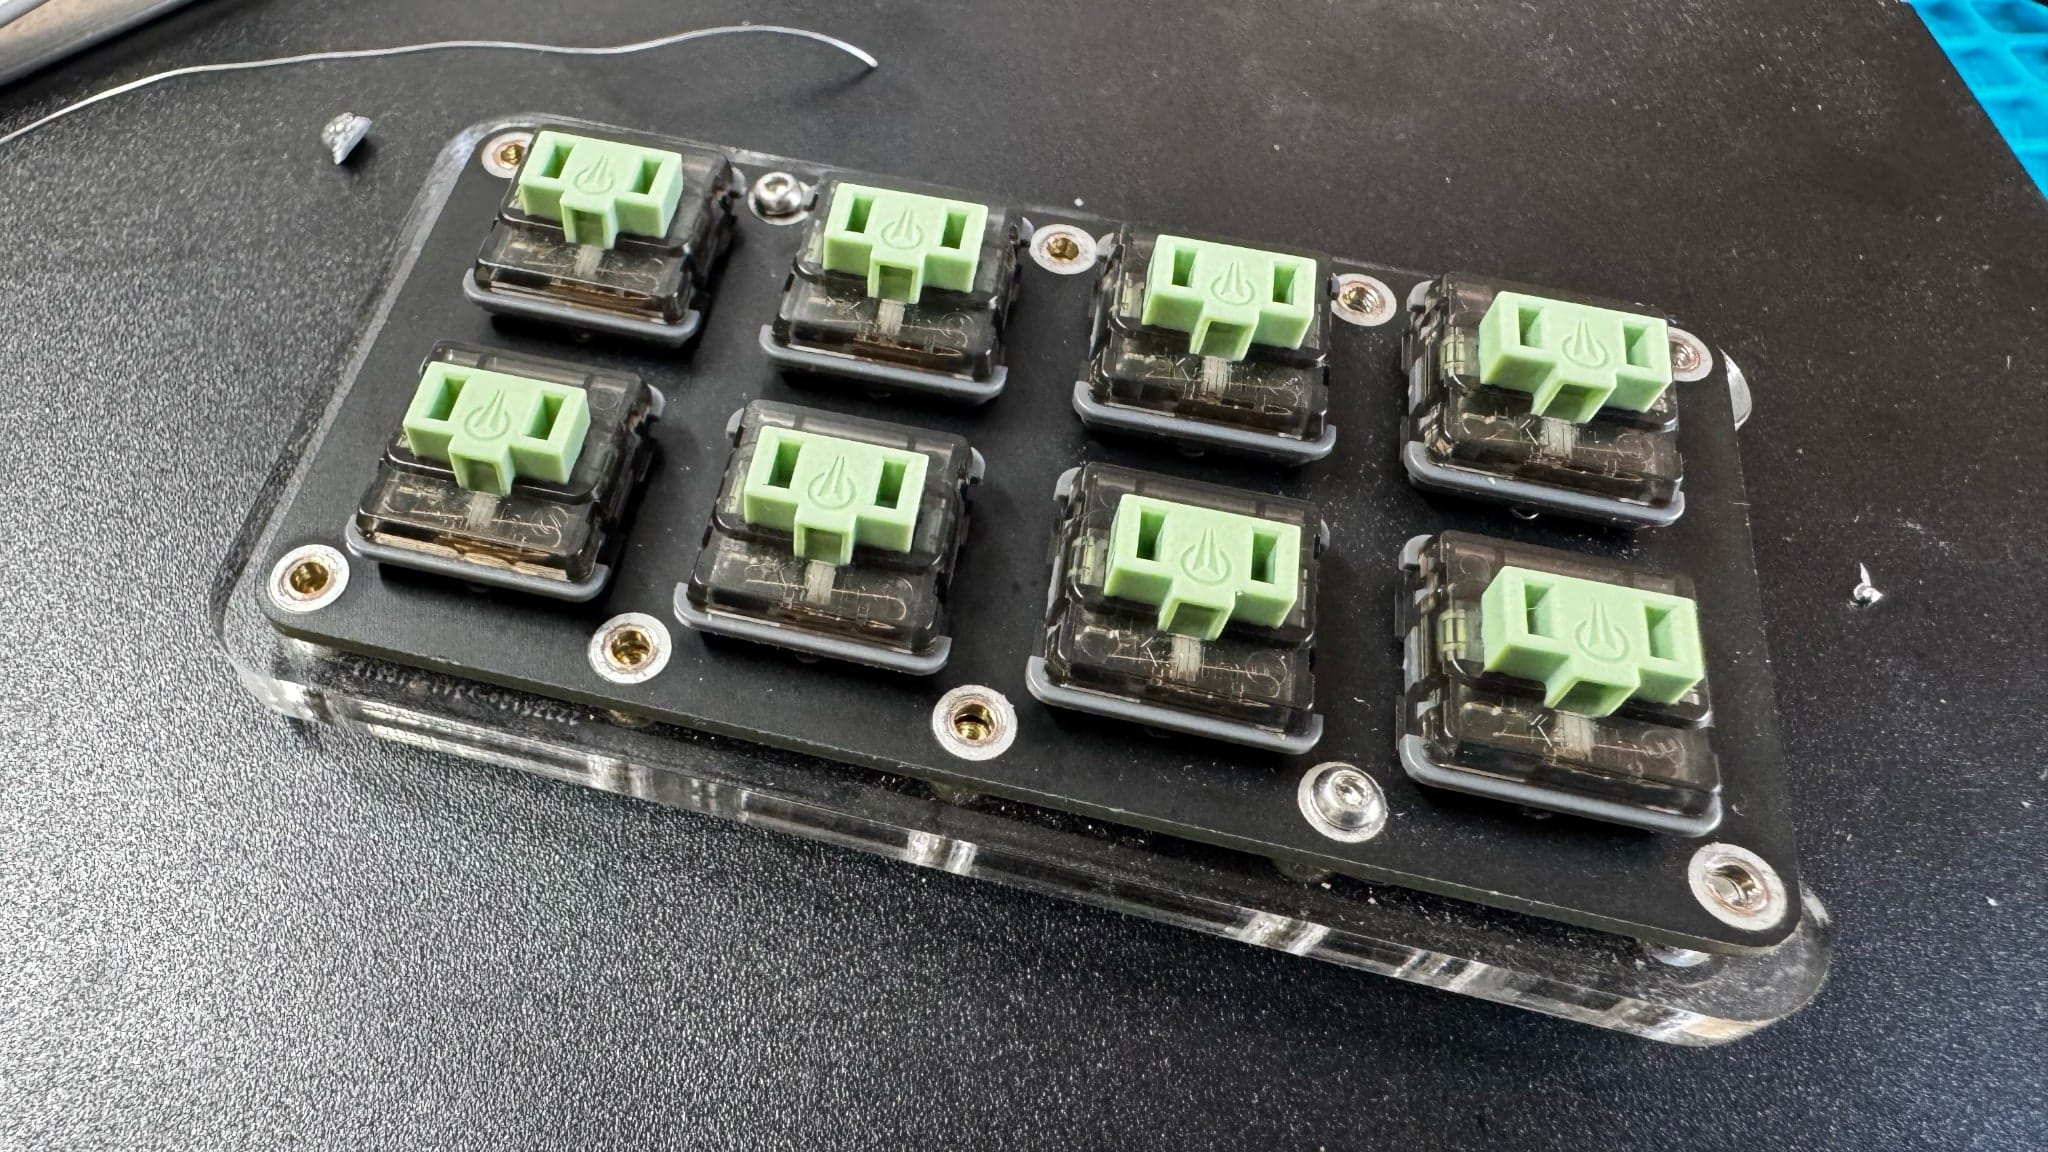
Right now I only have one half partially assembled and tested. As with most electronics projects, even thoroughly tested designs are best rehearsed on a sacrificial board to make sure the final product is perfect, so I’m taking my time.
I also took my time setting things up: trying out my new SMD hot plate, figuring out the best way to place my soldering microscope, and printing the keycaps.
It already looks reasonably decent:
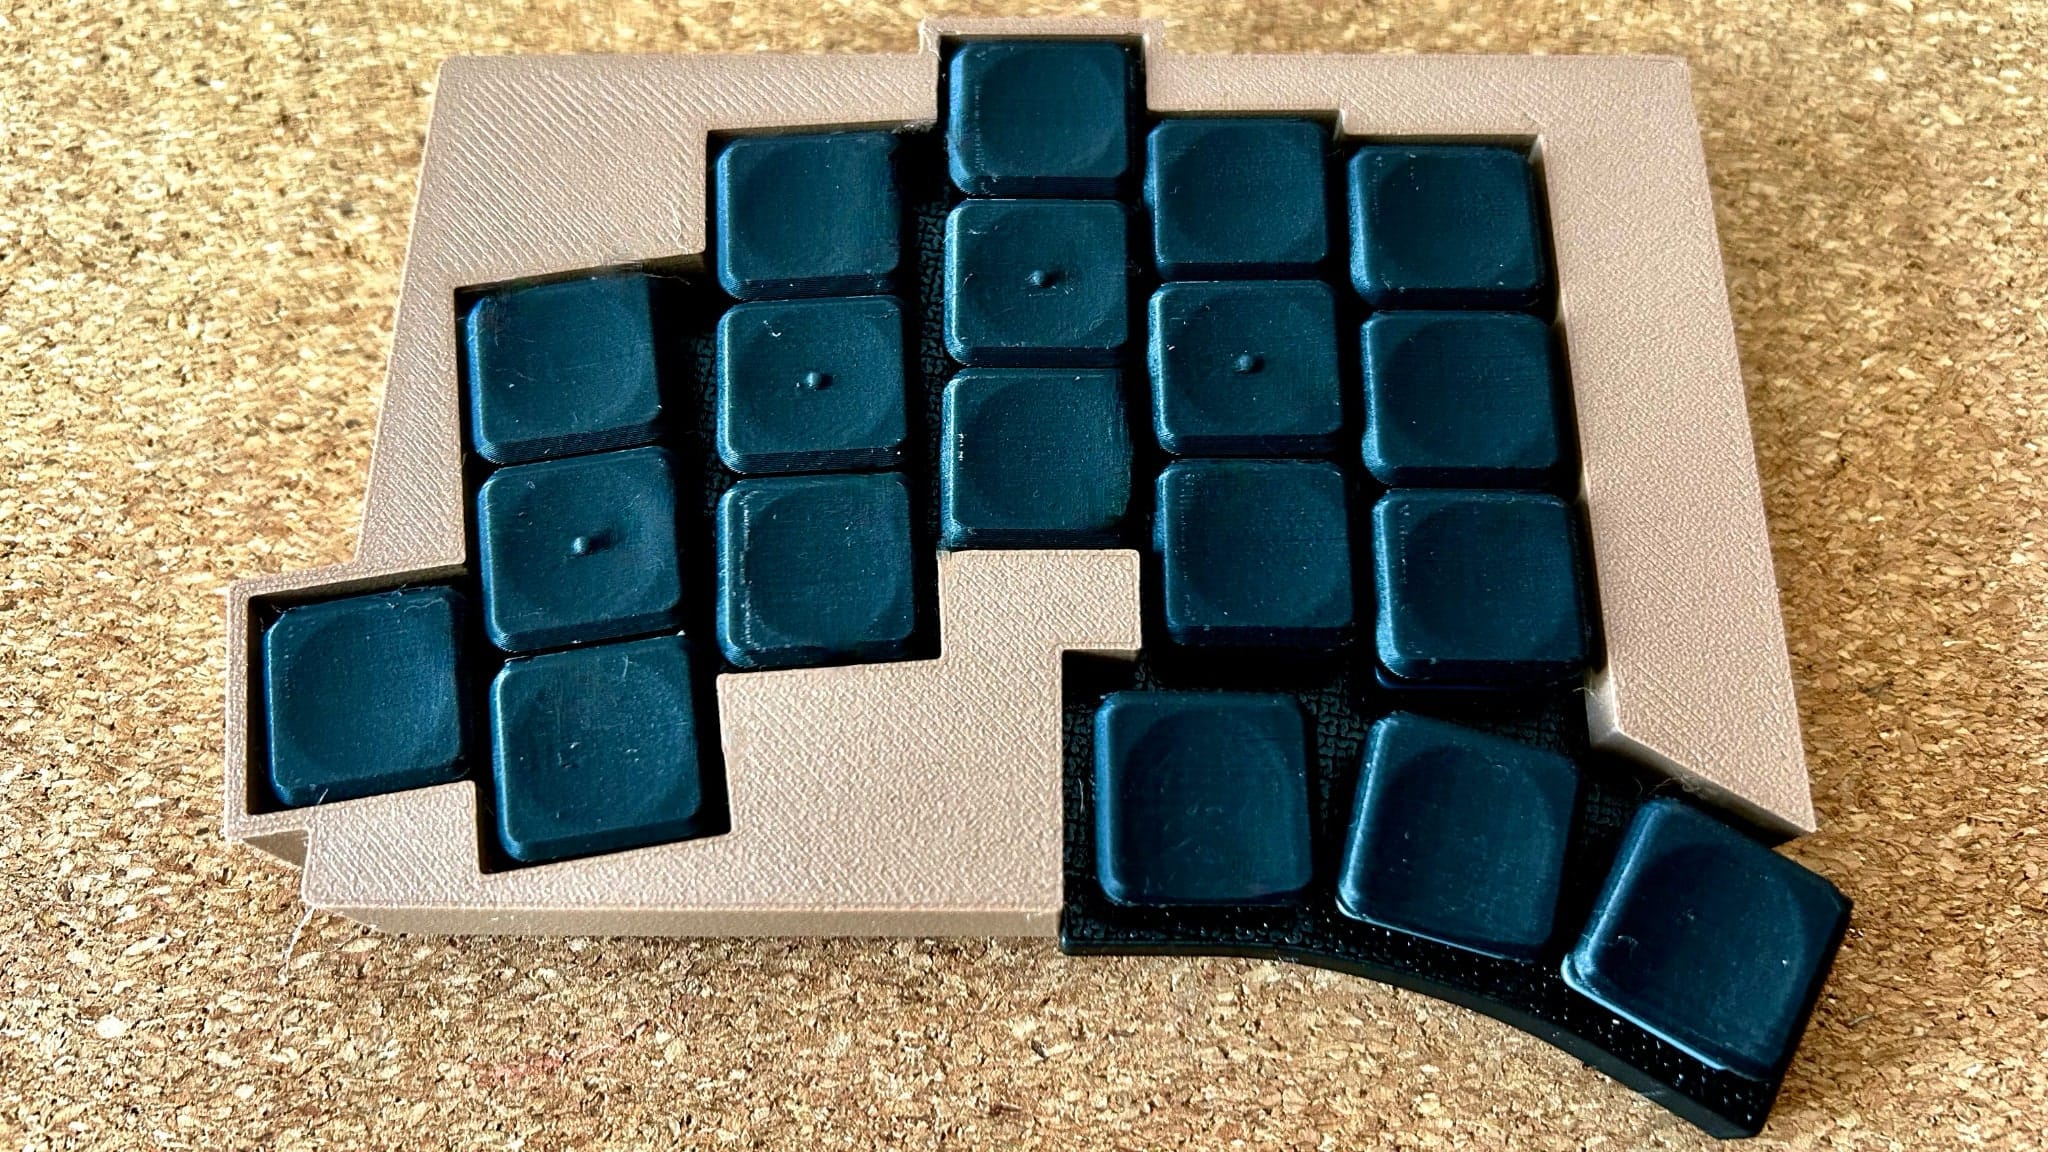
I’m not completely happy with the Eryone “Dark” Wood PLA. It does smell like wood when printing, but can’t be tinted afterwards and certainly isn’t “dark”. It looks OK in real life, but expands slightly above 180°C. It took me quite a while to tune printing for a finish I won’t be embarrassed by.
Since the drab brown look is not to everyone’s liking I’ve already decided there will be a Severance-themed version in shades of blue. I have five PCBs and at least one of my kids is interested, so I can build more than one keyboard.
The matte black I’m using for the keys is a pain to print. I picked these specific keycaps because they feel great and can be printed vertically. To get decent quality I need a 0.12mm layer height.
Halfway through a test print I realized my SK1’s somewhat wonky Klipper setup (which I minimally tweaked to be more reliable than the factory one) didn’t have “exclude object” properly configured.
Cue: much finagling, reconfiguring and tuning of both my SK1 and my KP3S Pro (including taking bits apart and putting them back together, both hardware and software). I’m torn between joining the “I just want to print” crowd and getting a Bambu Lab printer (tempting) or picking another inexpensive but more modern printer that I can tinker with.
It’s a tough choice. I’ve kept researching the AD5X, the Centauri Carbon and the Snapmaker U1 while looking at the current 3D printing market. I think it will likely take another year for toolchangers to become commonplace. The kind of multi‑material printing I want (not multicolor trinkets) will take a while to become standard.
The good news is that I’m having fun. Since I ordered an extra ten Ambients Silent Choc Switches, my Bluehand is now whisper quiet without the extra hacks I did to the original silver switches:
I’ll post more on this soon, likely once I have both halves of the TOTEM built and I’ve acclimated to using the layout.