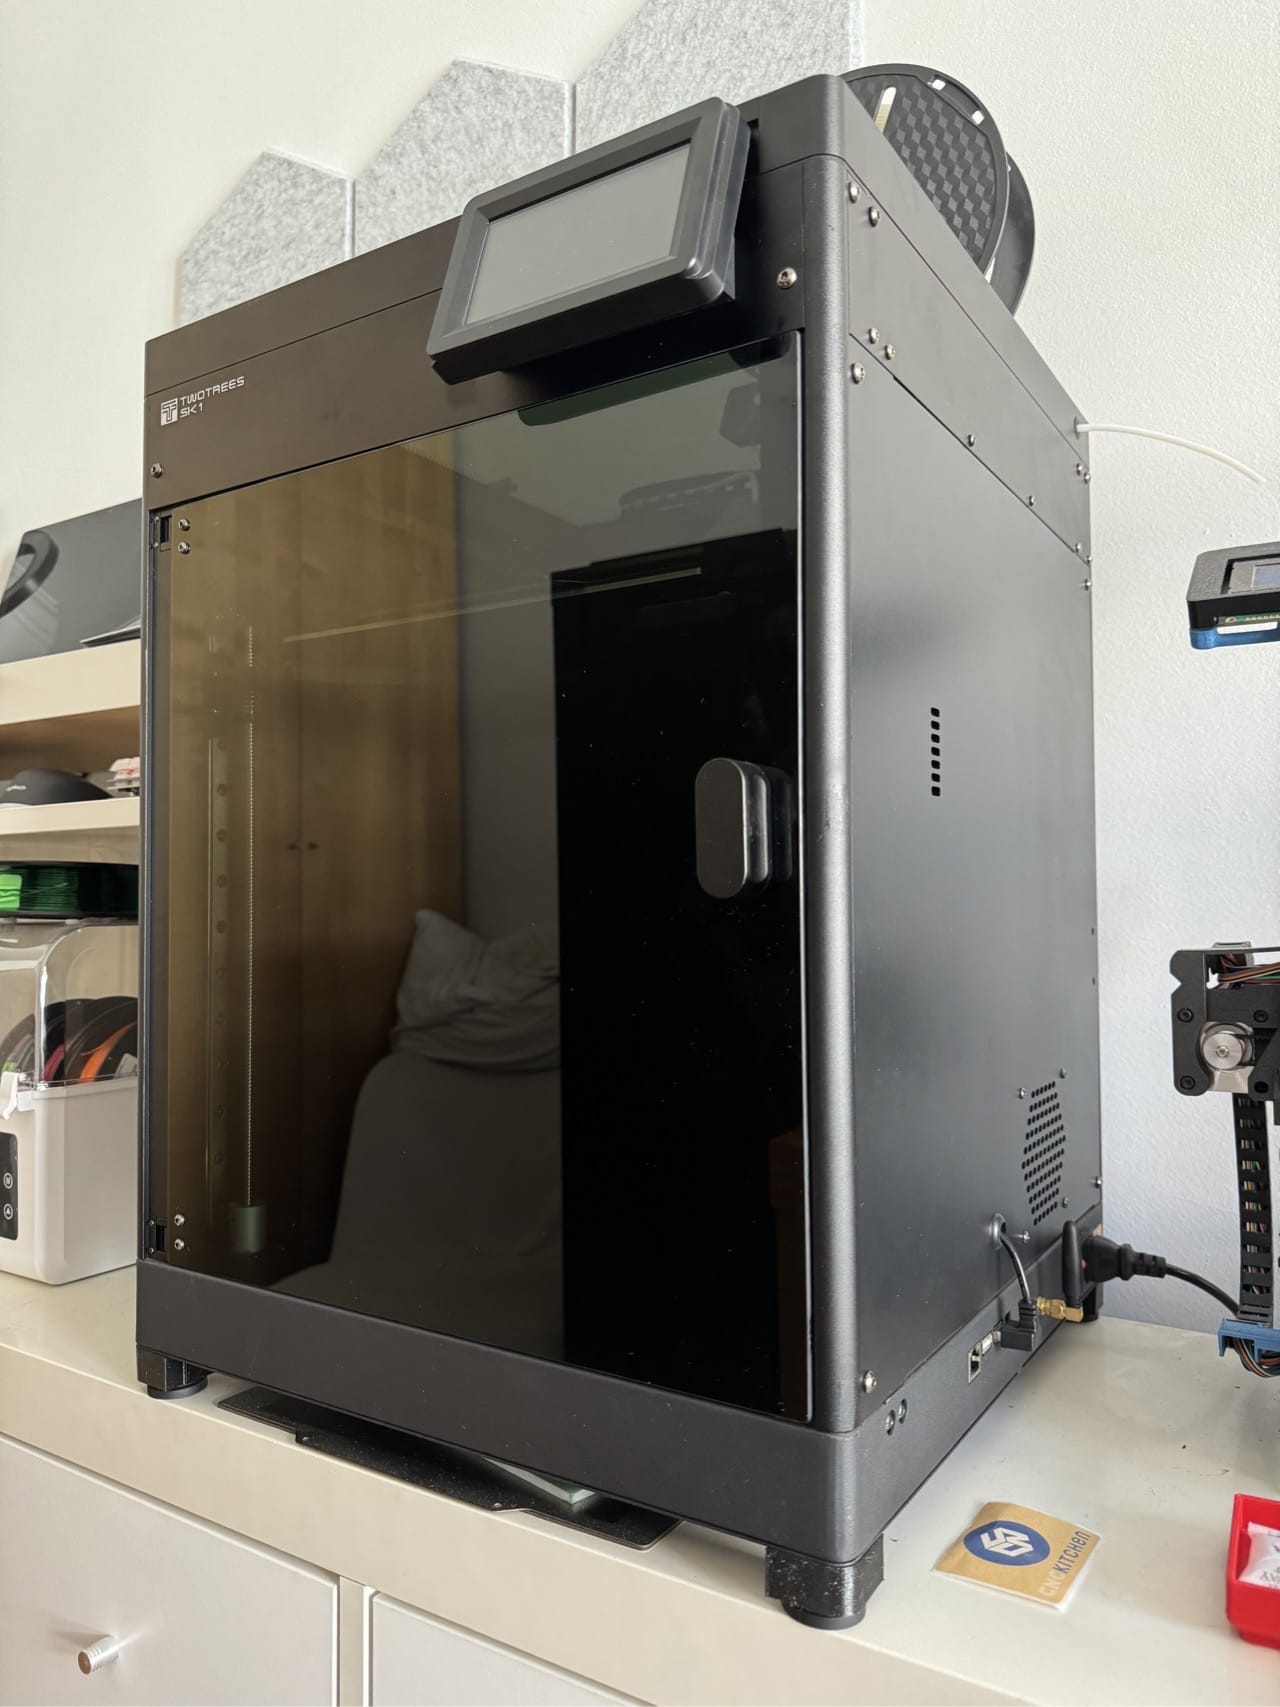
This weekend I took the time to assemble the enclosure for my TwoTrees SK1 CoreXY 3D printer. I had been looking forward to this for a while, but I had to wait until I had a few hours to spare and a clear workspace to do it.
Disclaimer: TwoTrees supplied me with a full enclosure kit free of charge, and as usual this piece follows my review policy.
It took me a little while to get around to assembling it, but the results were well worth it:
A Short Recap
I’ve been using the printer for the past three months, and it has been a solid workhorse:
- After an initial round of tweaks, the Klipper configuration is now working fine. Like I wrote on my review, I’ve treated this like an appliance and have refrained from upgrading Klipper manually up to now, but I made sure that the configuration was easy to maintain.
- After adding an additional screen running standard KlipperScreen to it, I also upgraded the firmware to
2.0.2.17without any real trouble. That was a fairly simple process, and it also brought support for the extra fans that come with the enclosure. - I haven’t yet been able to replace the part cooling fan on the print head (TwoTrees sells replacements of all other fans on their shop except that one, and I never really got support to understand what part I was referring to). It works fine, but the broken blade is still annoying.
- OrcaSlicer now ships with a built-in profile for the SK1, but that seems to have a number of issues–the most noticeable of which is fairly slow speed, so I reverted back to my custom profile (which was based on the original from TwoTrees). I’ve seen a few reviews that treat the OrcaSlicer profile as gospel and fail to consider attributing printing issues to it, so beware–at least in my case, that profile just wasn’t good enough.
- I printed out a set of TPU feet for the printer, which made it a little quieter and more stable (or at least limited the amount of vibration transferred from it to the furniture).
What little printing issues I’ve had with it have mostly been due to my aging stores of filament (I have some spools of PLA that have turned brittle, and the usual PETG tendency for stringing), and there have been no mechanical or software issues.
The Kit
The Kit came packed in a voluminous box, and consists of:
- Side and back aluminium panels
- Door and top tinted glass panels
- A set of aluminium extrusions to add a few centimetres to the top of printer
- Two enclosure fans (one for cooling and another for air extraction, complete with filter)
- Assorted parts (corners, hinges, cable guides, several neatly labeled sets of screws) and a couple of tools
- In my case, I also got the “AI Camera” (which is an add-on item)
I have zero love for unboxing and packaging shots, but this time I actually took a few:
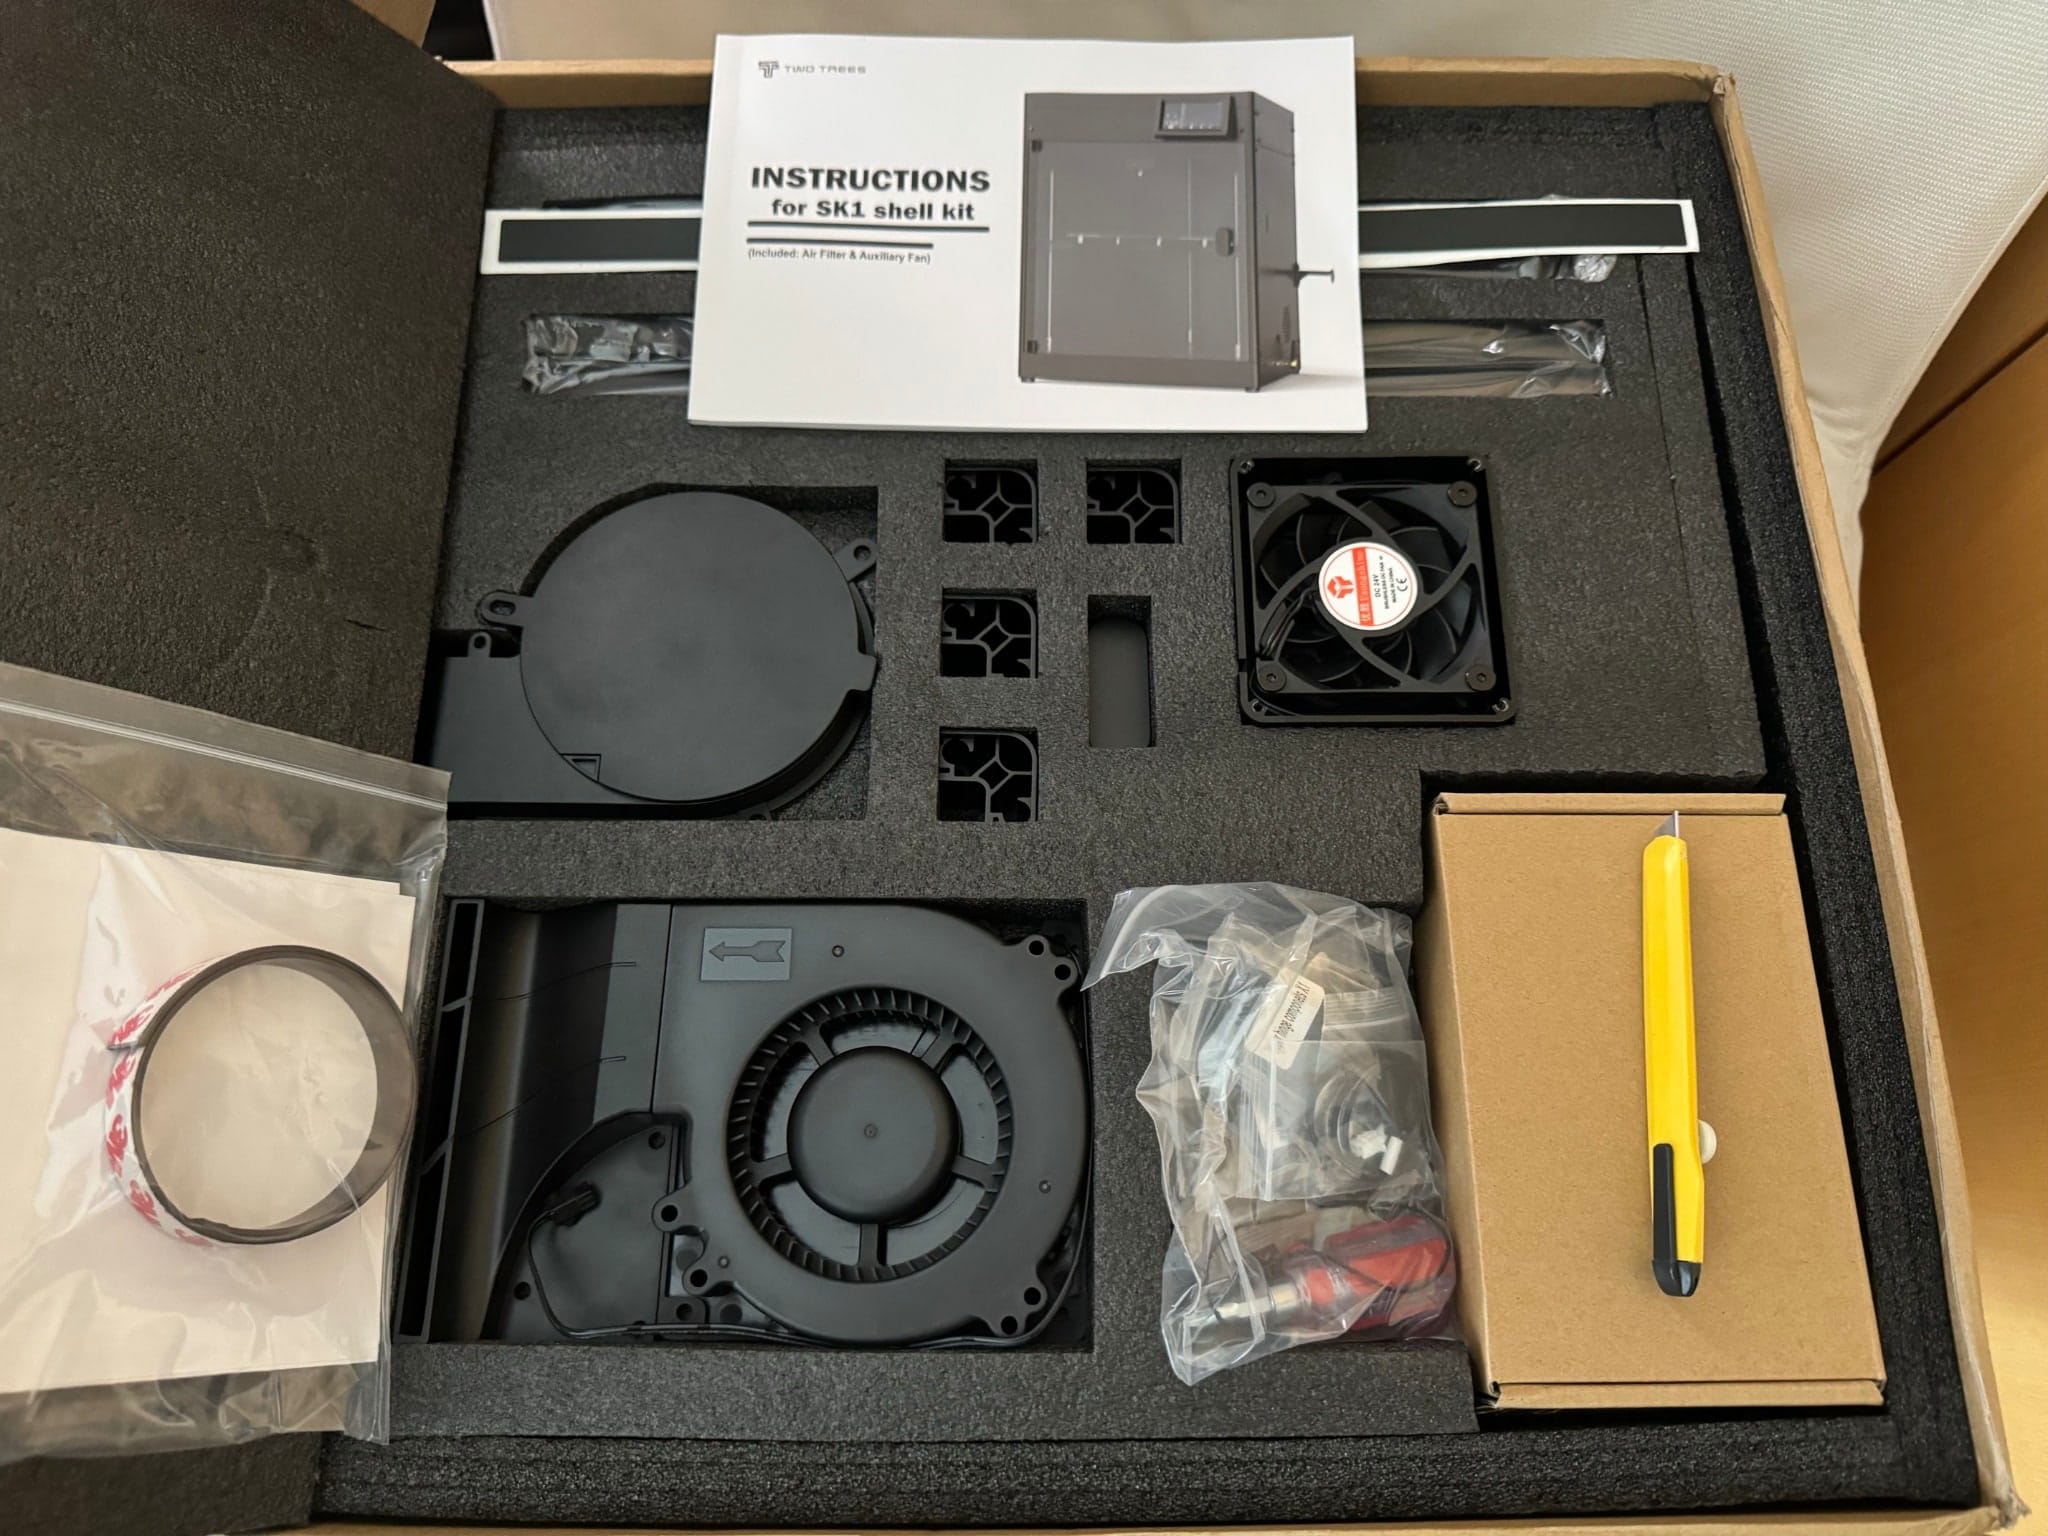
This is where, like with the printer itself, I started to get an overall feeling of build quality and attention to detail. The parts themselves are nice, sturdy, and were neatly stacked with spacers to prevent scratching.
Assembly
The instructions are actually rather clear (although, as usual with this kind of booklet, there’s always something that could be improved), but I didn’t do everything by the book because I lacked the space to do so. The assembly actually took me a while, but mostly because after the first few steps I had to find the time to move the printer.
However you end up doing it, I recommend you assemble the kit in a well-lit area and either on a large table or on the floor–the reasons for that will be apparent in a moment, but a key one is that you have to route the fan cables to the control board, so count on needing to pop the bottom panel off to do that.
I started out by assembling the right side panel, which is the one that holds the additional fans:
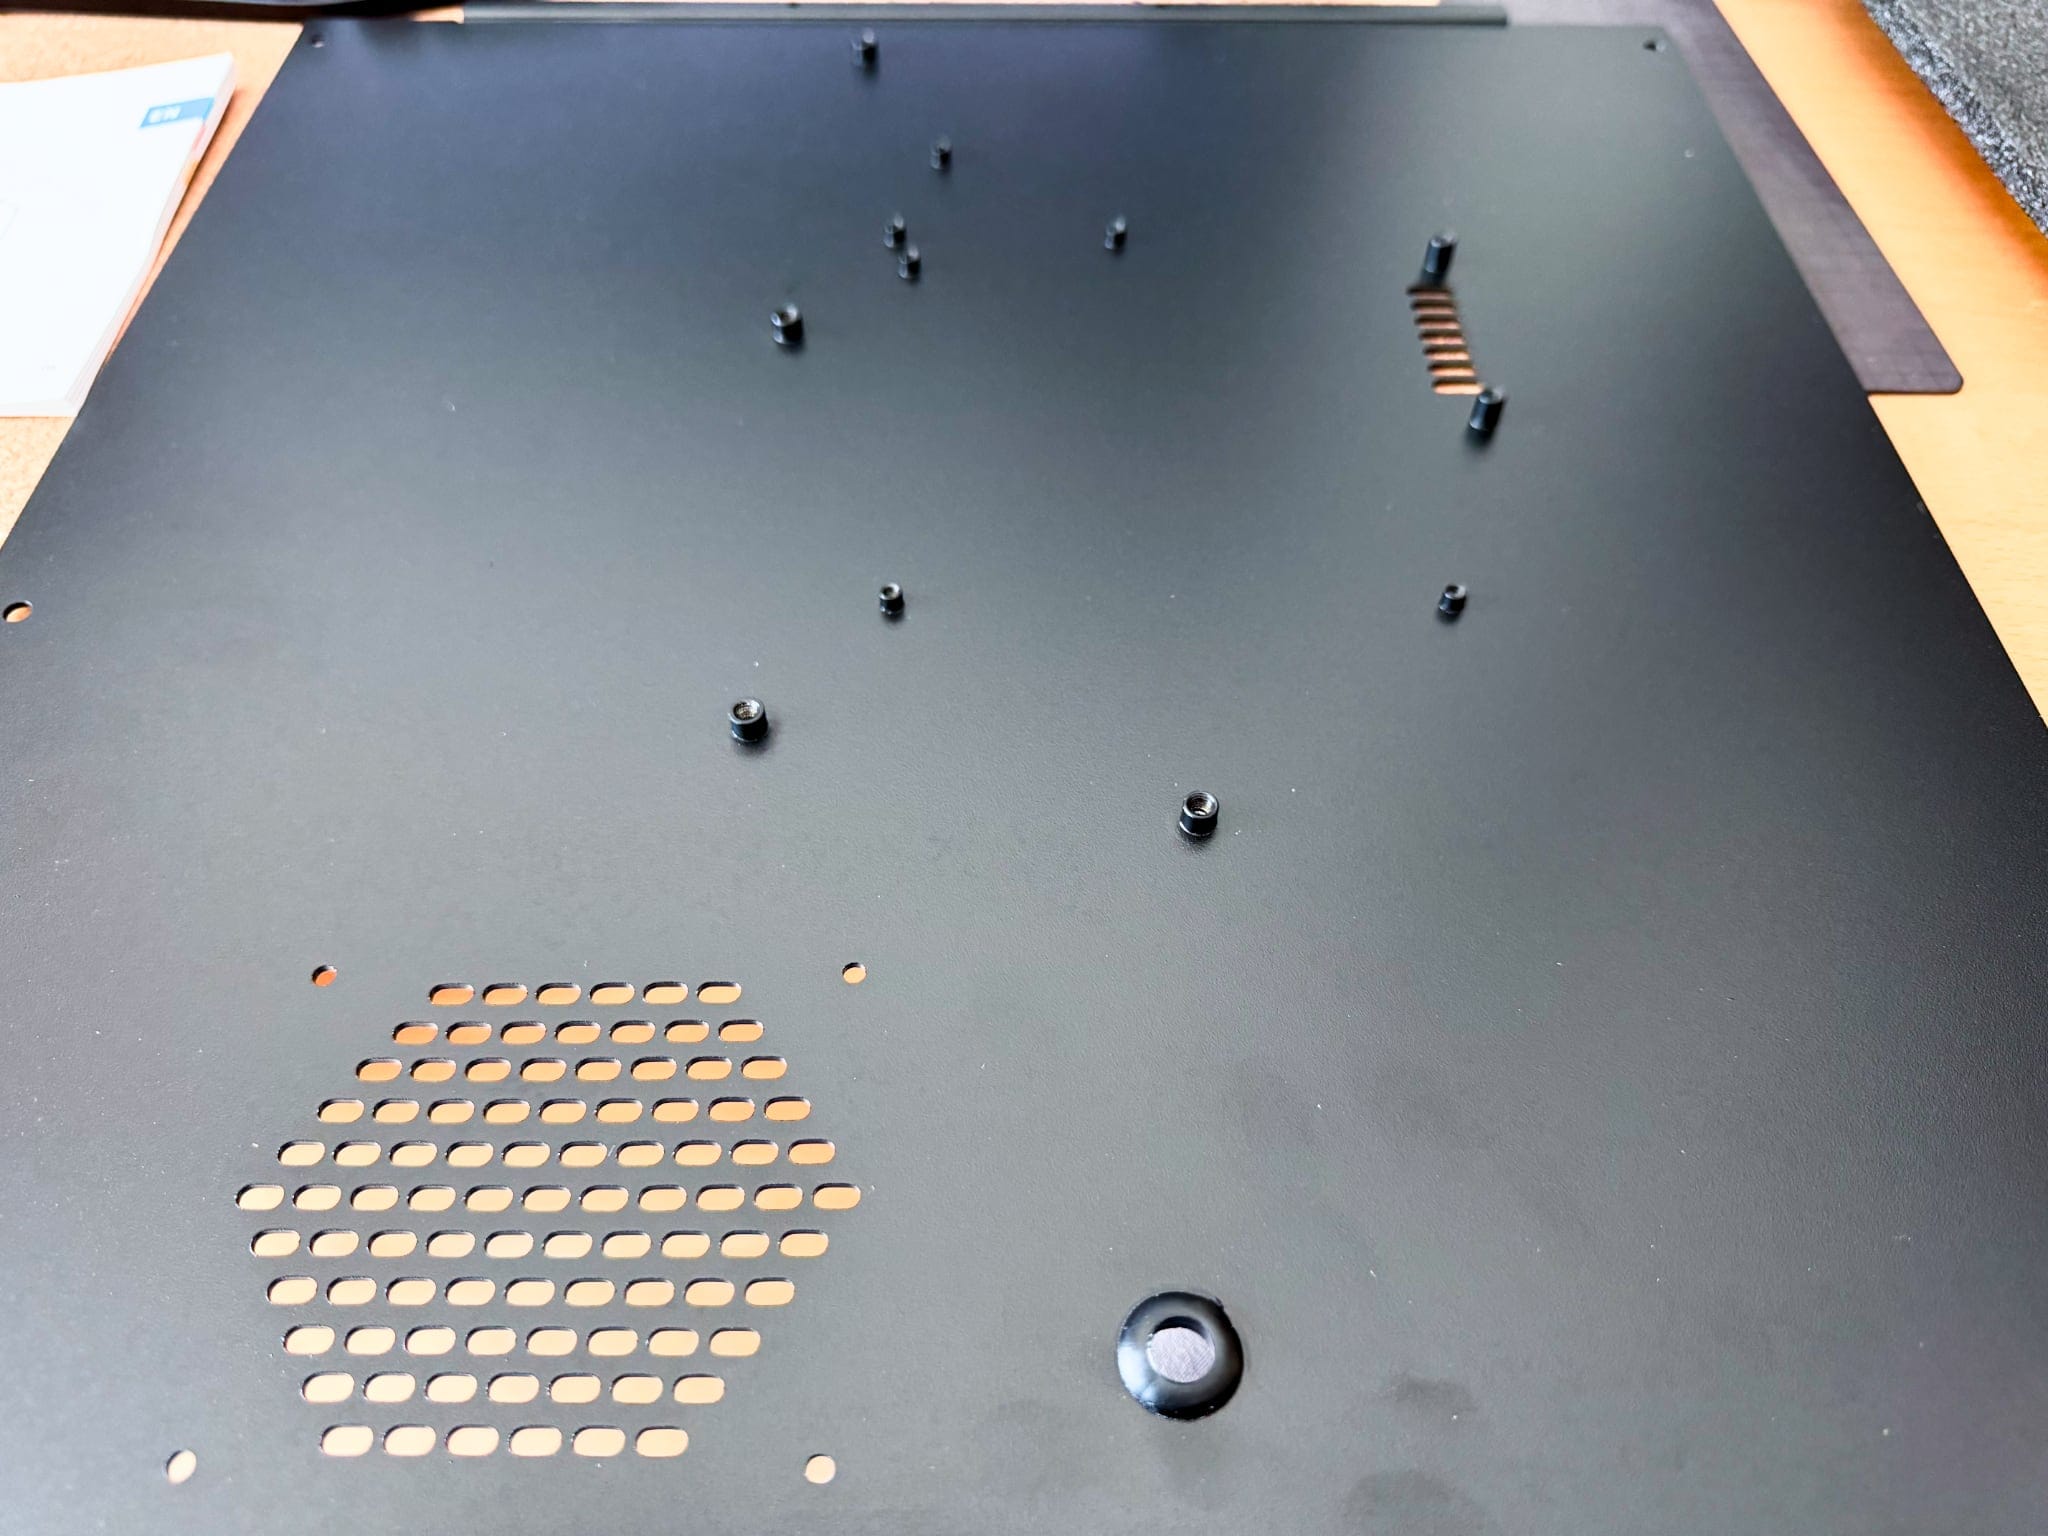
The additional cooling fan actually ships in two pieces, and mounts over a deceptively small air intake hole. The fan is held in place by a set of standoffs and the fan itself is screwed into the standoffs (so there are nearly no visible outside screws):

The air extraction fan is mounted via through holes with externally accessible screws–I suppose that’s because it makes it a lot simpler to mount an extraction duct and re-use the screw holes if you need to (this is the kind of build detail that I appreciate), but you will need to unscrew the internal panel to access the filter itself:
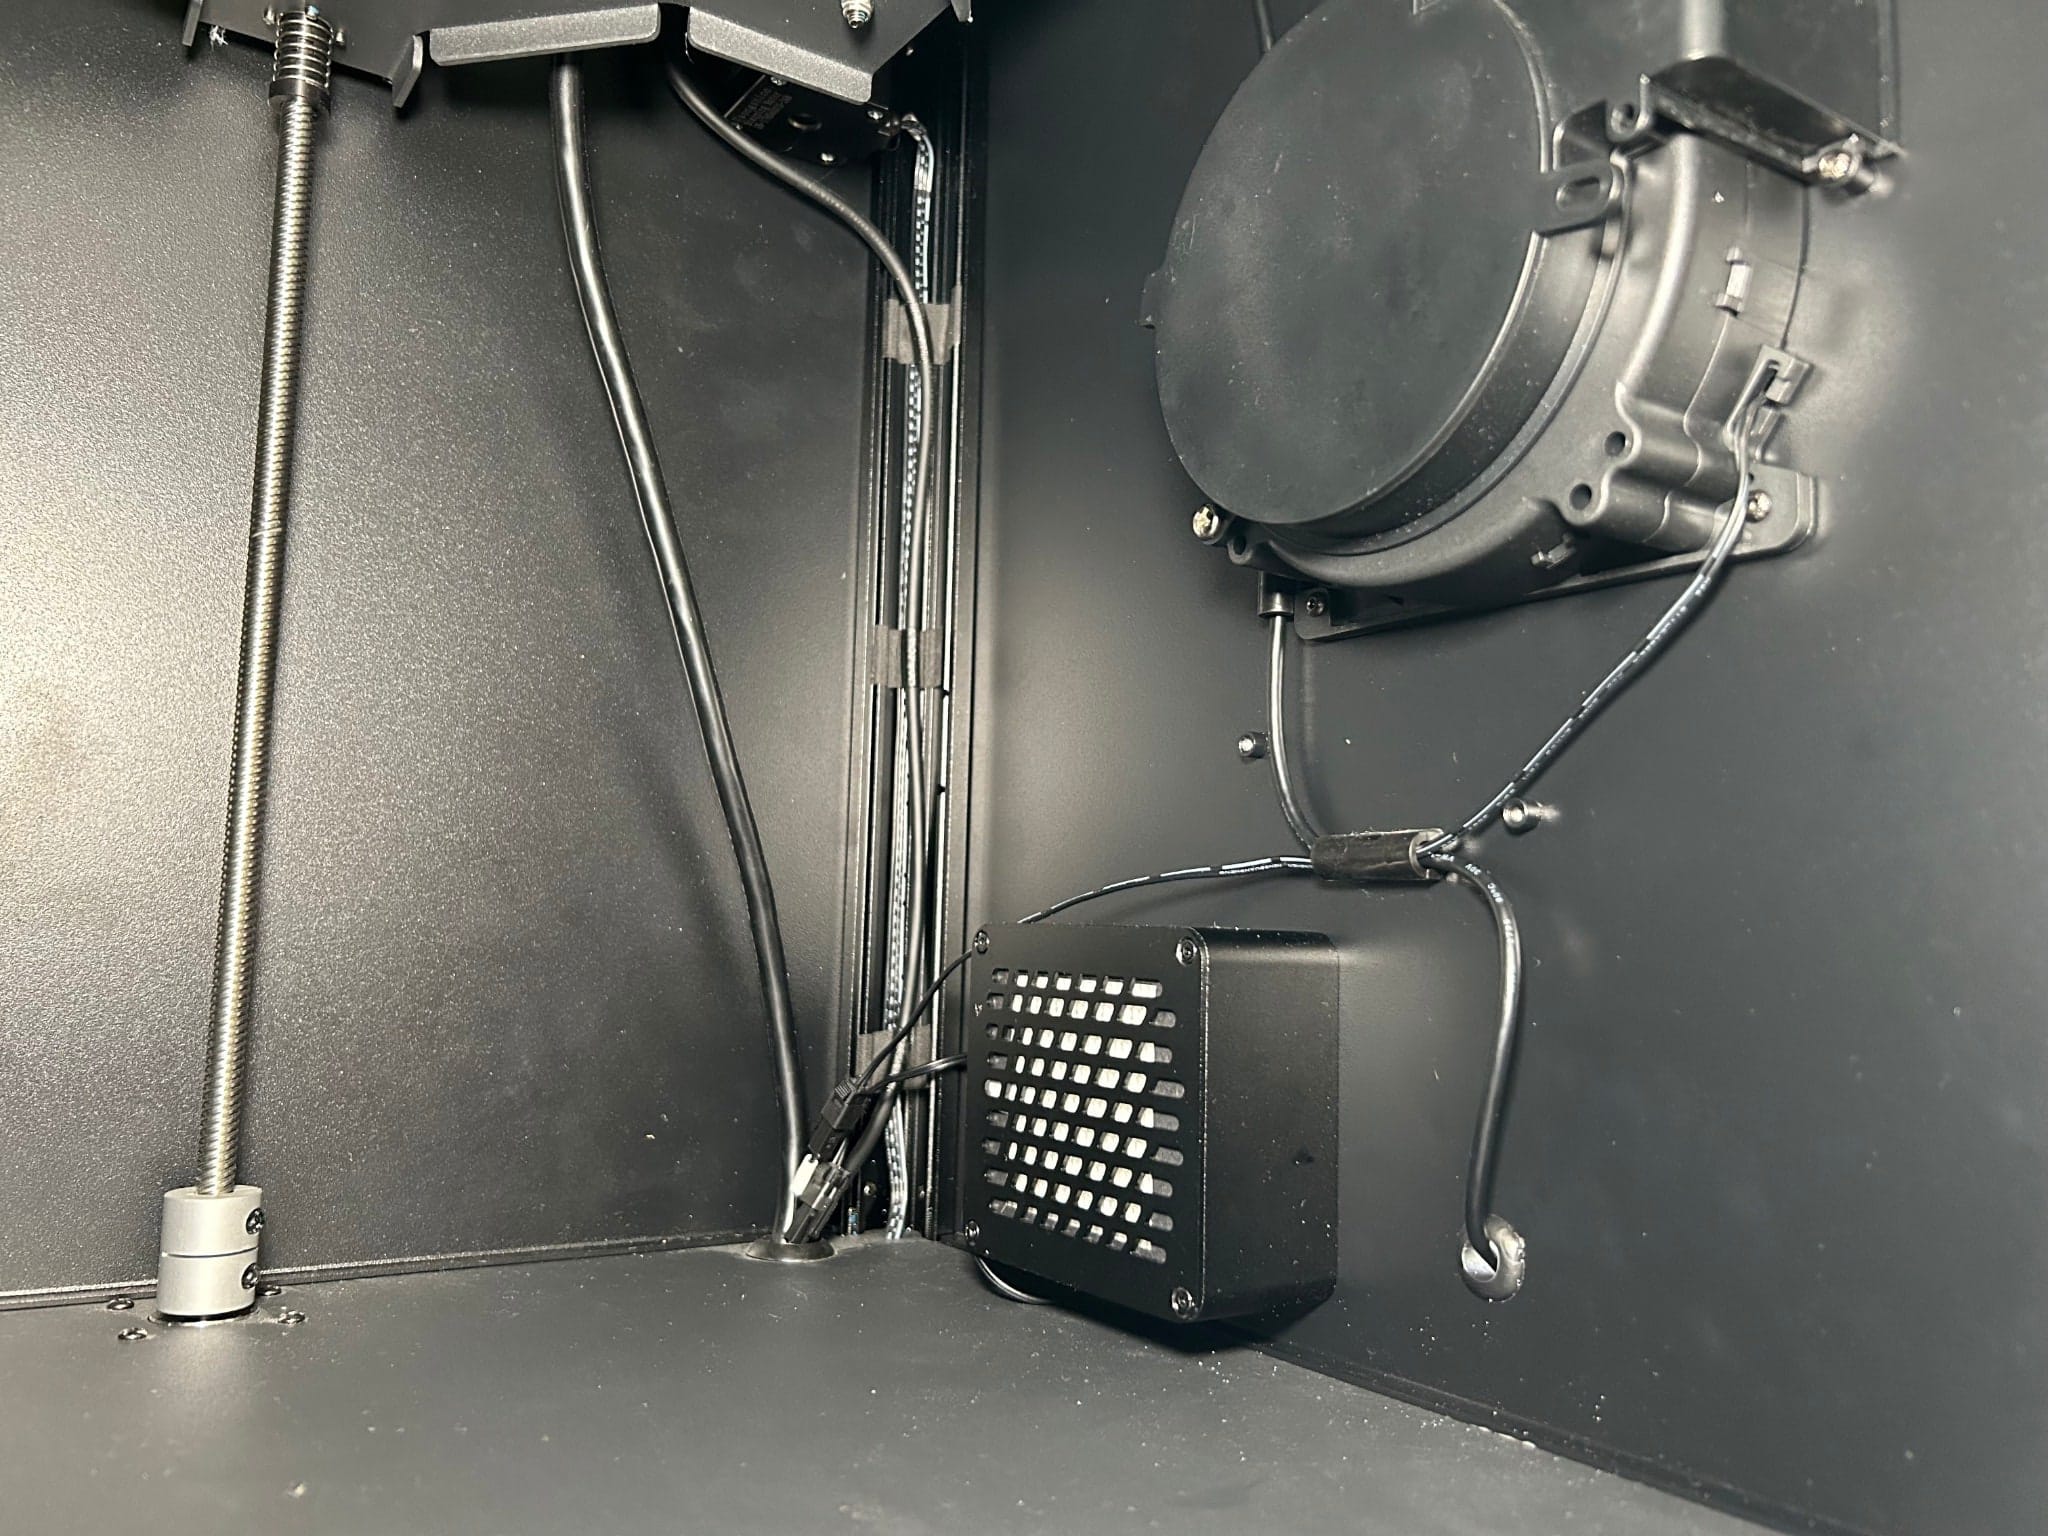
The cables for the fans are routed to the control board, which is located at the bottom of the printer. I didn’t take any photos of that portion of the assembly (you can see a close up shot in my review), but it’s a fairly simple matter of plugging in the provided extensions (the instructions are very clear on which connectors to use), routing them up through the corner hole and mating them with the fan cables.
This also makes it very easy to entirely replace the fans without having to pop open the bottom cable or disassemble the enclosure, which is a nice touch.
One thing that I thought was a missed opportunity, though, is that there is no enclosure temperature sensor–there seem to be enough spare thermistor ports on the control board, but if you need to monitor the enclosure temperature you will have to roll your own solution (I’ve already added that to my to-do list, but i’ll need to research the right kind of thermistor).
Top Assembly
I then removed my custom screen (which was held to the built-in one by a flimsy bracket I haven’t yet time to redesign) and started assembling the top extrusions which are held in place by a set of corner brackets that need to be screwed into the top of the printer frame.
This is where another detail that I appreciate comes in: the corners are designed to be held in using the existing screws, which I thought was a rather clever design choice:

The extrusions themselves slot into these, so I took care to leave the corner screws a little loose before assembling the rest.
One of the extrusions provides a routing port for the PTFE tube, so I had to fit mine back into the cable chain. I had removed it to make it easier to feed in filament and because I preferred to route the filament through the top of the printer to the other side, but I got a temporary spool holder I can place on top of the printer:
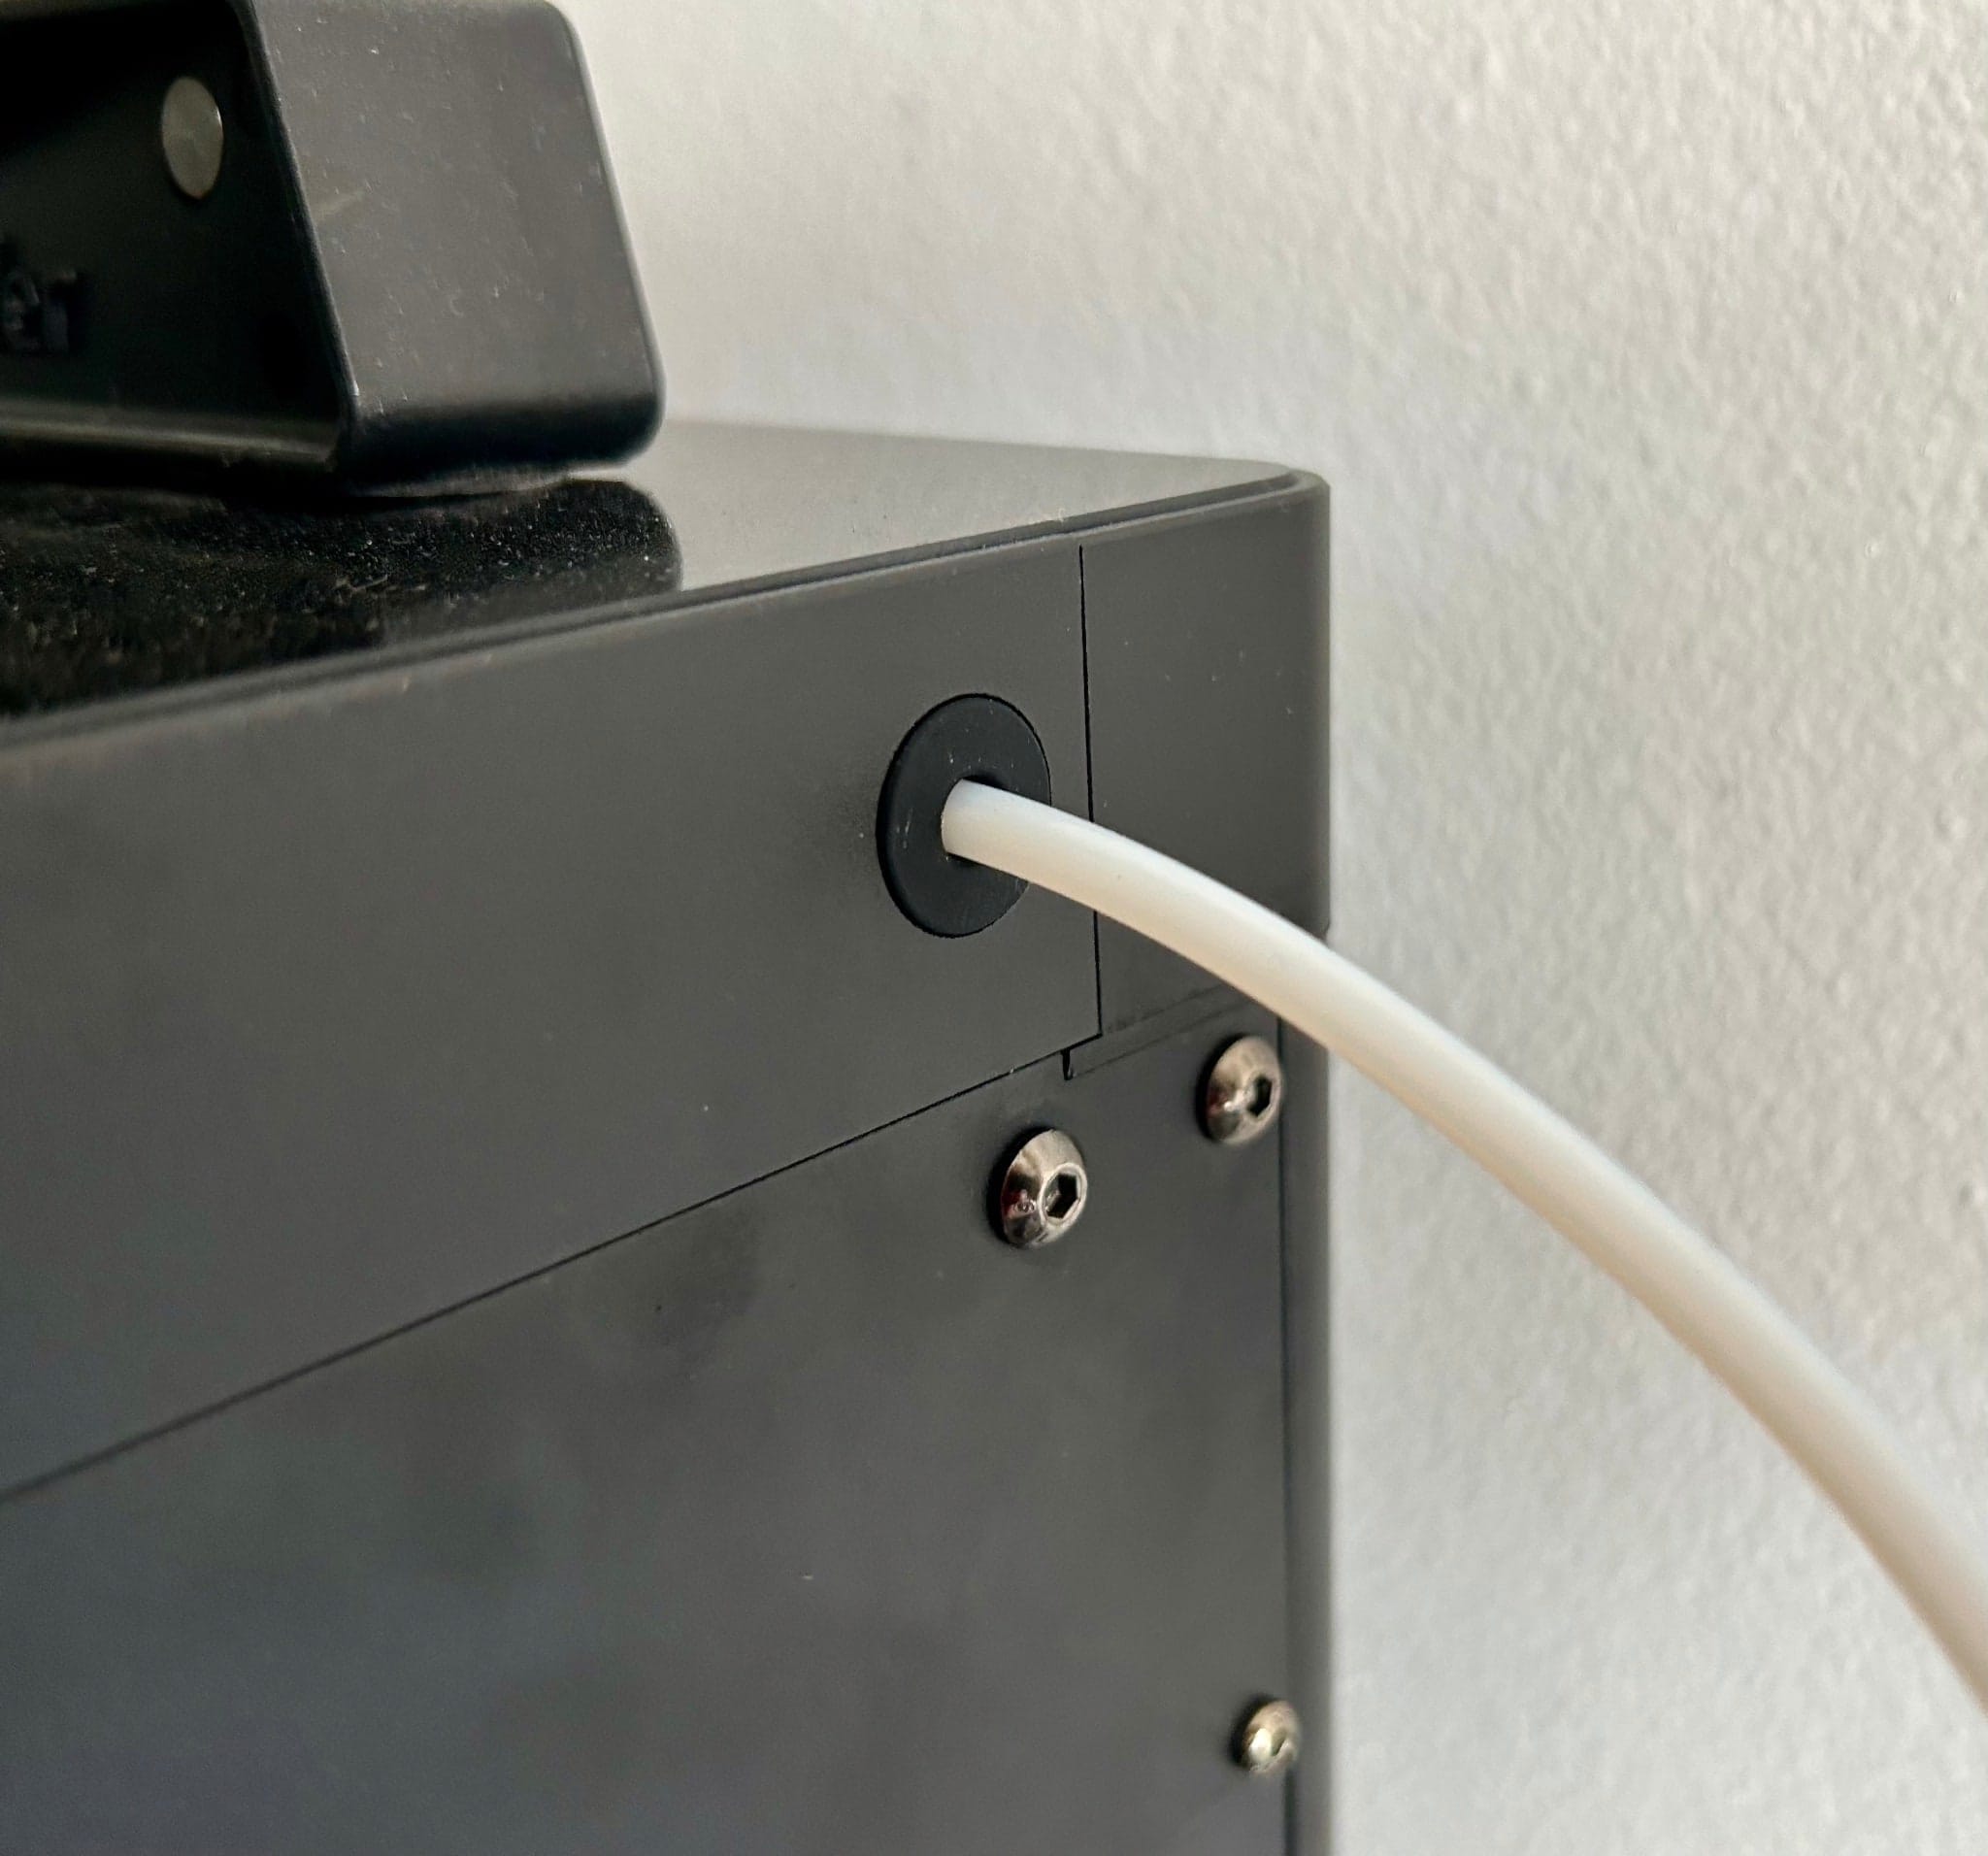
The top glass panel is simply dropped in and held in place by magnetic strips, and you can pop it off fairly easily if you need to. The tinted glass is a nice touch, but I found it a little hard to see through it, even with the internal LED strip on.
Panel Assembly
I found actually fitting the panels was much easier when I had the printer on the floor and I could lay it on its side, because the panels are all a very snug fit and even the slightest warping of the frame will make it hard to slide them in. Laying the printer down on its side helped with straigthening the frame, and I could just slide the panels in place and screw them in, after which I popped the bottom panel and routed the fan wires in.
Keep in mind that this is already a fairly heavy printer and you are adding a bunch of extrusions and panels to it, so you might want to get some help to lift it back up–this is the only time when I wished I had a bigger office and workbench…
Door and Hinges
The door is held in place by a couple of hinges that are screwed into the frame, and the door itself is held closed by magnets. The hinges feel somewhat flimsy, but they are more than adequate for the job, and you get a set of plastic washers to avoid cracking the glass when you screw them in:
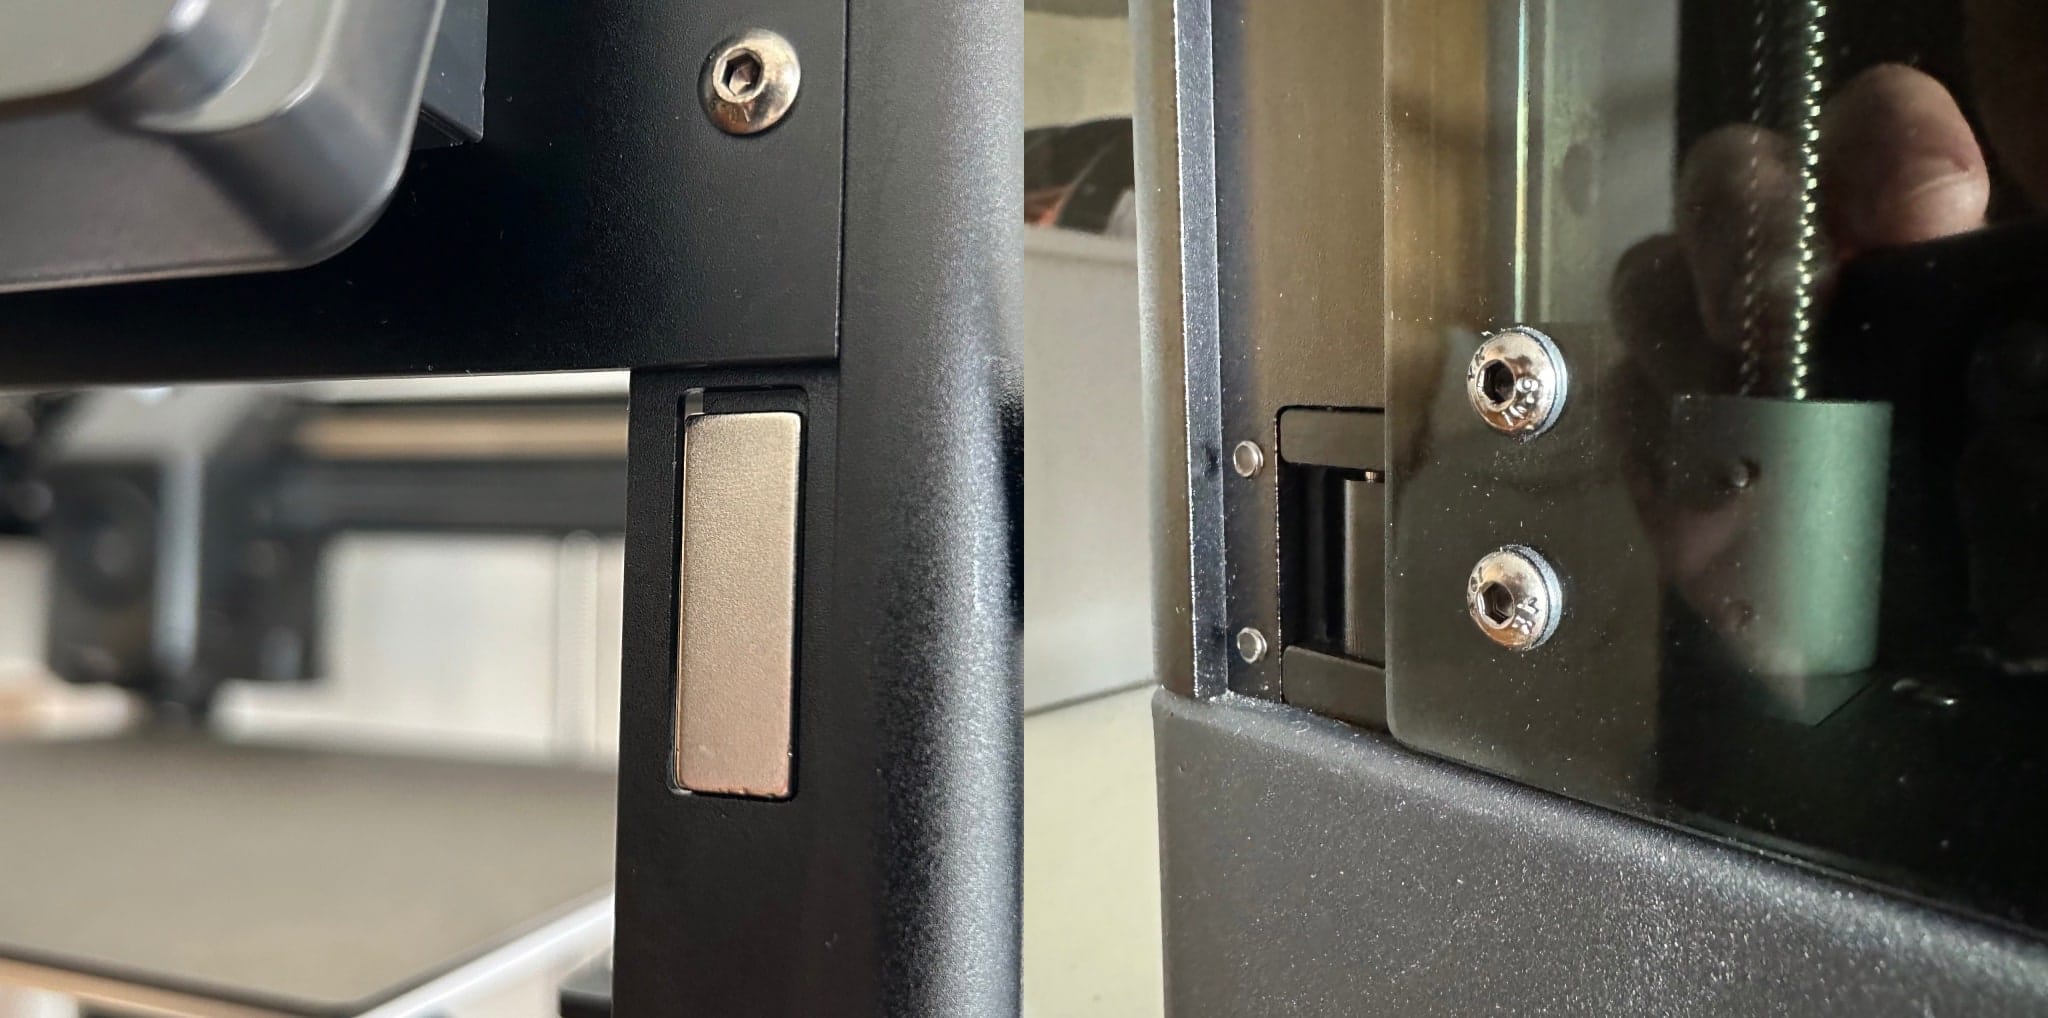
The magnets feel a little weak, though, and I would not move the printer around without taping the door shut. But the overall result is nice enough, and the door does its job. I also wish the hinges looked a little better (it looks as if there is a vertical strip missing on the left side of the door), but that’s a minor quibble.
The AI Camera
As part of the kit, I also got the “AI Camera” module. It is a full HD USB camera that mounts very neatly to the inside of the top extrusion and provides an unfettered view of the build plate:
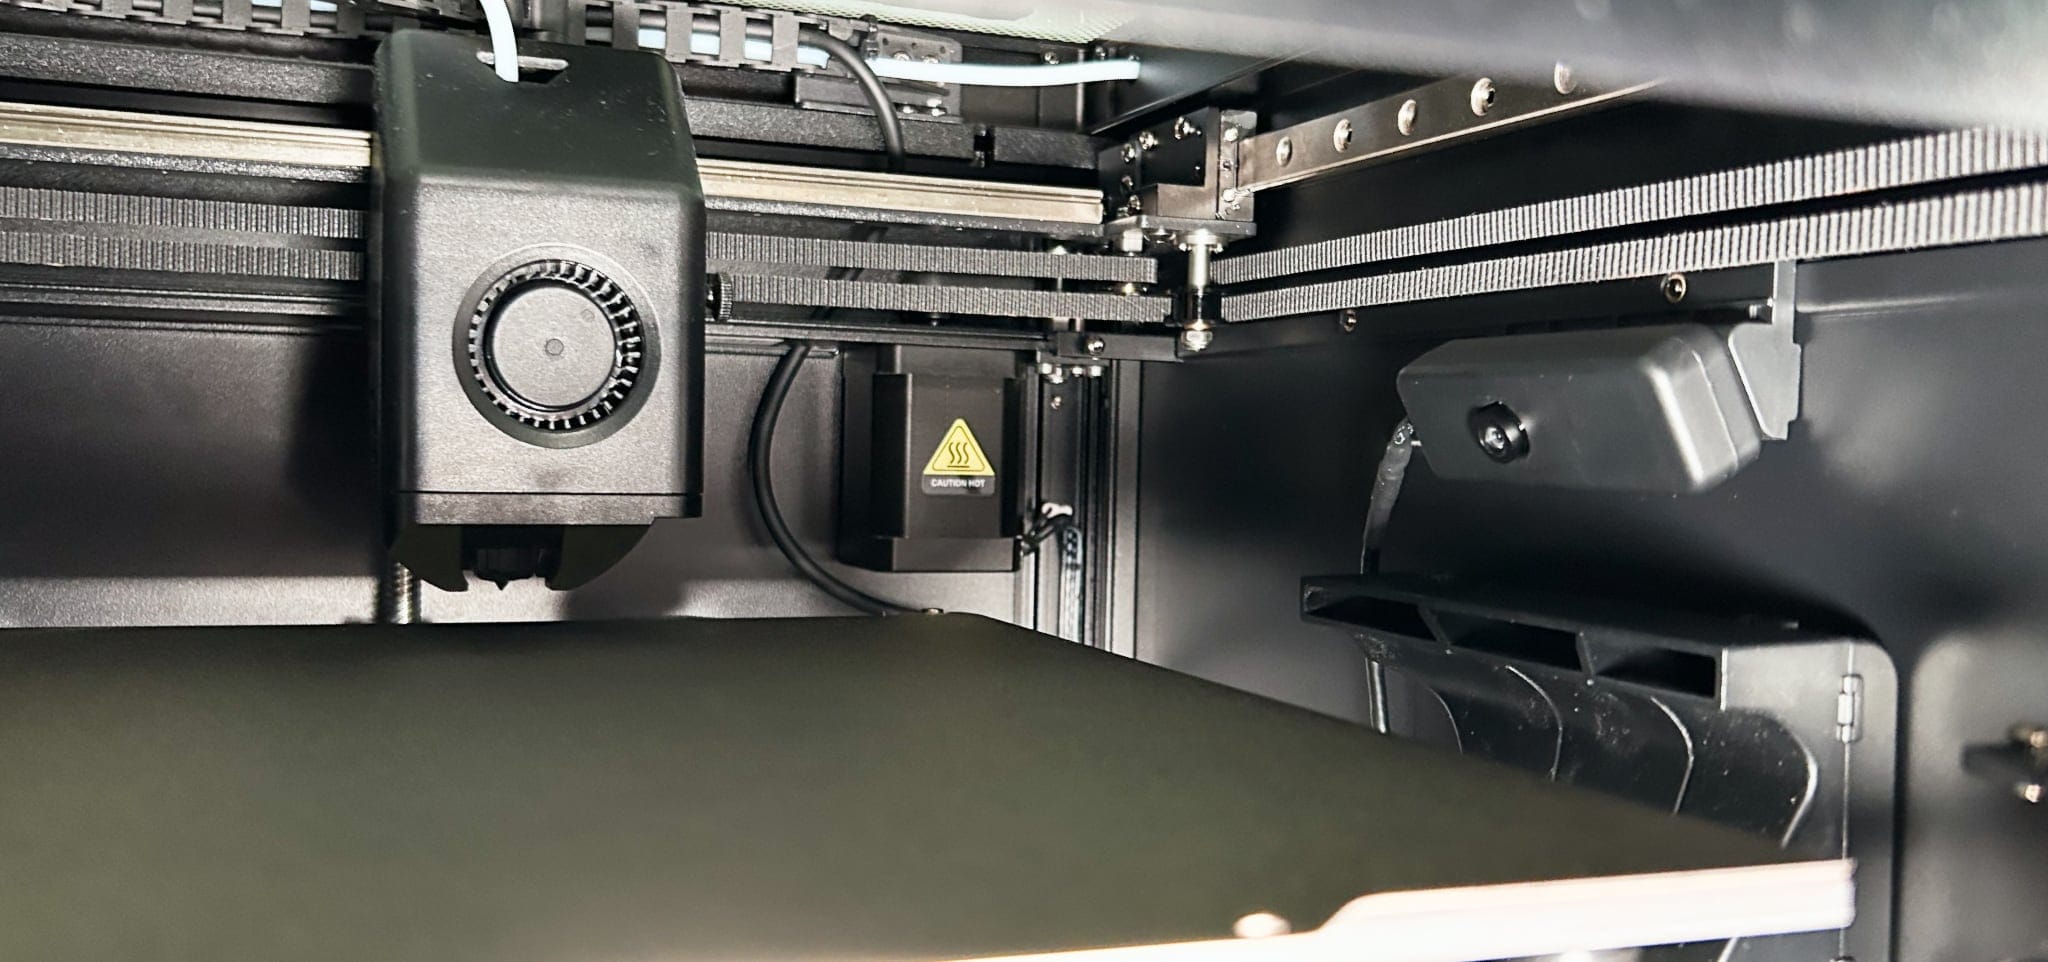
To set it up you update the firmware again (to 2.0.2.21, which only seems to add a few files to enable timelapse functionality), [include timelapse.cfg] in your printer.cfg file, and add the TIMELAPSE_TAKE_FRAME command to your “Before layer change” G-code.
The only thing I was a little disappointed with regarding the camera was the cable routing–it’s the only cable that needs to be routed to the outside, but there is a nice little hole in the back panel that routes it directly above the USB port on the side of the printer:
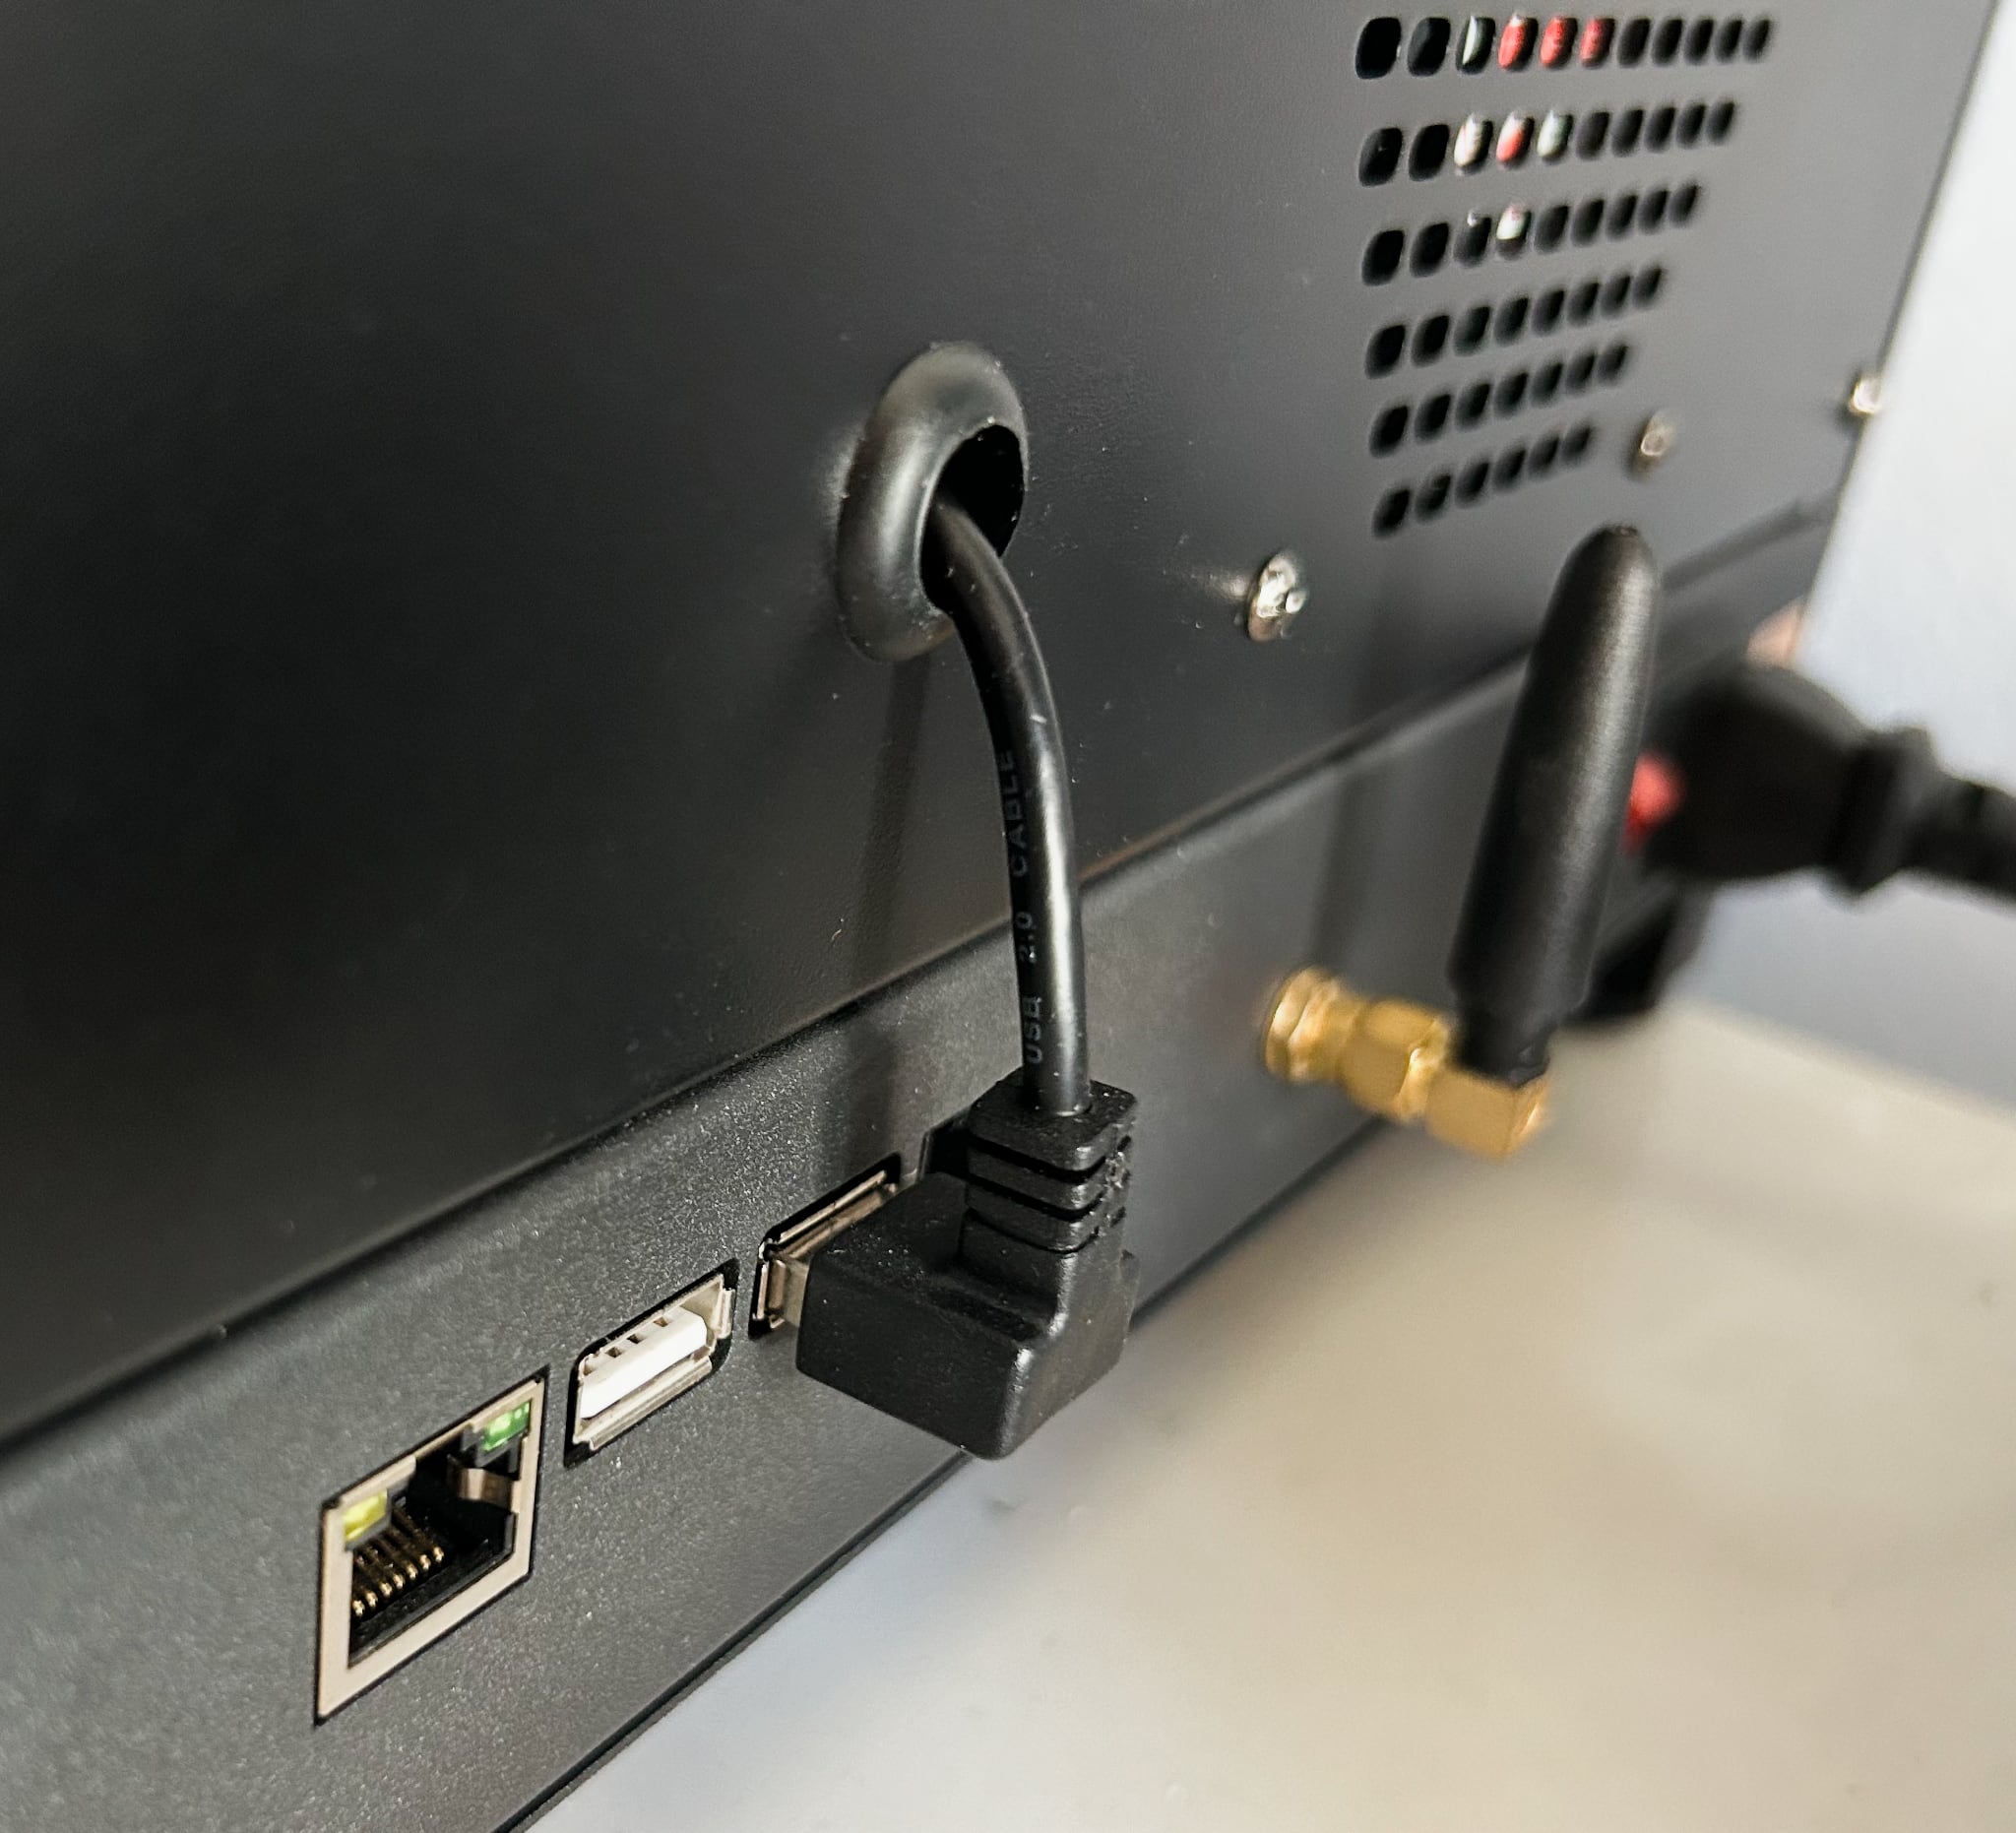
The saving grace here is that TwoTrees picked a 90 degree plug for this, which is a nice touch and goes with the overall theme of attention to detail.
I have relatively little interest in timelapses (they are only occasionally useful for understanding a few print failures), but a camera is pretty much essential to keep track of printing progress–I was using a Xiaomi Aqara camera magnetically bolted on to the top of the open frame, and now I am investigating how to proxy the current camera to HomeKit using hkcam or go2rtc to have it available on all my Apple devices.
The camera quality is decent (especially considering the limited lighting it has to work with) and the viewing angle is more than adequate:
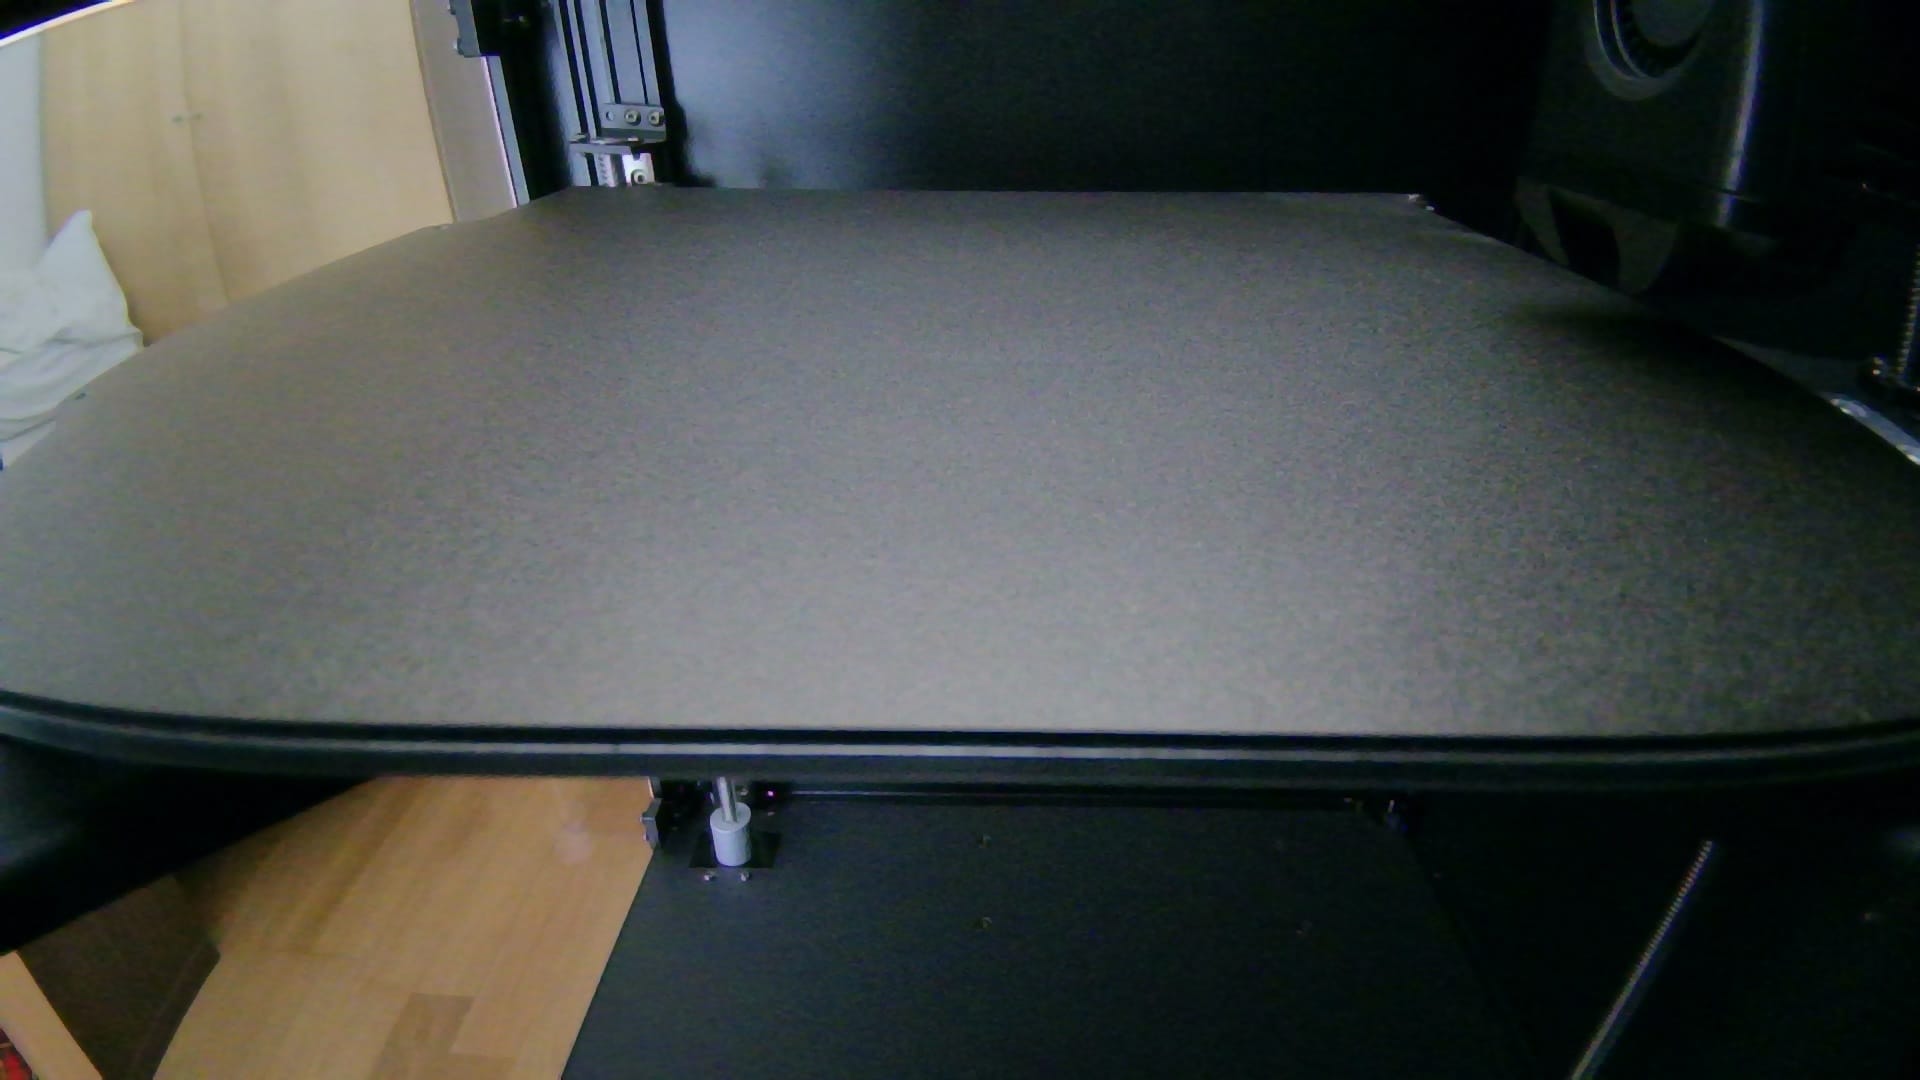
I don’t really see any “AI” features, though, and I know for a fact the built-in MCU can’t do much more than encode the camera video for streaming. But since I have an Obico container set up locally, that’s not really a problem.
Conclusion
Overall, I am very happy with the way the enclosure turned out. It’s a solid, well thought out piece of kit that adds a lot of value to the printer, and opens up a lot of new possibilities for me.
So far I have only done a couple of small prints (mostly to test the new fans and validate the results of running resonance compensation on the new structure), but the immediate result is that the printer is now just a little quieter when not using the new fans… With them on, it is predictably louder than before, but I havent’t had the time to do measurements–I did test them at full speed from the control panel, and the new cooling fan is surprisingly effective given the small size of that intake hole.
Update: I ended up having to remove the cable chain from the toolhead, since it both prevented it from homing correctly (which gave me no end of trouble since it crashed the print head on the front of the printer) and gave rise to some extrusion issues since the PTFE tube was too constricted. Initially I just used cable ties to hold the PTFE tube to the toohead cable, but I still had extrusion issues, so I just removed most of the PTFE tube and made sure the filament could move as freely as possible because there just isn’t enough room between the toolhead and the enclosure for the PTFE tube to move freely.
The next steps for me are to do a little more calibration, put back my custom screen and then figure out how to add a temperature sensor to the enclosure (still feels like a missed opportunity, since it would have been a very cheap part to add) and maybe add a couple of extra LED strips to the inside of the enclosure.
I also need to start looking at ASA and ABS filaments, which I have been avoiding up to now. And with Summer coming, being able to print stuff that can tolerate higher temperatures and UV exposure is going to be a definite plus.