After a summer spent pursuing minimalist computing, I got a few questions about my iPad plus Linux sidecar setup and a bunch of suggestions as to what else I could use instead of a Pi Zero 2W.
As it turned out, a few people recommended the Radxa Zero, which I was already familiar with. I have been wary of repeating the waste of time and effort that the Banana Pi turned out to be, but after further investigation I decided to take the plunge and pick one up.
Why The Radxa Zero?
Besides sharing the Pi Zero form factor, it has a few distinguishing features that addressed the shortcomings in my older setup and avoided many possible pitfalls:
- It uses a relatively popular 4-core 1.8GHz ARM chip with good Armbian support.
- It can be bought with over 2GB of RAM (which I find to be the minimum to run a responsive remote desktop session, let alone one with a browser).
- It ships with on-board
EMMCstorage (which saves me so much hassle). - It has built-in 802.11ac and Bluetooth 5.0 (that work fine without an external antenna).
- It uses
USB-Cfor everything (a 2.0 power/OTGport and a full-blown 3.0 host port) - There are now several updated models (the Radxa Zero 2 and 3), which means that the original can be had at a lower price.
I ordered the 4GB RAM/64GB EMMC version, which seemed like a good compromise given I’ve been using 32GB SD cards on my latest Pis and I tend to go overboard where it regards SDKs and containers.
I was hoping to get a version without the GPIO headers mounted (I don’t intend to use them), but there’s no option for that (the headers seem to be rather dicey to solder on after the fact given the closeness of several components, so that’s understandable):
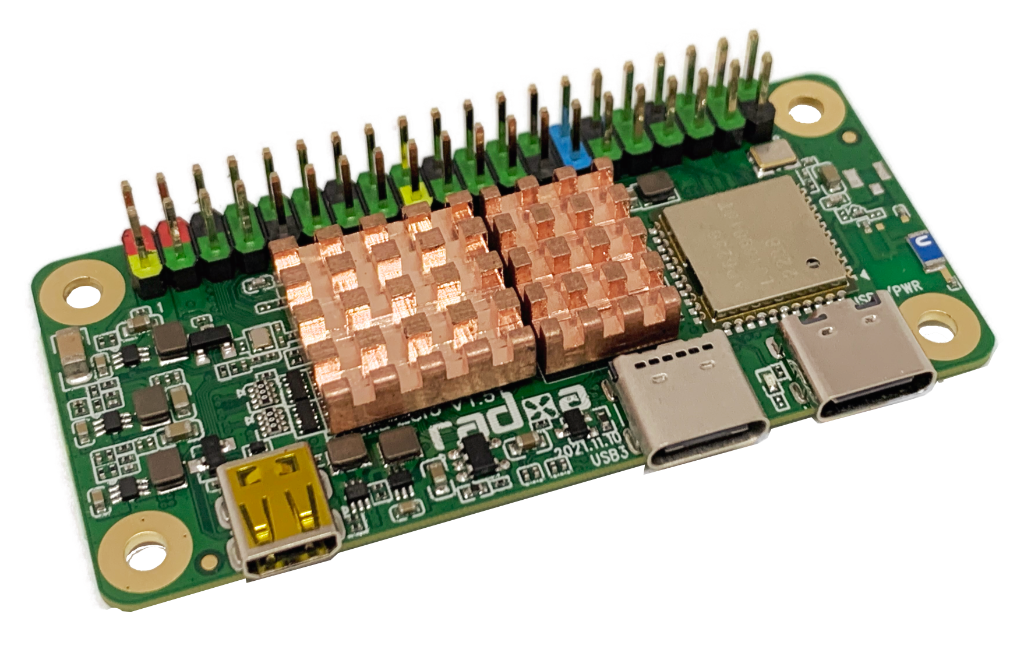
I also got a nice chunky set of copper heatsinks for it from AliExpress since I had read the CPU might run a little hot under load.
I liked the copper look so much that I ended up designing and 3D printing a copper-inspired case for it using “copper silk” and “midnight black” PLA:
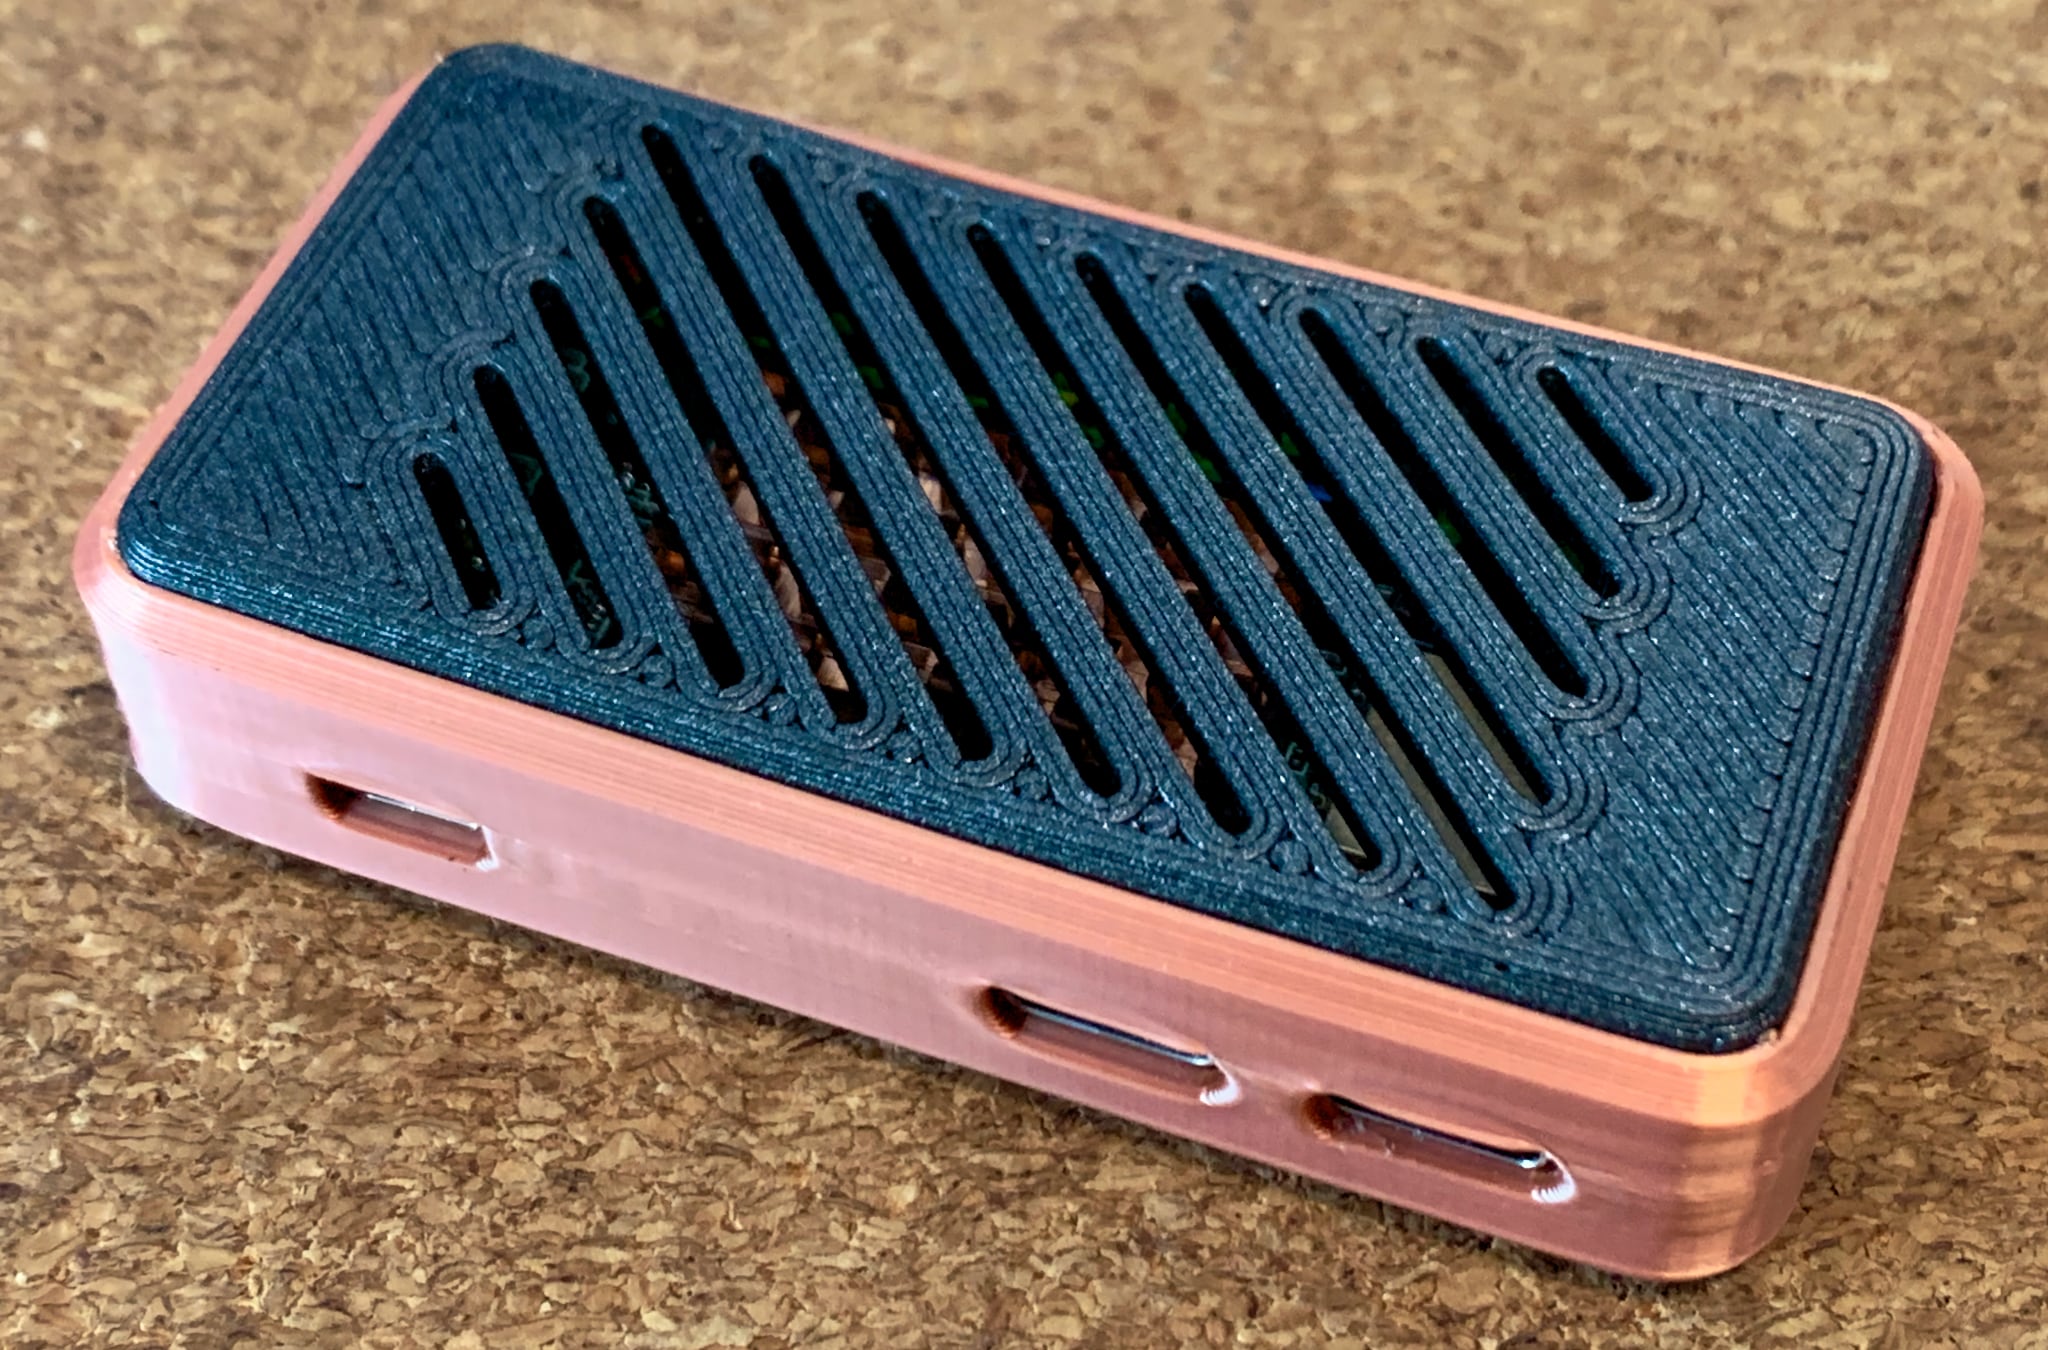
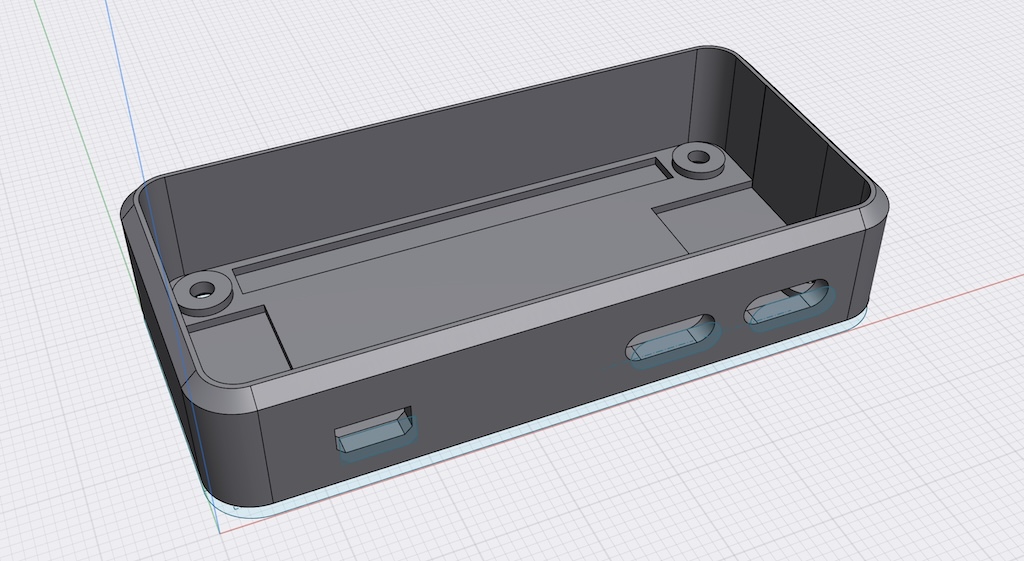
The case took me a surprising amount of tries to get right since I was using Shapr3D (which I really should get into the habit of locking sketches on)1 and went for very tight tolerances–there is less than 0.4mm around the board, and the two pieces are screwed together with less than 0.1mm gaps, so I am very pleased with the final result.
Temperature-wise things have been pretty smooth, with idle temps in my custom case of 47oC–i.e., only 5oC above what I get on the Pi Zero 2W, which is sitting in a Flirc cast aluminum case and runs a little cooler by default.
The Radxa’s CPU has a pretty dynamic temperature range from what I’ve seen. I have it set to settle down to 1GHz with the ondemand governor, but it’s easy to push it past 52C (at 1.8GHz) while running a remote desktop. So far, the copper heatsinks make sure it doesn’t get significantly past that.
Notable differences from a Raspberry Pi and Raspbian
As base OS, I ended up installing the Armbian flavor of Debian Bookworm, and only because it had slightly more up-to-date packages than the Ubuntu flavor.
- Flashing the OS to the internal
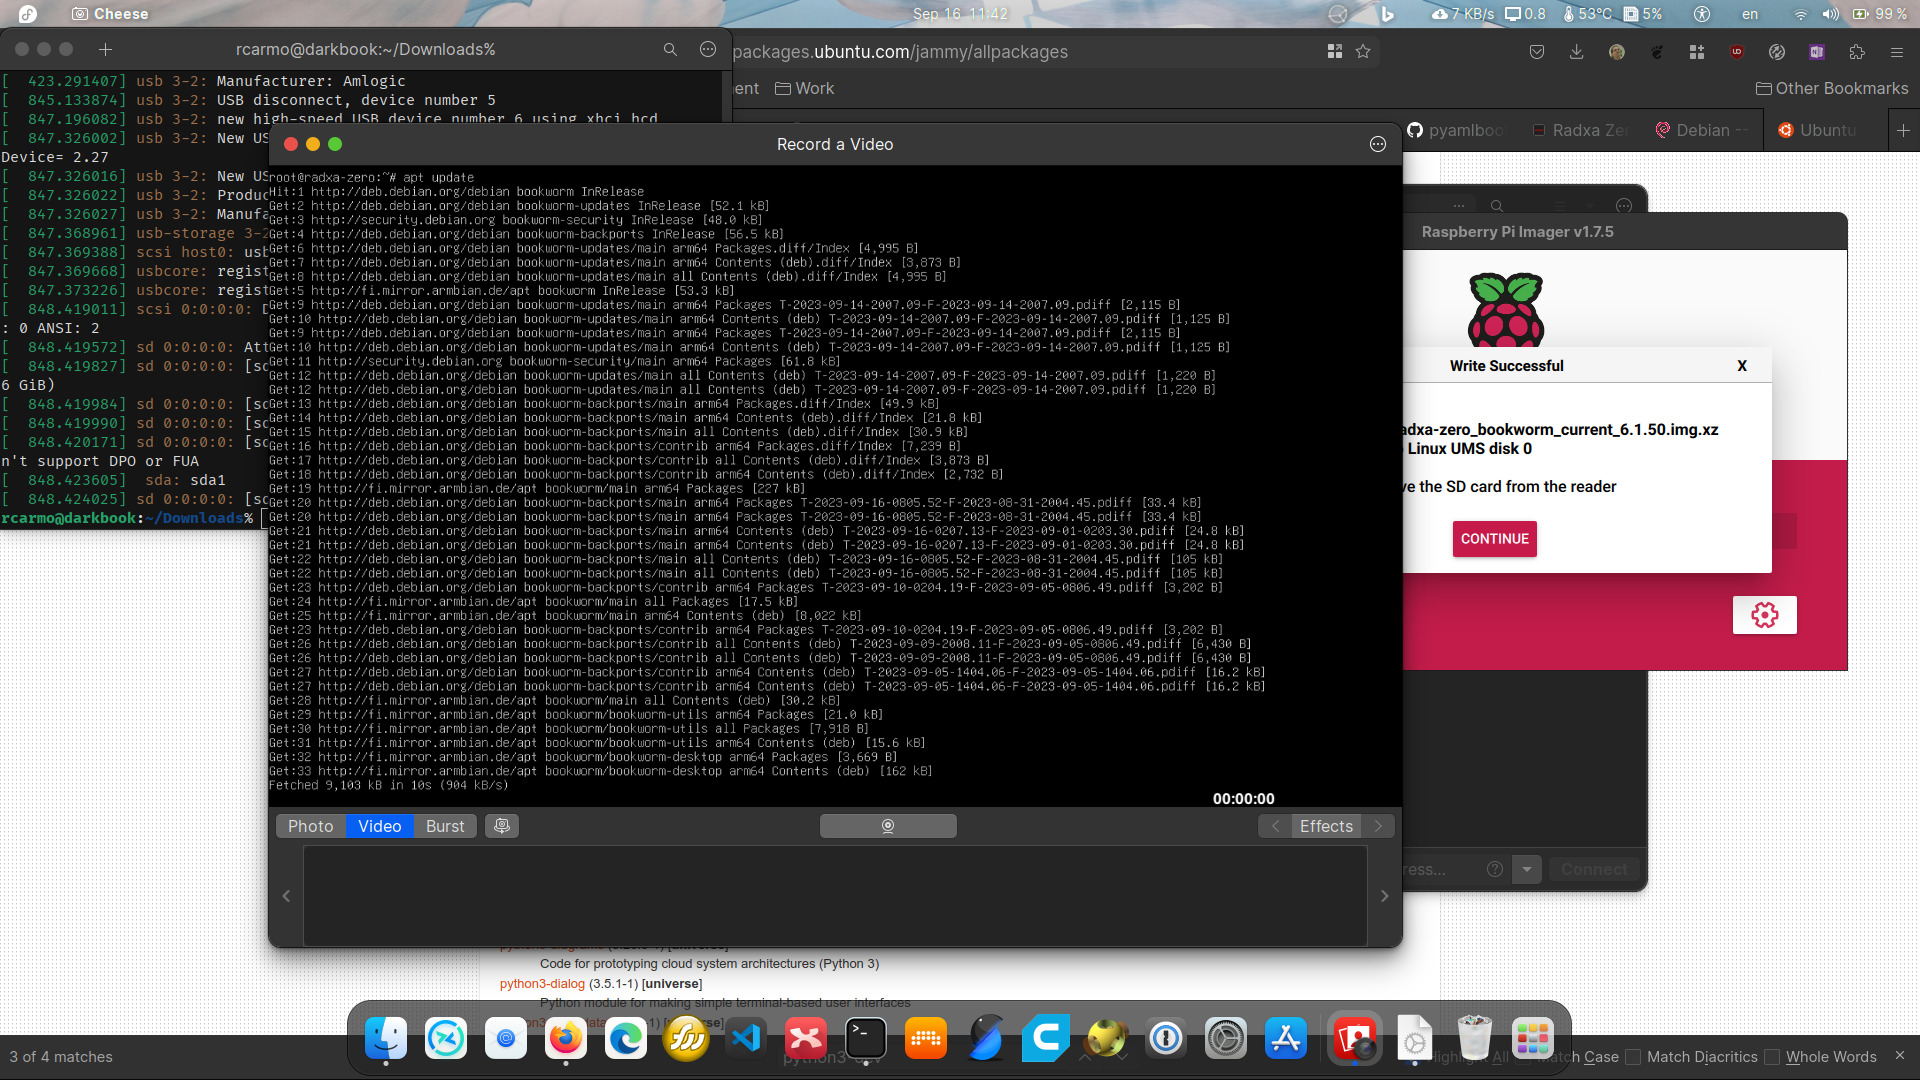
EMMCrequires some prep work (using Linux, it was a matter of installingyamlboot, using a.binfile to initialize theEMMCand then have a newUSBflash storage device pop up, but it is a bit more contrived in Windows). - From then on, actually installing the OS is trivial (I used
raspi-imagerto flash the image to the new USB device). - The first boot experience (for the
CLIversions at least) is actually nicer than the Raspbian one and pretty comprehensive–it walks you through setting up a password, locale, timezone and networking, and you’re done (from then on you can justsshto the device). You need to have a display plugged in (I’m not sure if Armbian supportsbootpartition bootstrap config files), but that’s OK. - Network configuration uses
NetworkManager, which can be a mixed bag–makes things simpler for newcomers, but when you know exactly what you want to do in standard configuration files it will often do as it damn pleases.
Lightning in a Bottle Cap
As an example of what you can do with this kind of hardware, the first thing I did was to set up LXD (the newfangled, post-LXC flavor of machine container management, that I’ve been using on Ubuntu for years) and install a Fedora aarch64 container with a full GNOME desktop accessible via RDP.
The only catch was that xorgxrdp-glamor doesn’t work with the Mail G31 GPU (I knew it was a long shot, considering the Android-centric history of Mali support). But llvmpipe works, so I can at least run OpenSCAD–which I would never be able to do in the Pi Zero 2W with only one eighth the RAM.
I am now running a “bare” Openbox/lxpanel desktop on the main system, with LXD for that Fedora sandbox and a couple of additional Docker containers. Much like a Raspberry Pi 4, I can easily work with Visual Studio Code, a browser and other apps running at the same time:

Enabling Bluetooth and USB Tethering
Soon after getting settled, I started working on going portable, which entailed reproducing my Bluetooth and USB-over-Ethernet setups.
The Radxa Wiki has instructions for enabling the Ethernet gadget, that I am reproducing here for ease of future reference:
# If amlogic-adbd is indeed running, disable it with the following command:
# sudo systemctl disable amlogic-adbd.service

# Based on https://www.collabora.com/news-and-blog/blog/2019/02/18/modern-usb-gadget-on-linux-and-how-to-integrate-it-with-systemd-part-1/
sudo -i
modprobe libcomposite
# different distro could have a different configfs mounting point: /sys/kernel/config
# if the following command fails you need to check with your distro
mkdir /sys/kernel/config/usb_gadget/radxa/
cd /sys/kernel/config/usb_gadget/radxa/
echo 0x1d6b > ./idVendor
echo 0x104 > ./idProduct
mkdir -p ./strings/0x409
echo "Radxa" > ./strings/0x409/manufacturer
echo "ECM" > ./strings/0x409/product
mkdir -p ./configs/r.1
mkdir -p ./functions/ecm.usb0
ln -s ./functions/ecm.usb0/ ./configs/r.1/
# ls /sys/class/udc to see available UDCs
# the value below could be different on your system
echo ff400000.usb > ./UDC
Since this had to be done upon every reboot, I packed it into a systemd unit and built a little YAML file for setting everything up with ground-init:
#cloud-config

# Sets up the Ethernet gadget on a Radza Zero

write_files:

  - path: /usr/local/sbin/radxa-usb-gadget.sh
    content: |
      #!/bin/sh
      modprobe libcomposite
      mkdir -p /sys/kernel/config/usb_gadget/radxa/
      cd /sys/kernel/config/usb_gadget/radxa/
      echo 0x1d6b > ./idVendor
      echo 0x104 > ./idProduct
      mkdir -p ./strings/0x409
      echo "Radxa" > ./strings/0x409/manufacturer
      echo "ECM" > ./strings/0x409/product
      mkdir -p ./configs/r.1
      mkdir -p ./functions/ecm.usb0
      ln -s ./functions/ecm.usb0/ ./configs/r.1/
      echo ff400000.usb > ./UDC

  - path: /etc/systemd/system/radxa-usb-gadget.service
    content: |
      [Unit]
      Description=Radxa USB Gadget
      [Service]
      ExecStart=/bin/sh /usr/local/sbin/radxa-usb-gadget.sh
      Type=simple
      [Install]
      WantedBy=network.target

  - path: /etc/systemd/network/usb0.network
    content: |
      [Match]
      Name=usb0

      [Network]
      Address=172.21.1.1/24
      DHCPServer=yes

runcmd:
  - systemctl enable radxa-usb-gadget
  - systemctl start radxa-usb-gadget
One thing of note is that I had to sudo systemctl unmask systemd-networkd. This is because since Armbian uses NetworkManager, managing networks via systemd is disabled by default.
For Bluetooth, all I needed was to follow the same steps as for the Pi Zero 2W (except for the boot tweaks, which obviously don’t apply to Armbian).
Although I haven’t run any real benchmarks, I can run a Remote Desktop session over Bluetooth using my iPad at nearly 5Mbps (a peak reached by dragging windows around in a flurry), which isn’t bad at all and a nice alternative over my usual tmux and ssh approach.
Power Consumption
Since I often power my Pi Zero 2W from a power bank, I was curious about how the Radxa Zero compared and pulled out one of my USB testers to do a quick comparison:

This made the Radxa Zero appear a lot more power hungry, but I realized I was still running a remote desktop session on it, which made this an unfair comparison.
So I decided to go for something a little more significant: powering it from my Anker 10000mAh power bank over a “weekend”, and only running ssh sessions to it for some light editing:
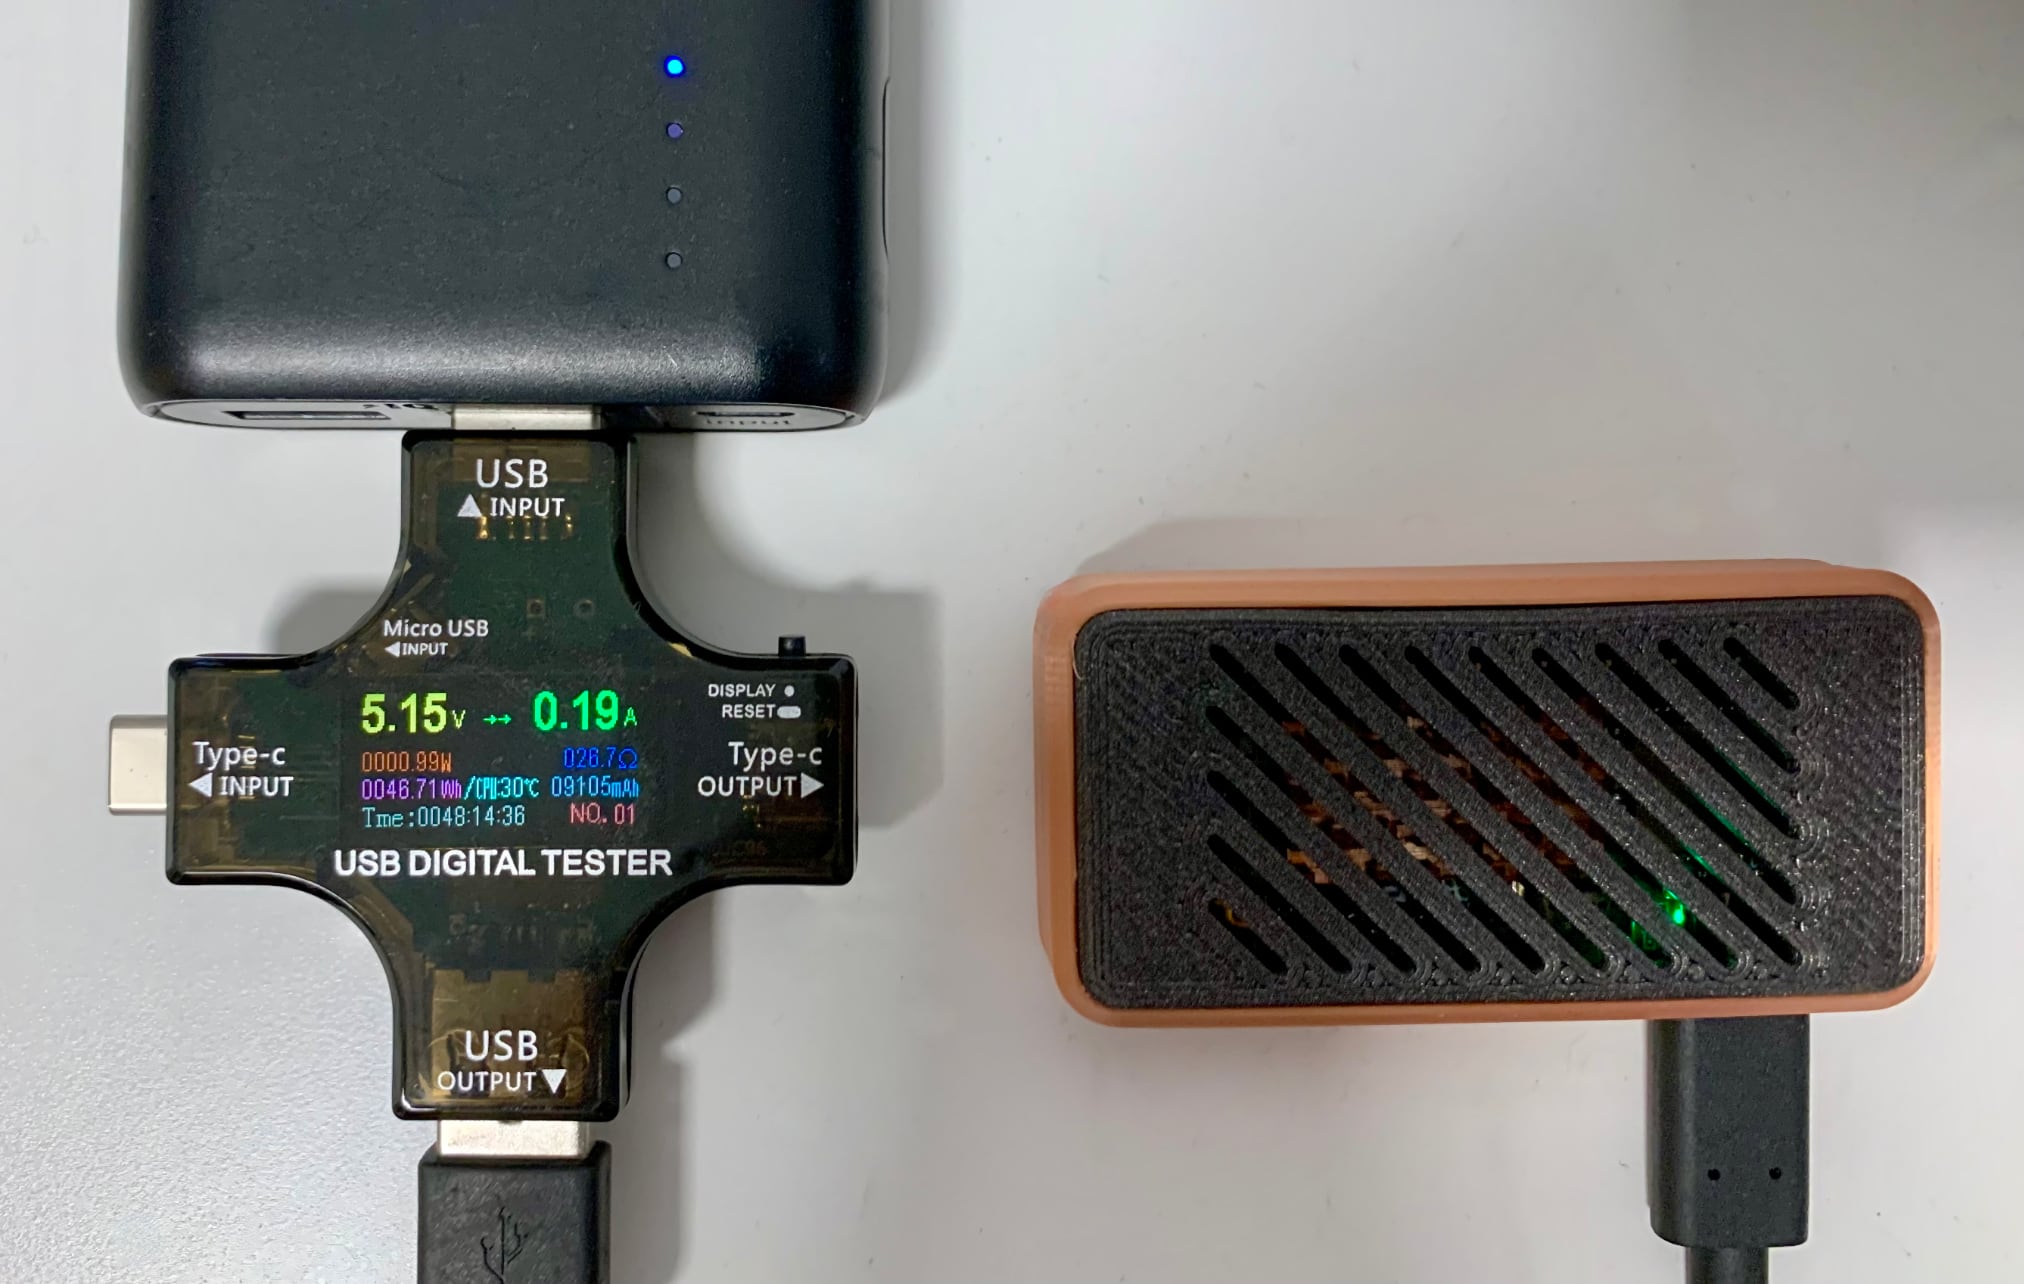
Lower load made for a much more reasonable wattage that is closer to the Pi 2W, so I think this is a good baseline for comparison.
The key thing here is those 48 plus hours of runtime–I’m sure power drain would be substantially more if I was working on it intensively over a weekend, but 48h of wall clock time is actually much less than the amount of time you would be using any computer on a weekend trip.
Conclusion
I’m quite happy with the Radxa Zero so far. I’m positive I can comfortably take it anywhere with me on vacation and leave it on overnight, or take it along on one of my train trips to Porto and be able to work all day with enough juice to spare for charging my iPad and phone, which is just great considering that it is much more performant and flexible than the Pi Zero 2W.
All that remains now is to sort out a few more details on the software side (I’ve toyed with the notion of hacking Proxmox onto it, but it’s tricky), but I think that my iPad development setup is now good for another couple of years or so.