I never expected to review this many keyboards in a year, but it’s Summer, and here we are.

Disclaimer: Hexgears reached out to me and sent me a preview unit of the A3 (for which I thank them), and as usual this post follows my review policy.
I’ve been focusing on minimizing my keyboard footprint (sometimes to ludicrous extremes) and prefer compact keyboards, so testing out the Immersion A3 was quite the departure from my usual fare in focus, features and, of course, size.
In The Box
As usual, the packaging is quite nice, with a sturdy box and a foam insert that keeps everything in place. Inside, you get:
- The keyboard
- A nice, understated USB-C cable with gunmetal grey plugs (which, as it happens, matches the very few cables I allow on my desk)
- A 2.4GHz dongle (that actually has a spot to be stored on the keyboard itself, for a change)
- Keycap and switch pullers
- A simple and straightforward folded user guide
Form Factor and Footprint
Unlike the vast majority of the keyboards I’ve reviewed so far, this is a “tenkeyless” keyboard with a little extra trim on top where a small screen and a split row of control buttons are located. I’ll get to those later, but in terms of desk real estate, the main part of the keyboard alone is bigger than an entire Apple Magic Keyboard:

I would say it is very slightly larger than your average 15” PC laptop keyboard, and certainly more compact and better looking than the kind of keyboard you would ordinarily get with a prebuilt desktop PC.
Looks
The overall fit and finish is nice, with the top aluminum cover’s brushed gunmetal grey look on the board itself. Since my office is perennially dusty of late thanks to construction work nearby, the grey (as every darker surface) has turned into a bit of a dust magnet, but fingerprints were completely invisible thanks to the very slight textured feel.
The top button row and display contrast with the rest of the design, though–especially the screen and the silvery toggle switch, which look slightly off.
Another distracting detail is that the 2.4GHz dongle is not stored away out of sight–instead, it sticks out from the back of the keyboard, with the potential to be awkward when using the keyboard in a constrained space.

I just took the dongle out and stored it with the cable and key pullers–which is a bit of a shame, since it would have been trivial to have a deeper insert to store it inside the keyboard at all times.
Layout and Key Combinations
Even though “tenkeyless” layouts eschew the numeric pad, you still get a full set of function keys plus the usual assortment of PC navigation keys that live atop the cursor block. I spend so much time using laptop keyboards (and, of course, vim navigation keys) that I’ve lost the habit of using any of those, but it was nice to have PgUp and PgDn keys… on hand.
Although most of the combinations for backlight control and suchlike are clearly visible, there are two that I found both unusual and somewhat hard to discover without reading through the quick start guide:
Fn+F12locks your keyboard (useful for those with pets)Fn+Tabfor 5 seconds toggles between Windows and Mac modifier layouts
Key Feel and Switches
I got a keyboard with tactile keys (you can get them in tactile, linear and clicky), and since my personal preference is towards linears, I initially had a little trouble with it, for two reasons:
- The keys themselves felt quite a bit heavier than the red linears I’m used to. I’m a reasonably fast typist, so they were slowing me down.
- They bottomed out a bit too aggressively (both hard and noisily), and since I have RSI my fingers start hurting when I have to exert too much pressure or experience too much impact on a keyboard over time.
I started feeling strain on the backs of my fingers after only a few hours of use, so I decided to take a closer look at the key feel and see if I could improve it.
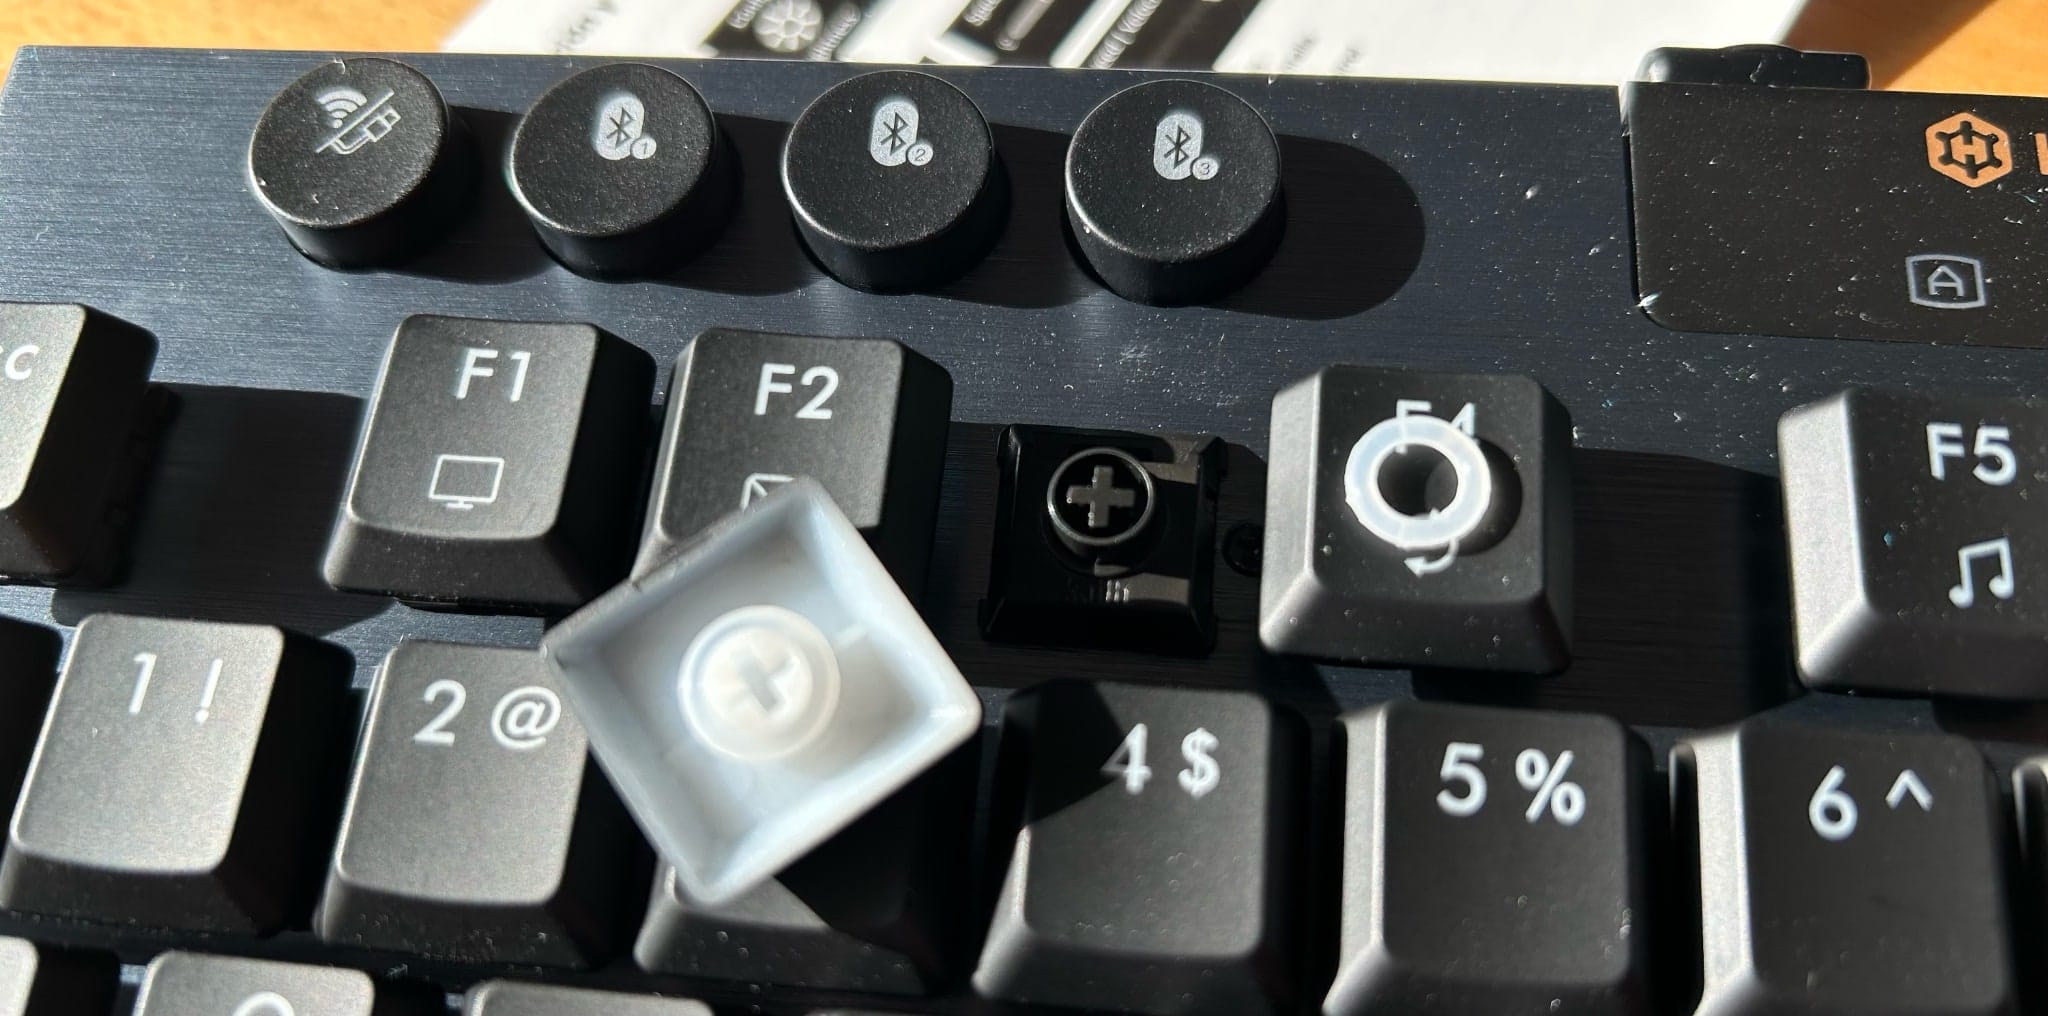
Although the A3 sports hot-swappable Kalih switches, I had no linears to replace them. So I decided to at least “fix” the bottoming out by adding some O-rings to significantly decrease the noise and change the feel a bit:

This is, of course, a highly personal aspect of keyboard use. Besides my RSI, other people may be more… heavy-handed and prefer a more substantial feel. But the o-rings considerably softened the keyboard feel for me and allowed me to use it for an extended period of time.
As to the dedicated feature buttons for switching between wired and Bluetooth connections, those felt a bit hard and unforgiving by comparison. But dedicated buttons are a nice addition for people who just can’t deal with key combos to switch between devices (and provide immediate visual feedback to what you’re connected to).
Keycaps and Backlight
The Immersion A3 sports a dizzying array of RGB effects that you can switch through using keyboard shortcuts or the built-in display, but if you’ve been following along my other keyboard reviews you probably know that I prefer functional backlighting rather than fancy RGB.
In this case, I got both–the keycaps let the light shine through more than adequately (and the O-rings I used were both translucent and mostly out of the way of the LEDs, so that worked out OK too), but since the RGB LEDs always have a bit of color drift, I had trouble getting a neutral white backlight across the entire keyboard.
So I just switched it off via the keyboard shortcuts, and set it to static red in the evenings.
With my usage pattern I hardly made a dent on the keyboard’s claimed life of around 50 hours over the course of an average week, so I can’t really comment on how long it would last with the backlight permanently on.
Gaming
Since this is, after all, a gaming keyboard, I fired up Quake III Arena and did some… scientific testing. The keyboard does seem to be able to take enough punishment in fast-paced action games, and the key feel was much less of an issue in that kind of scenario–in fact, it felt better than some of my other other keyboards for that, both in terms of key responsiveness and overall stability (it just didn’t budge).
It did, however, occupy a bit more room than I am used to, leaving less room for expansive mouse movements–and given what I’m seeing of the current crop of pressure-sensitive gaming keyboards (all of which seem to be under 70 keys), I’m not the only one who might consider the A3 a bit too big.
Display
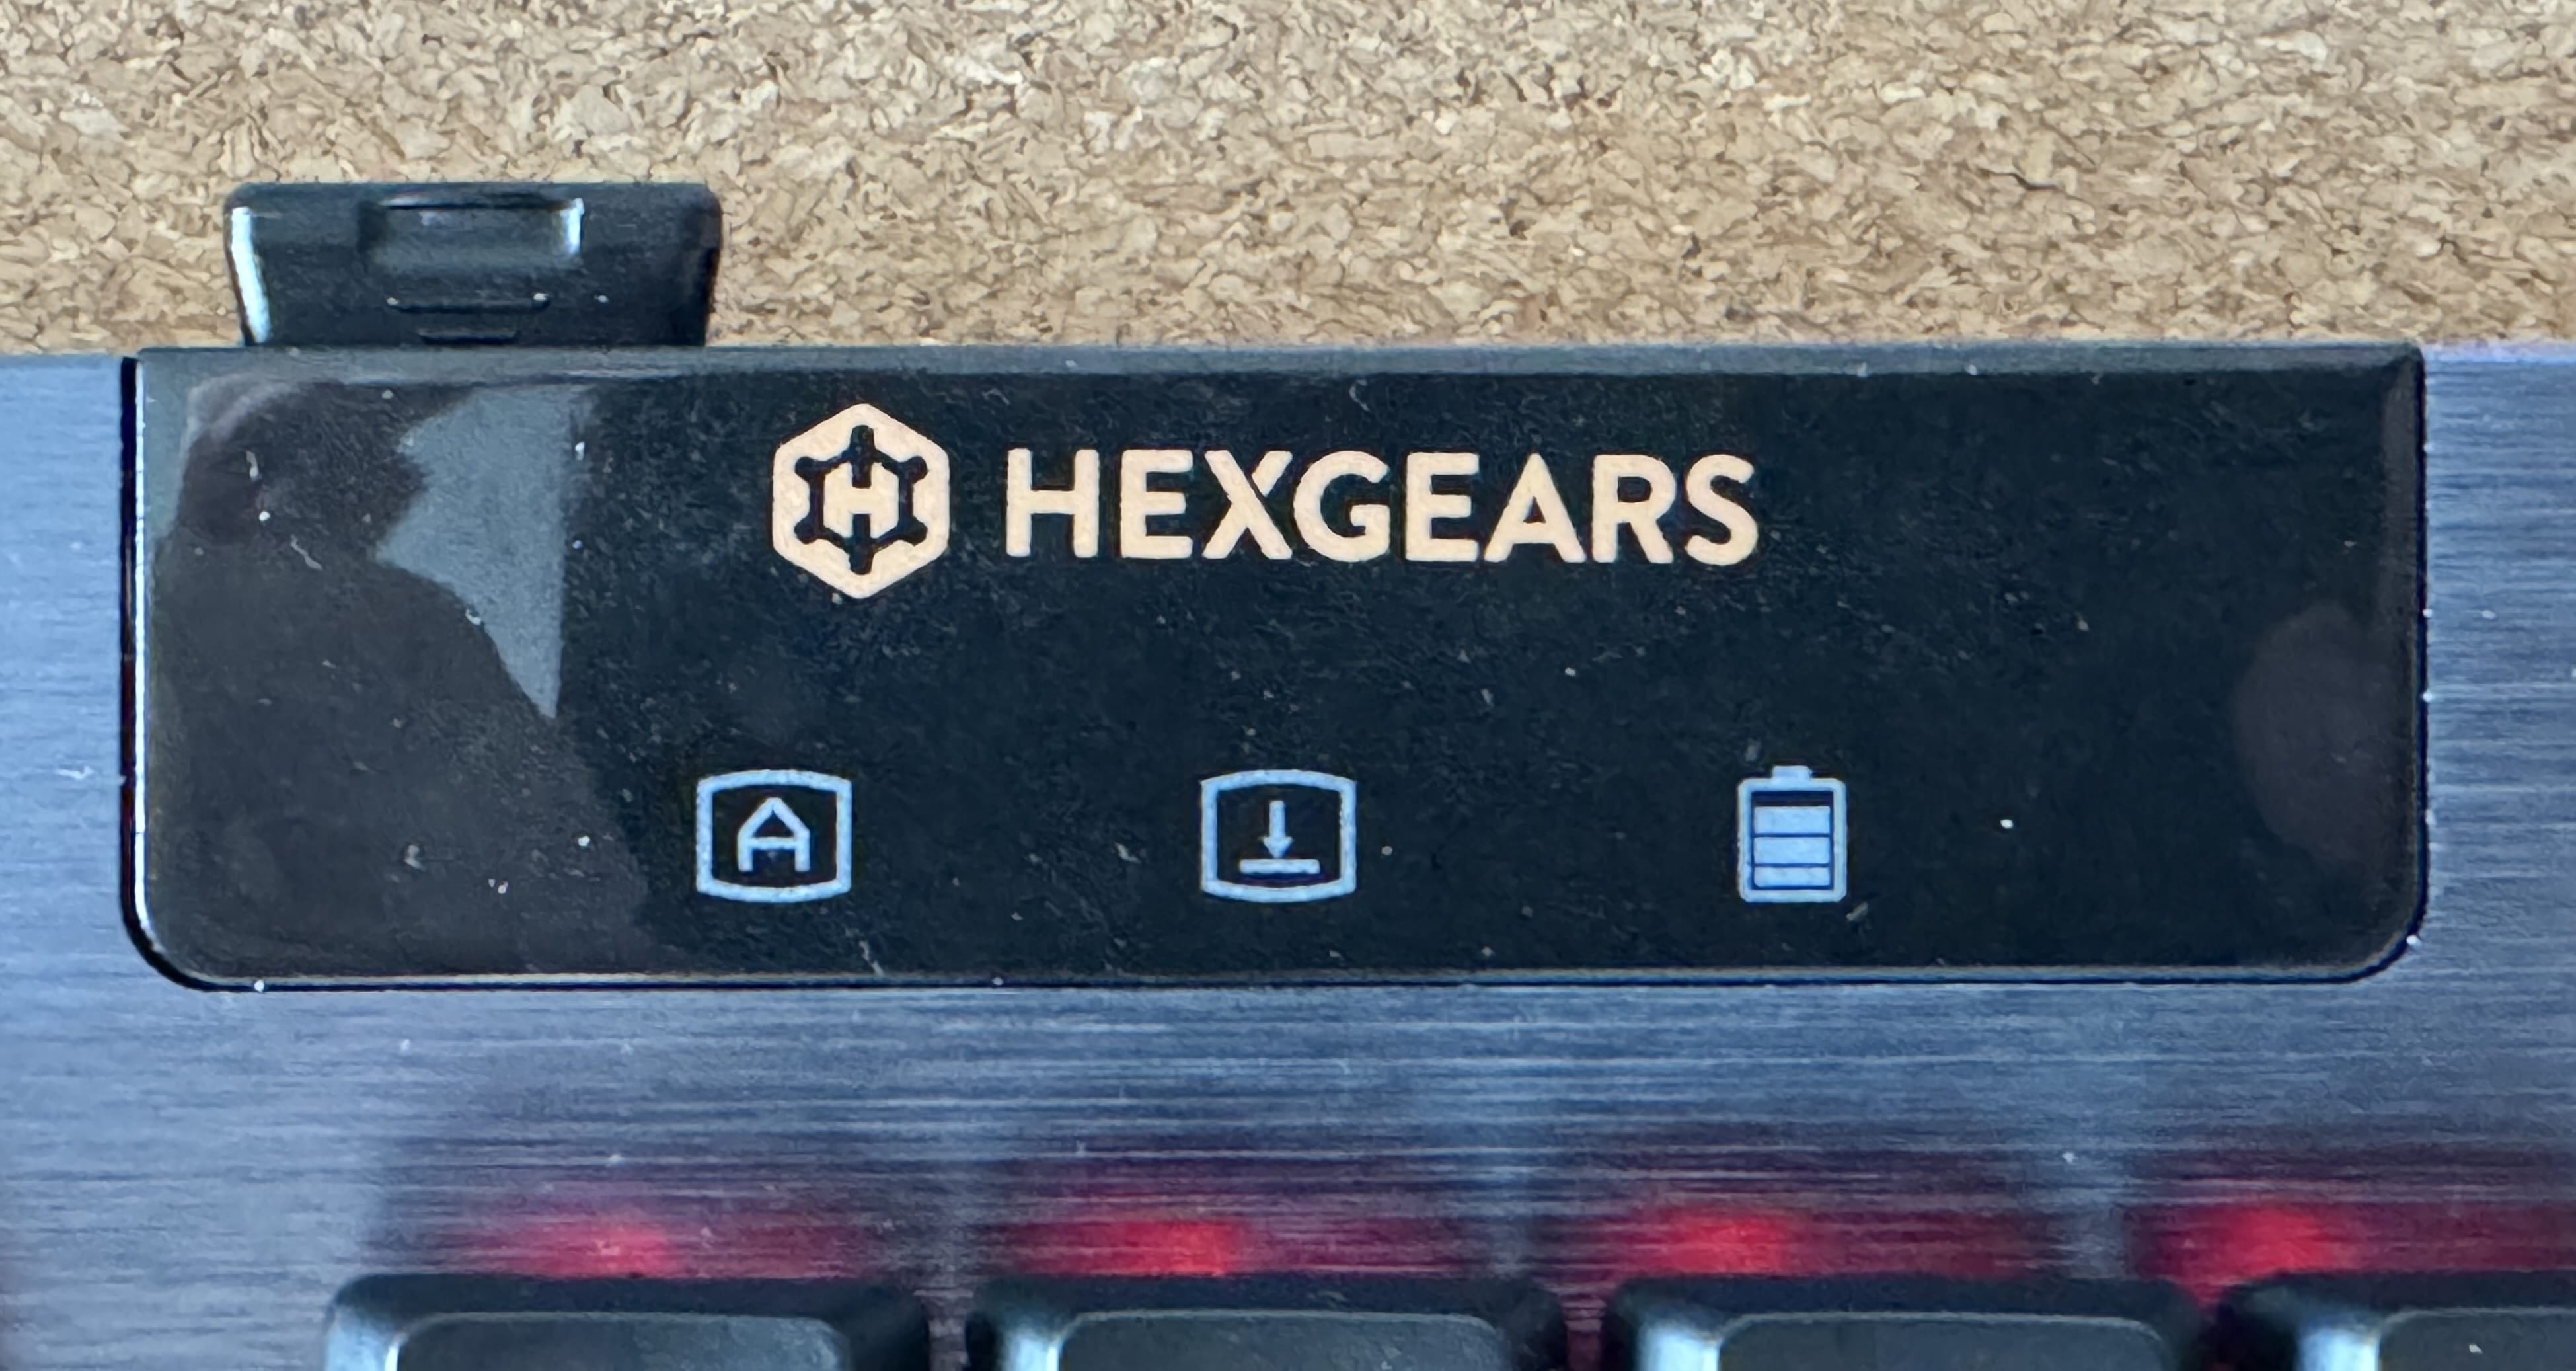
However, the most prominent feature of the keyboard, is, quite literally, the little LCD on the right-hand side:
The result is… peculiar. On the one hand it is a far better way to tweak keyboard lighting settings than having to remember key combos, and on another it feels like the onboard software is not quite all there yet–starting with the fonts in use.
Having spent far too long dealing with embedded systems and LCD displays, I know that most on-device LCD fonts tend to be the spindly Times Roman serif-like because that particular font has excellent support for Chinese characters, but it can be hard to read and looks somewhat dated. Plus there is a lack of consistency across menu options, since a lot of the UX uses an entirely different sans-serif font.
But the display itself is let down by the additional navigation buttons and the silver toggle switch, which felt fiddly and inconsistent–I never knew which was best suited for navigating settings.
I very much would have liked to see the display used for managing Bluetooth connections, have better descriptions of the lighting effects (they are listed as “Effect1”, “Effect2”, and so on) and more consistent navigation.
This may be fixed in the future by a firmware update, but as it is, and given my preference for minimalist and utilitarian things, I have to consider the display a surplus–the keyboard would have been perfectly fine without one (and maybe even the entire top row of feature buttons).
But I thought the clock was a nice creature comfort–until I realized that I had to connect the keyboard to a Windows PC to even set the time.
Software
The Immersion A3 is configurable, but since it is not based on QMK or any other “standard” firmware, I could not use VIA or any of the usual Mac or Linux utilities available to enthusiasts.
Since I had no way to set the clock via Mac or Linux, I plugged it in to my G2 and installed the software–which despite having to be downloaded from Google Drive (a thing that I sort of have gotten used to when dealing with Chinese companies) was notarised, albeit not with an easily identifiable developer ID:

The software itself is… OK, I guess, and provides direct control over all the keyboard features:
I must confess I spent the most time fiddling with the GIF import feature, even though I’m clearly not the target audience for it.
Conclusion
In the end, the Immersion A3 was a different experience–not something I will be using daily because of the tactile switches and larger size than what I find comfortable, but I cannot really fault the keyboard for that. I wish it ran QMK and was configurable via VIA, but I understand that the target audience for this keyboard is completely different from what I am used to.
It’s a solidly built piece of kit that will look nice on a gamer desk, but my minimalist streak forces me to say that I believe removing the display display (which I don’t care much for) and the entire top feature button row would make it sleeker and save a considerable amount of space.
Note: Hexgears have provided a limited-time discount code
TAOOFMACHEXthat will net you 15% off on Amazon.com or their store (note that I don’t get any kickbacks from this).