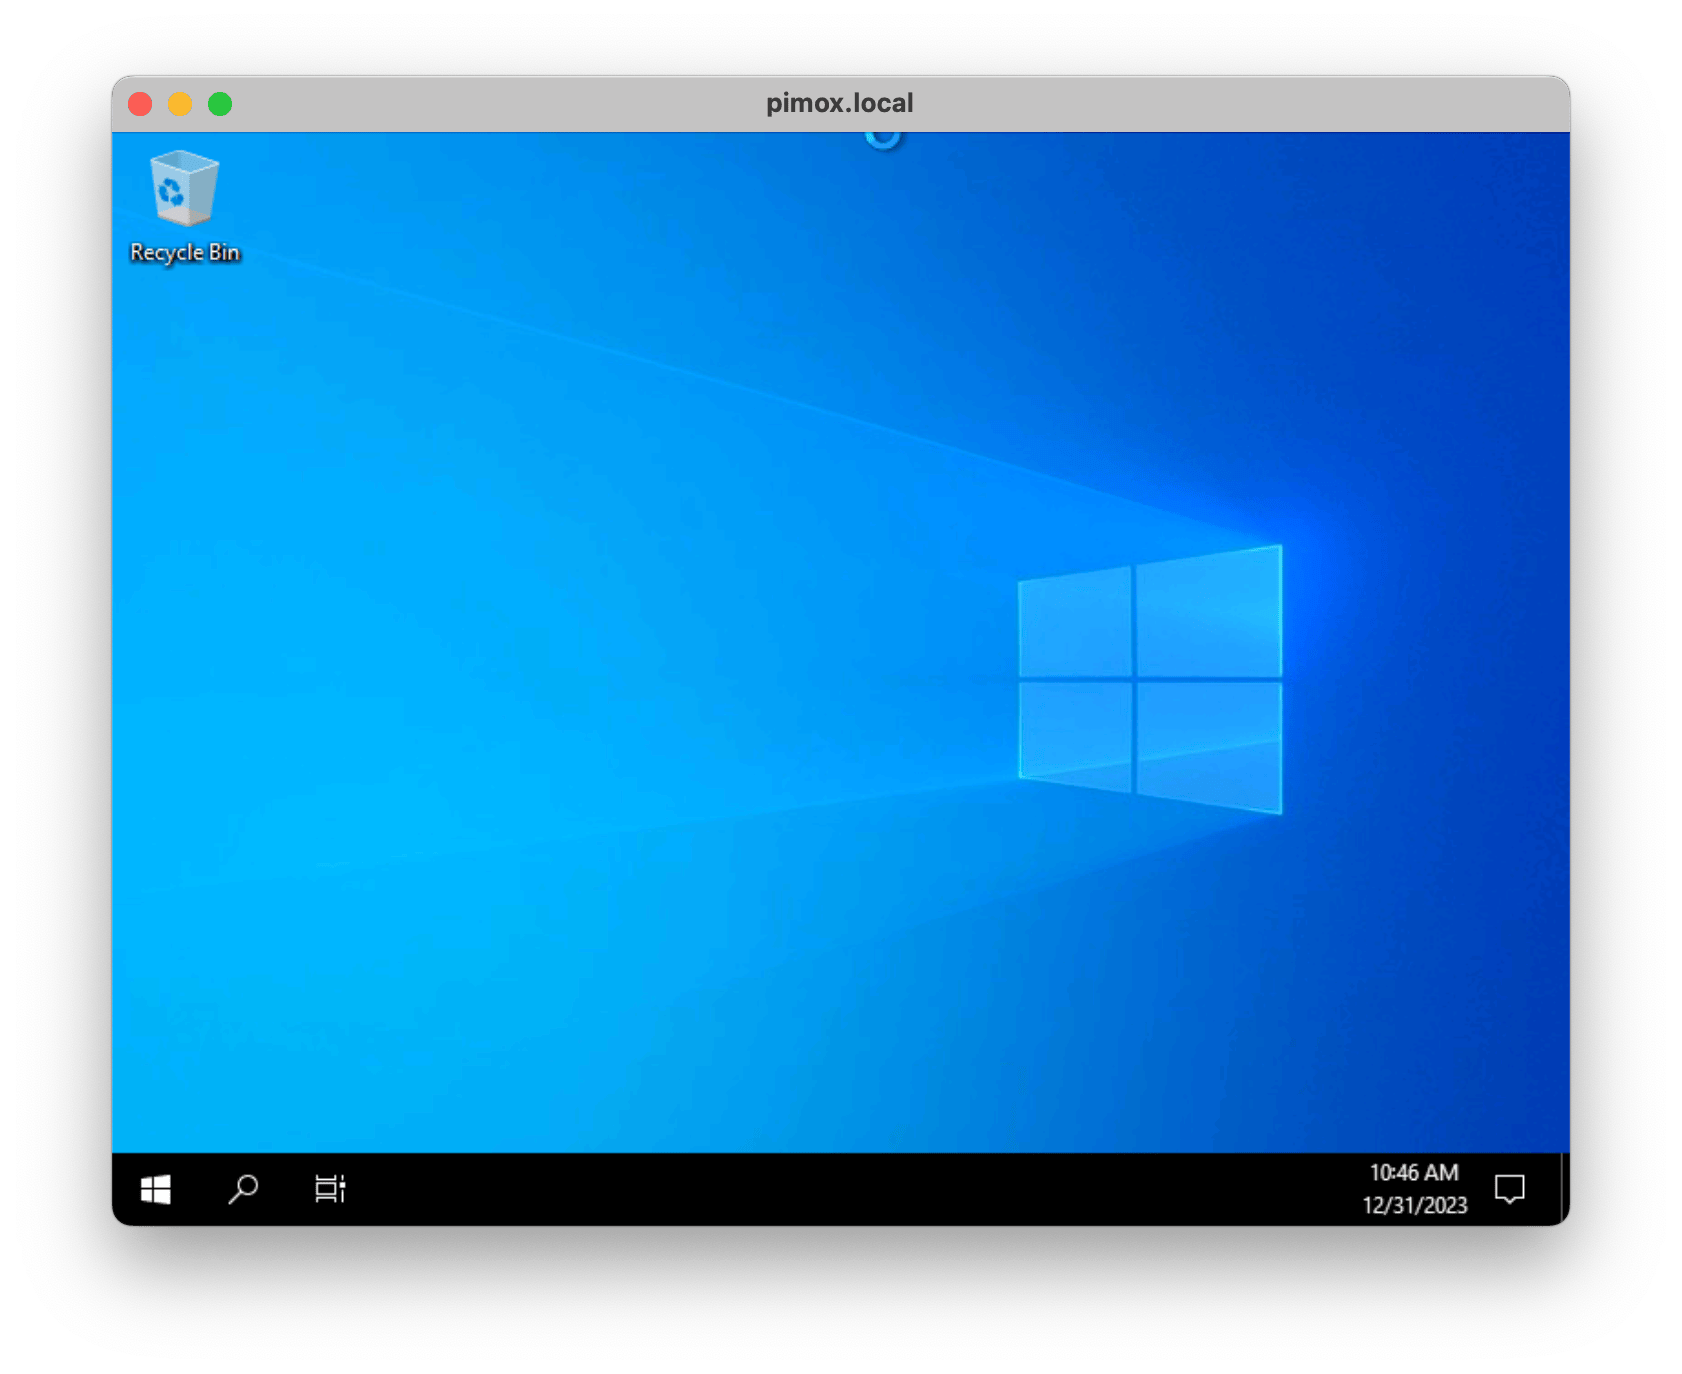
With a little help from this gist and this Reddit post, I was able to get Windows 10 (and Windows 11, almost) booting in pimox, my Raspberry Pi 4 running Proxmox.
Neither is stable or of much use (the Pi is quite slow), but it was something that had been on my bucket list for a while.

I took a bit longer to get around to try this out than I bargained for because I hadn’t actually set up LVM in pimox yet, and also because I had to work around the machine type architecture bug noted in the gist.
I also had to try a number of ISOs, from Windows 10 LTSC with slipstreamed virtio drivers to Tiny 11, because the “normal” ARM ISOs I had wouldn’t boot, and I assumed that Tiny 11, at least, would have been tested under QEMU.
The Hard Way: Creating the VM in Proxmox
You can start setting things up via the GUI (it’s just easier to have it set up all the volumes), but you will need to tweak the config manually so that the end result looks like this (with the OS and virtio driver CDs included):
# cat /etc/pve/qemu-server/302.conf
agent: 1
balloon: 512
bios: ovmf
boot: dcn
cores: 2
efidisk0: local-lvm:vm-302-disk-0,efitype=4m,pre-enrolled-keys=1,size=64M
scsi1: backup:iso/tiny11a64_r1.iso,media=cdrom,size=4375488K
scsi2: backup:iso/virtio-win-0.1.240.iso,media=cdrom,size=612812K
memory: 2048
name: tiny11-arm
net0: virtio=BC:24:11:79:2A:FF,bridge=vmbr0,firewall=1
numa: 0
ostype: linux
scsi0: local-lvm:vm-302-disk-1,cache=writeback,iothread=1,size=64G
scsihw: virtio-scsi-pci
smbios1: uuid=b1c36c87-d9bf-4504-a5c5-be4316796b68
sockets: 1
tpmstate0: local-lvm:vm-302-disk-2,size=4M,version=v2.0
arch: aarch64
Step Two: First Boot
There is probably a slightly easier way to do this, but I needed to start the VM manually and access it via VNC to get the virtio drivers installed:
# cat firstboot.sh
/usr/bin/qemu-system-aarch64 \
-id 302 \
-name tiny11-arm \
-smbios type=1,uuid=ffffffff-ffff-ffff-ffff-ffffffffffff \
-drive if=pflash,unit=0,format=raw,readonly=on,file=/usr/share/pve-edk2-firmware//AAVMF_CODE.fd \
-drive if=pflash,unit=1,format=raw,id=drive-efidisk0,file=/dev/pve/vm-302-disk-1 \
-tpmstate0 file=/dev/pve/vm-302-disk-2 \
-smp 2 \
-m 2048 \
-boot menu=on,strict=on,reboot-timeout=1000,splash=/usr/share/qemu-server/bootsplash.jpg \
-nodefaults \
-nographic \
-device qemu-xhci \
-device usb-kbd \
-device usb-tablet \
-device ramfb \
-device virtio-scsi-pci,id=scsihw0,bus=pcie.0,addr=0x5 \
-drive file=/dev/pve/vm-302-disk-0,id=drive-scsi0,format=raw,cache.direct=on,aio=native,detect-zeroes=on,if=none \
-device scsi-hd,bus=scsihw0.0,channel=0,scsi-id=0,lun=0,drive=drive-scsi0,id=scsi0,bootindex=200 \
\
-drive file=/mnt/pve/backup/template/iso/win10_LTSC_2021_arm64_virtio.iso,if=none,id=windows,media=cdrom \
-device usb-storage,drive=windows,bootindex=100 \
\
-drive file=/mnt/pve/backup/template/iso/virtio-win-0.1.240.iso,if=none,id=drive-virtio,media=cdrom \
-device usb-storage,drive=drive-virtio \
\
-netdev type=tap,id=net0,ifname=tap302i0,script=/var/lib/qemu-server/pve-bridge,downscript=/var/lib/qemu-server/pve-bridgedown \
-device virtio-net-pci,mac=de:ad:be:ef:42:00,netdev=net0,bus=pcie.0,addr=0x12,id=net0 \
-M virt,virtualization=on -cpu max \
-vnc :0
Note that the machine type had to be tweaked to run on the Raspberry Pi (whether because of the KVM version or chipset support), and that you have a few seconds to connect to the host via VNC so that you can hit a key to boot from CD.
Then you’ll need to be very patient and let the installation process play out. In my case, it took almost 30m to get to the initial input selection screen, and much longer than that to finish (the mouse is pretty responsive throughout, so you can use that to check things haven’t stalled).
With Windows 10, I eventually got stuck on OOBE errors, which I fixed by hitting Shift+F10 and typing in these commands:
net user Administrator /active:yes
net user /add your_user_name your_password
net localgroup administrators user_name /add
cd %windir%\system32\oobe
msoobe.exe
…powering off, and then restarting the VM and letting it boot from the hard disk (you should later do net user Administrator /active:no to disable the Administrator account) and install the virtio drivers.
That sort of worked, but the VM would eventually crash, (which I suspect is due to the Pi’s CPU instruction set).
With Windows 11, I had a much harder time altogether–I only reached the OOBE stage twice, and even then the VM would not come up again after rebooting.
Clever, But Failed Tricks
I also tried using UTM to create a qcow2 file (it installed Windows in less than 5 minutes) and importing that across:
qm importdisk 302 /mnt/pve/backup/template/qcow/3812E0DC-9E92-4CB9-AA07-91060E03B1E7.qcow2 local-lvm
…but that failed since the hardware virtualization is just different (the boot drive in UTM is configured as an NVME), and I couldn’t find a good way to import tpmdata (just dumping that into the LVM store didn’t work).
I will eventually get back to this once I map out the way Proxmox maps its config entries into KVM options (and I get a beefier ARM64 host).
Until then, Happy New Year!